
Removing MFPs, copiers and printers
Remove the MFPs, copiers and printers you no longer want PriApps CloudPrint to manage.
Remove an MFP, copier or printer from PriApps CloudPrint when you replace it, take it out of service, or no longer want PriApps CloudPrint to manage it. You can remove several devices at once. A removed device's past usage stays in your reports.
Before you begin
- Sign in to the PriApps CloudPrint Console. See Signing in to the PriApps CloudPrint Console.
Steps
Open Printers
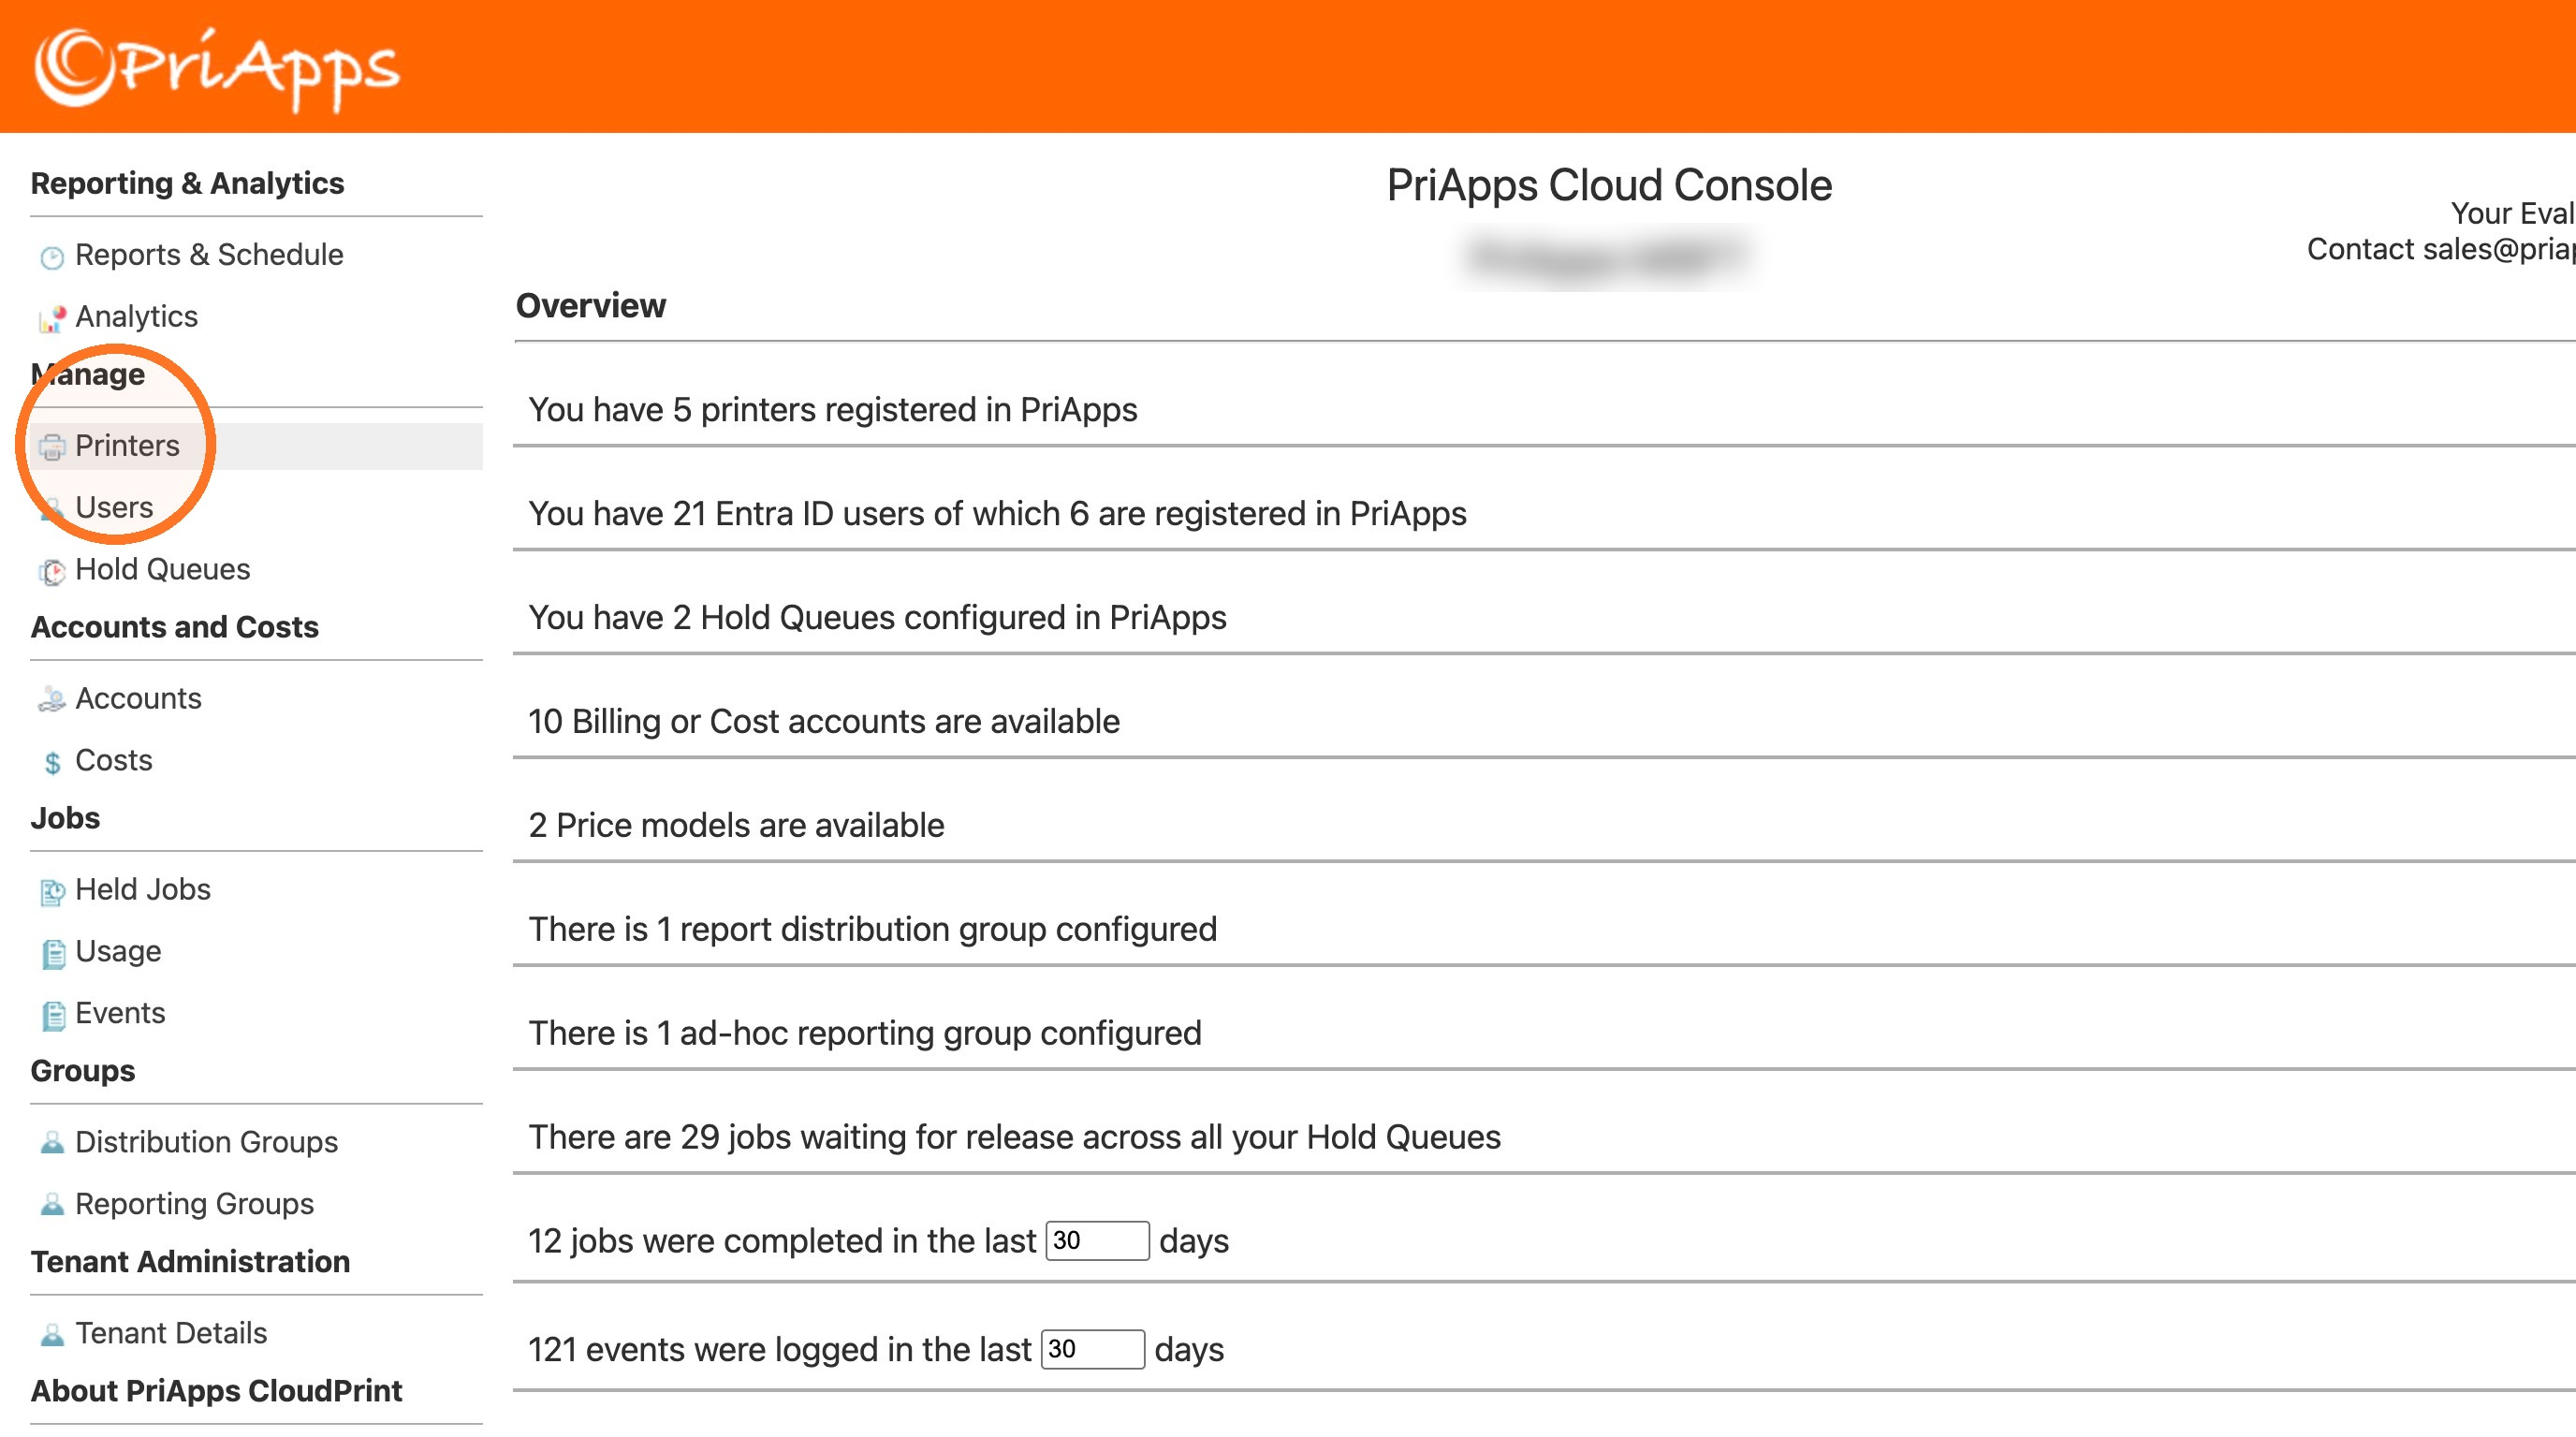
In the menu, under Manage, select Printers.
Select the devices
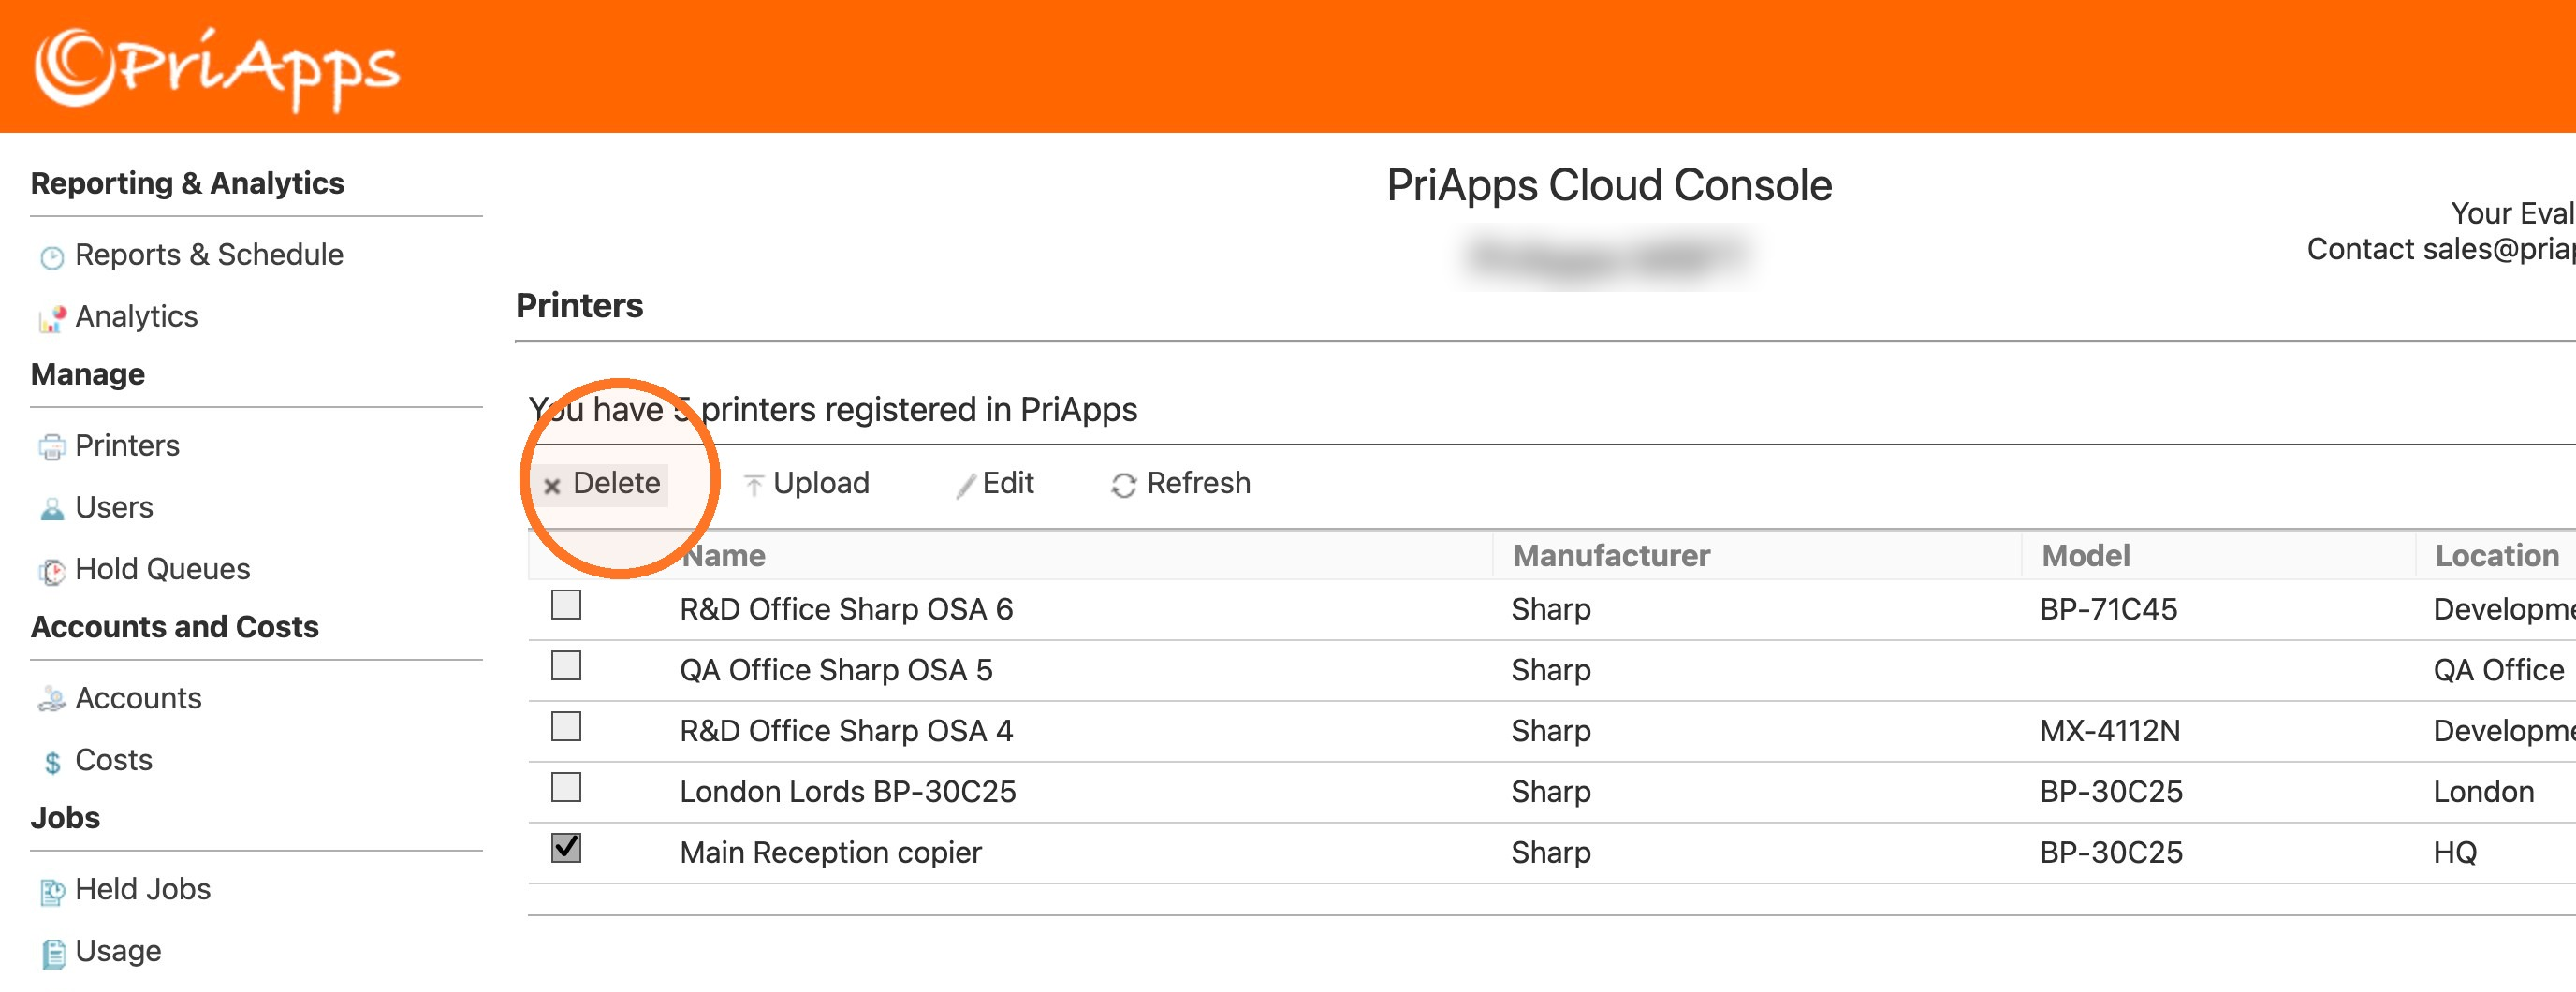
Select the check box next to each device you want to remove. Once a device is selected, Delete appears above the list in place of Add.
Select Delete
Above the list, select Delete.
Confirm
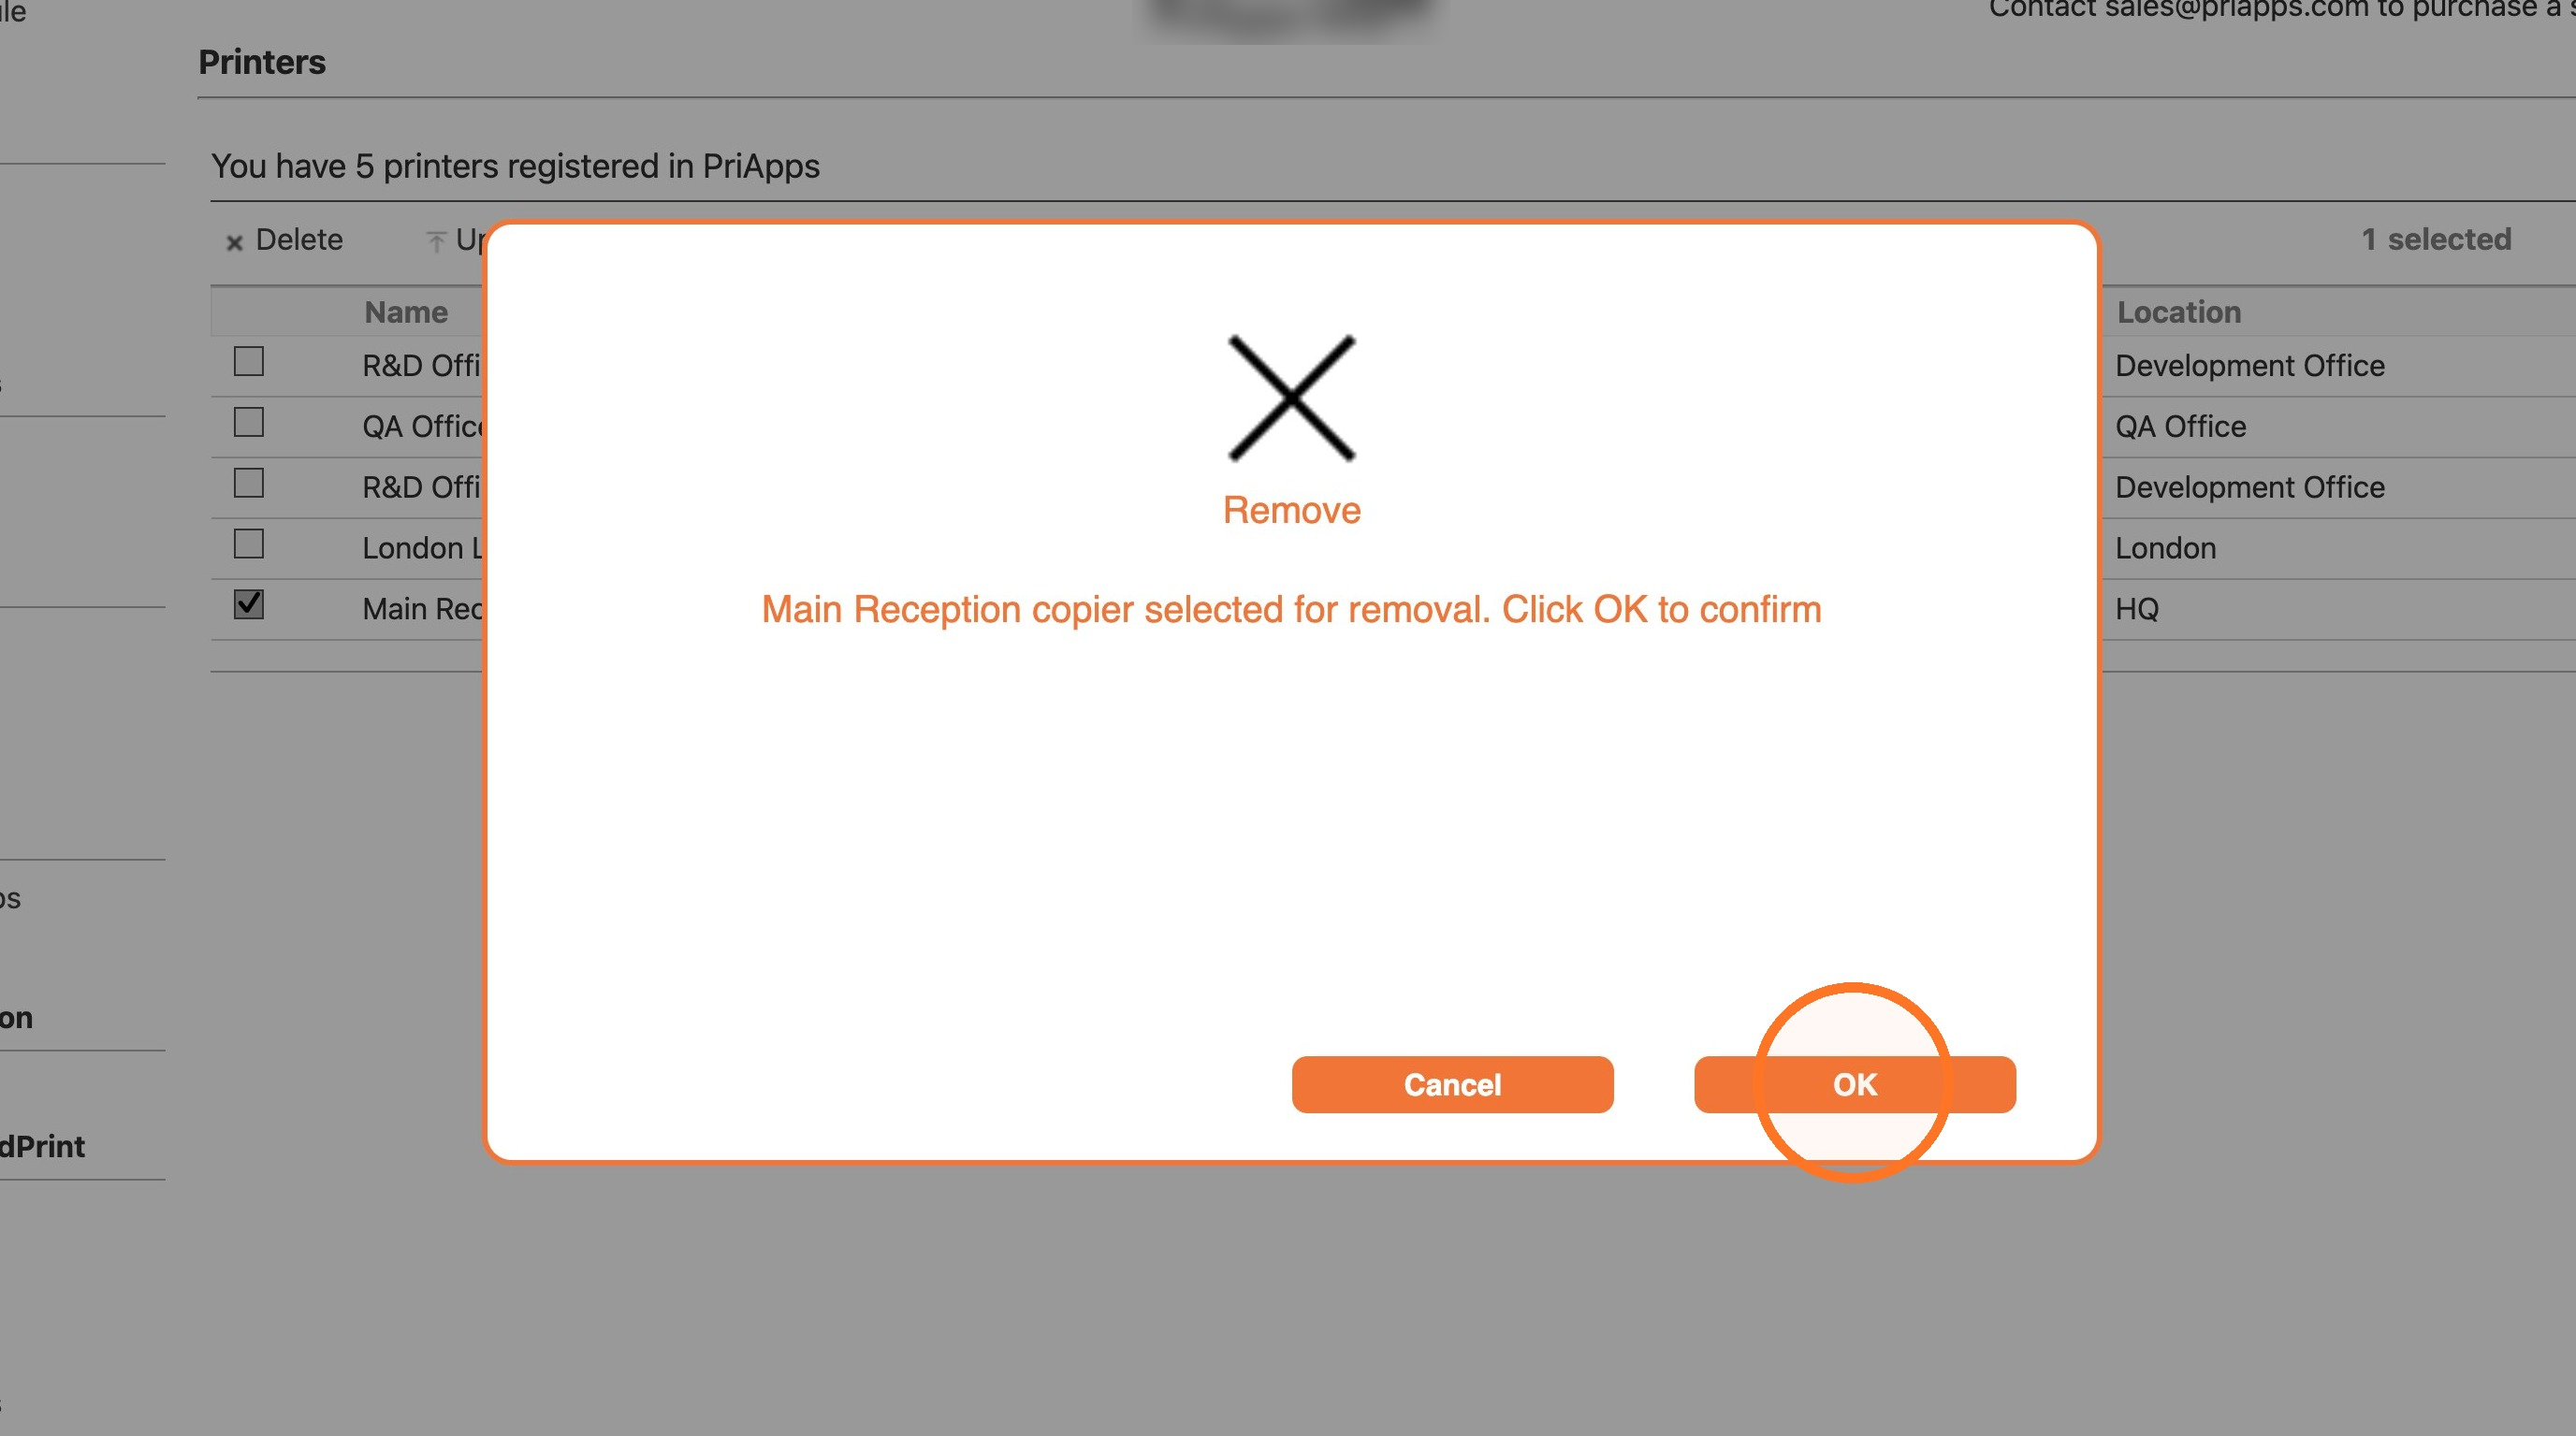
A Remove message names the devices selected for removal. Select OK. To keep them, select Cancel.
Check that it worked
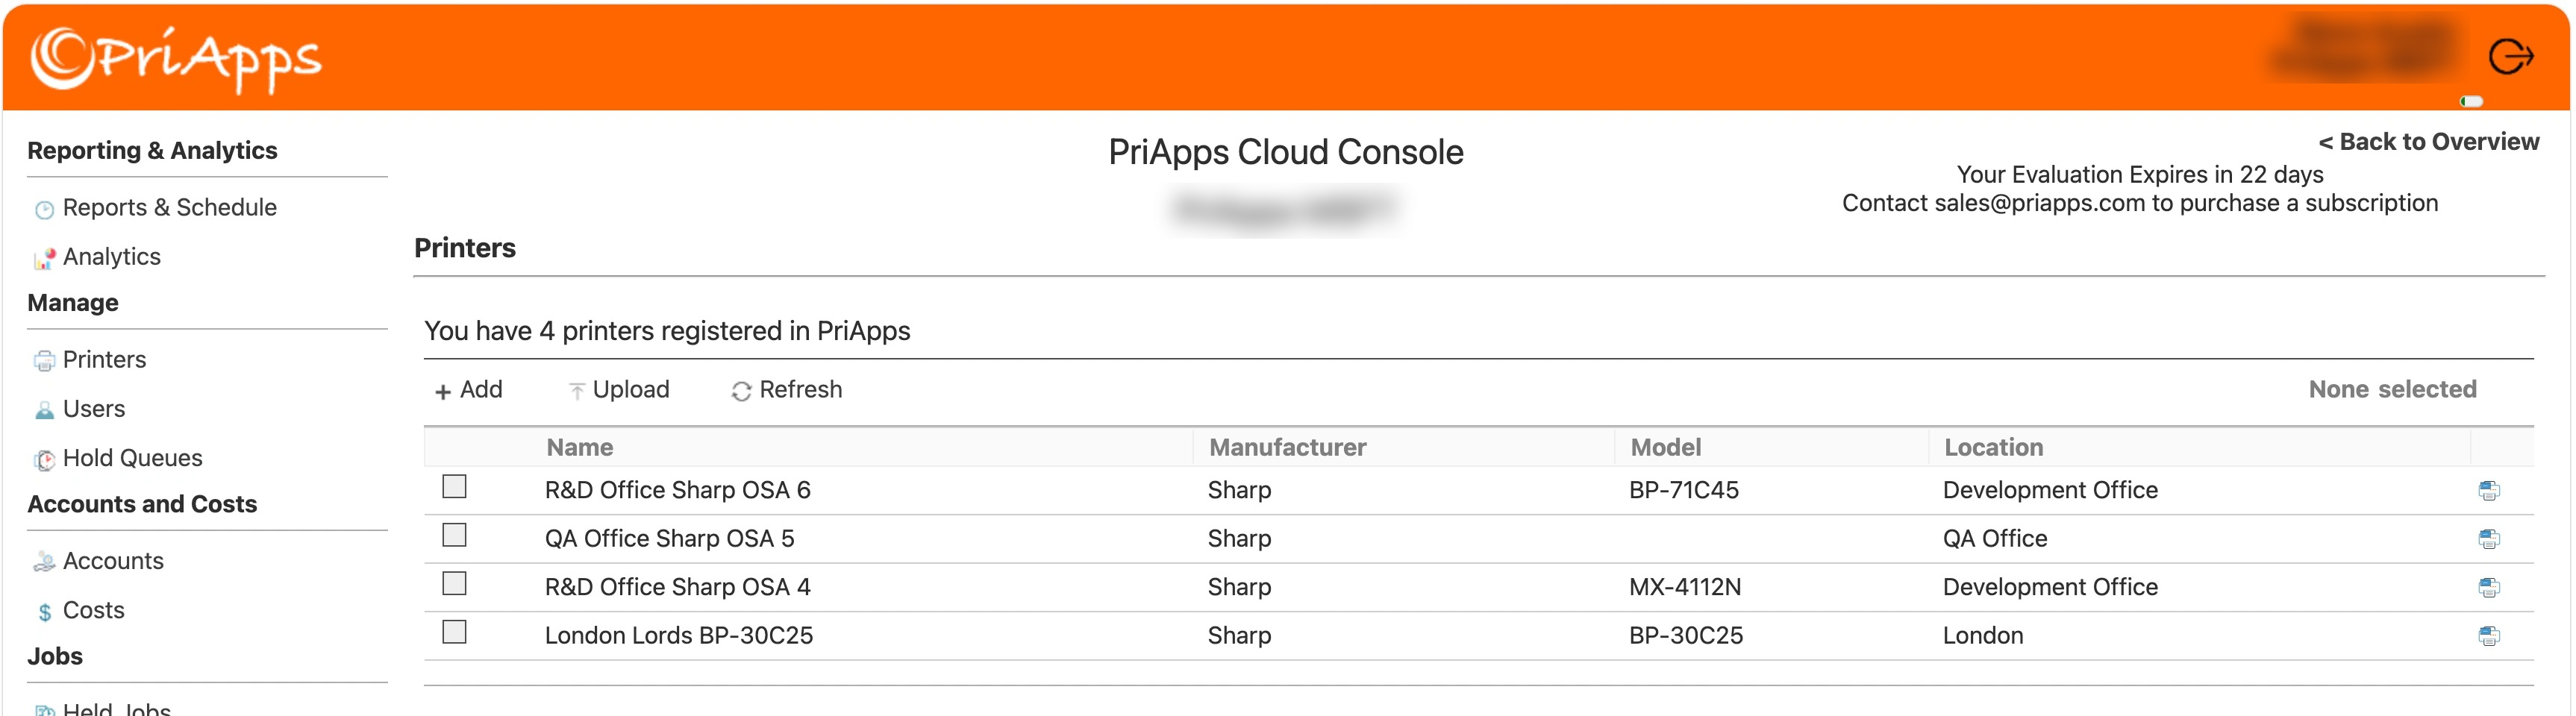
The devices you removed are no longer in the list, and the number of printers registered at the top of the page has gone down.
At the device
Removing a device in the PriApps CloudPrint Console doesn't change the device itself. The device's administrator also needs to turn off its link to PriApps CloudPrint, or the PriApps CloudPrint MFP app on it. How to do this varies by manufacturer.