
Reporting groups
Group users and printers for reporting, and choose the price model used to cost their usage.
A reporting group brings together users, printers or both, so you can report on them together. When you run or schedule a report in Reports & Schedule, you can choose a reporting group to report on.
Each reporting group has a price model, which is used to work out the cost of its members' usage in reports. Several groups can use the same price model.
Before you begin
- Sign in to the PriApps CloudPrint Console. See Signing in to the PriApps CloudPrint Console.
- Set up the price model you want the group to use. Price models are under Pricing in the menu.
- The users you add must be registered users. See Registering users.
Create a reporting group
Open Reporting Groups
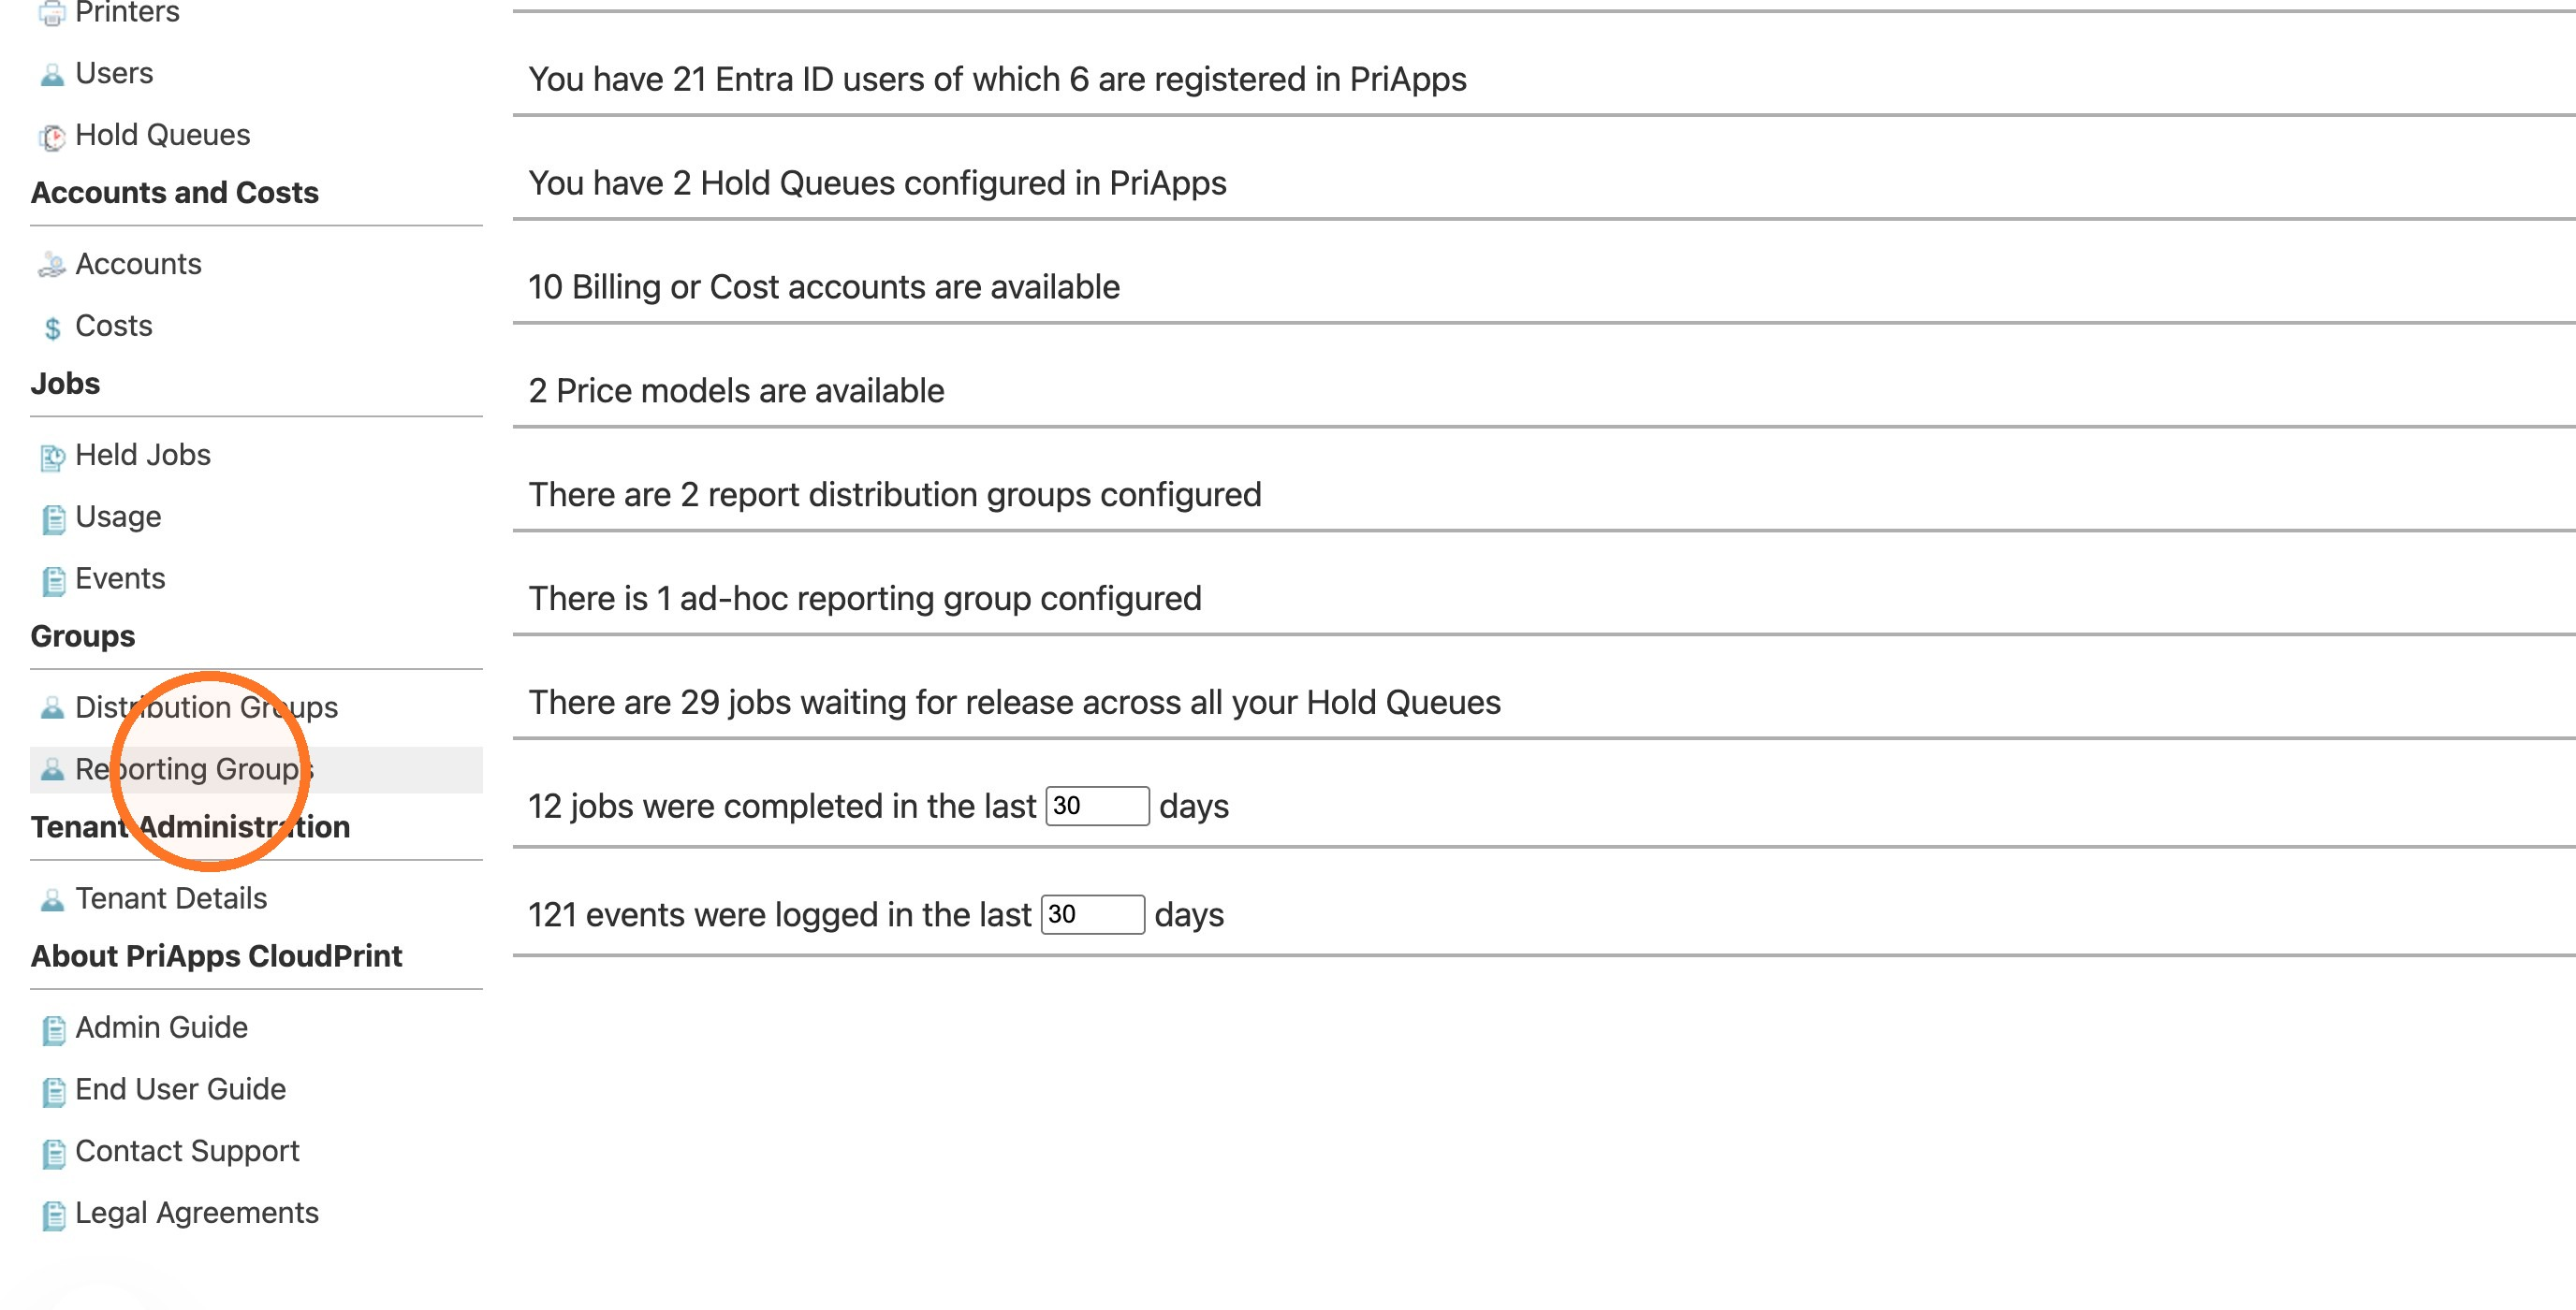
In the menu, under Groups, select Reporting Groups.
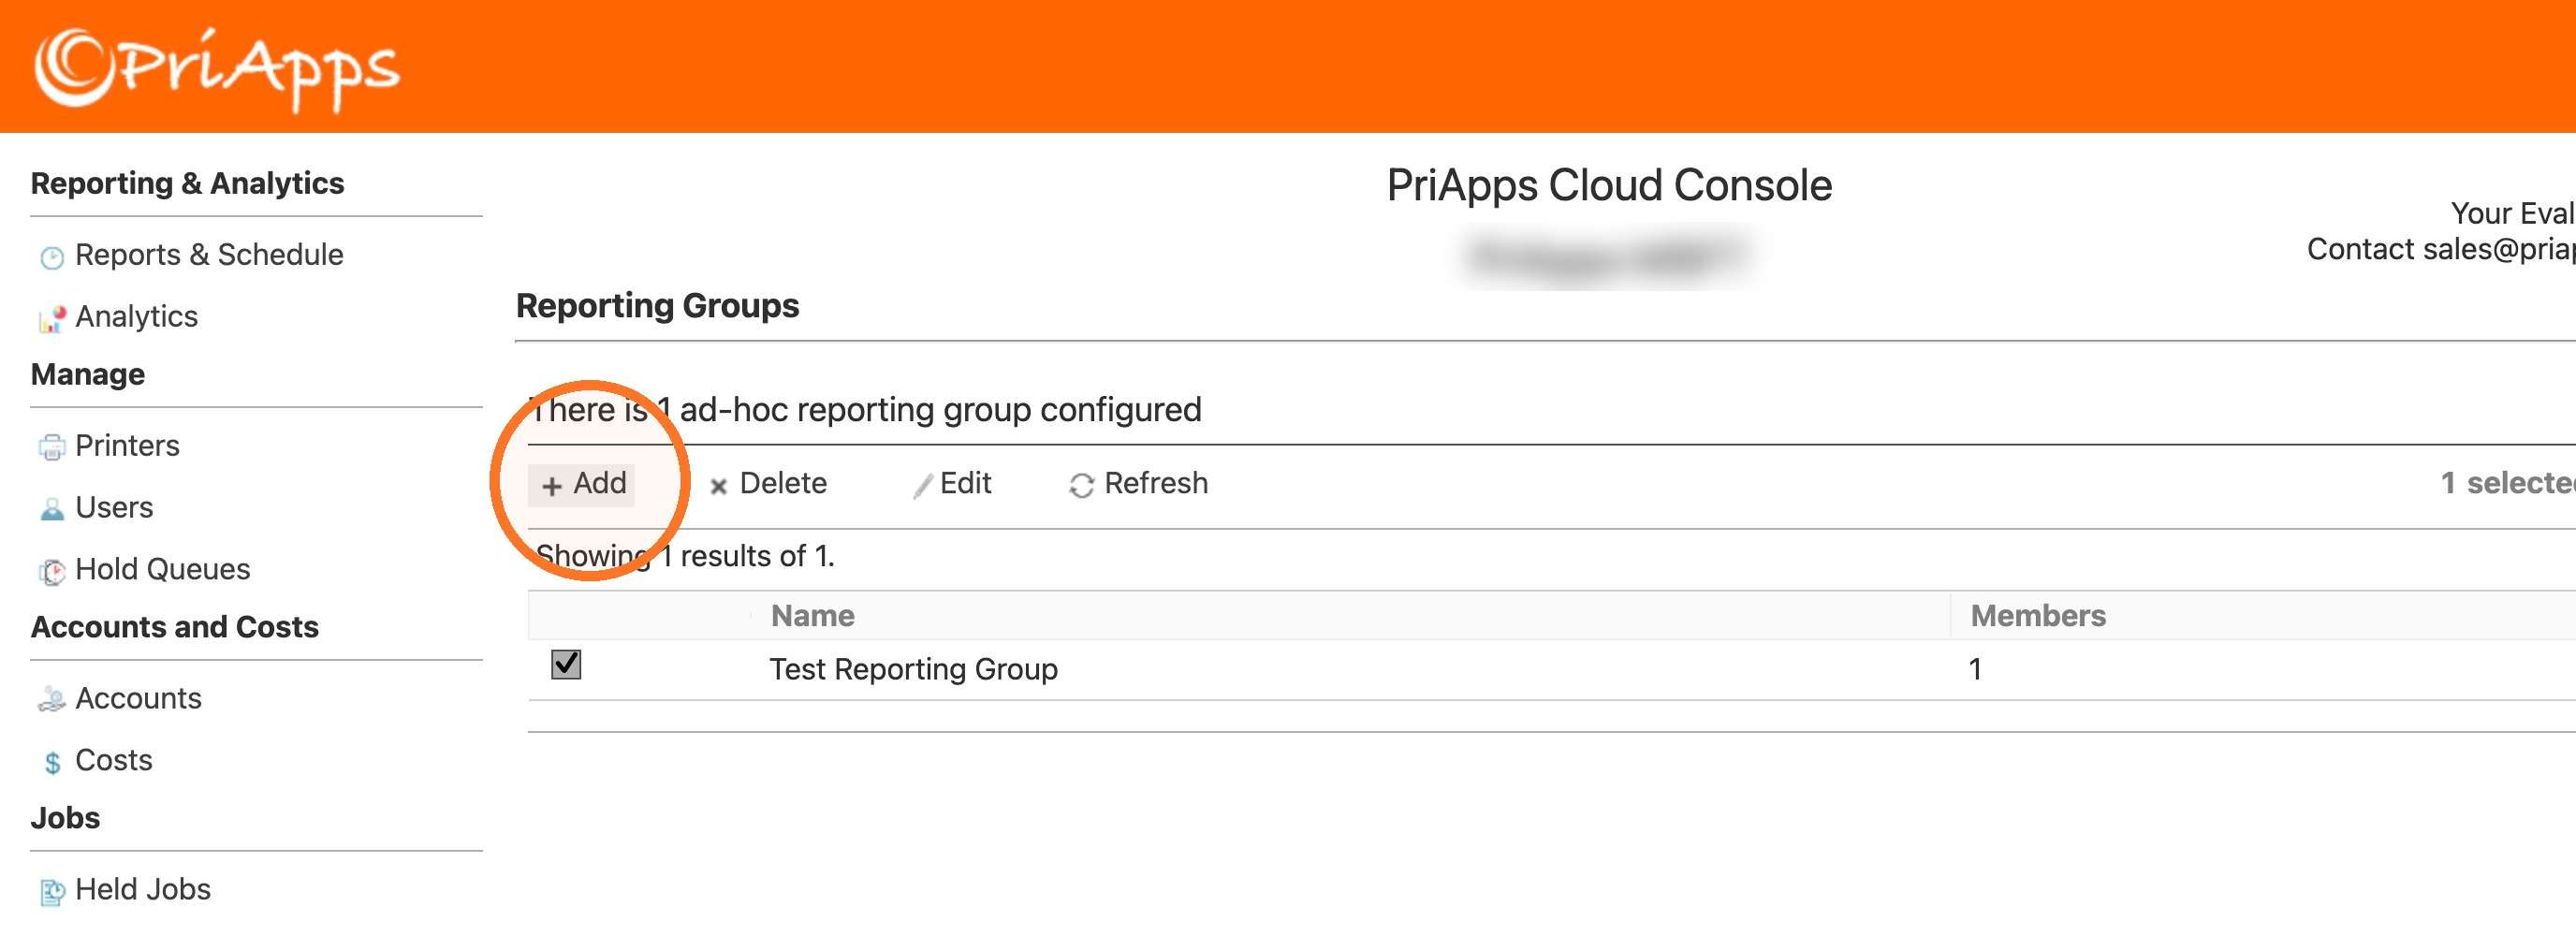
Select Add
Above the list of reporting groups, select Add.
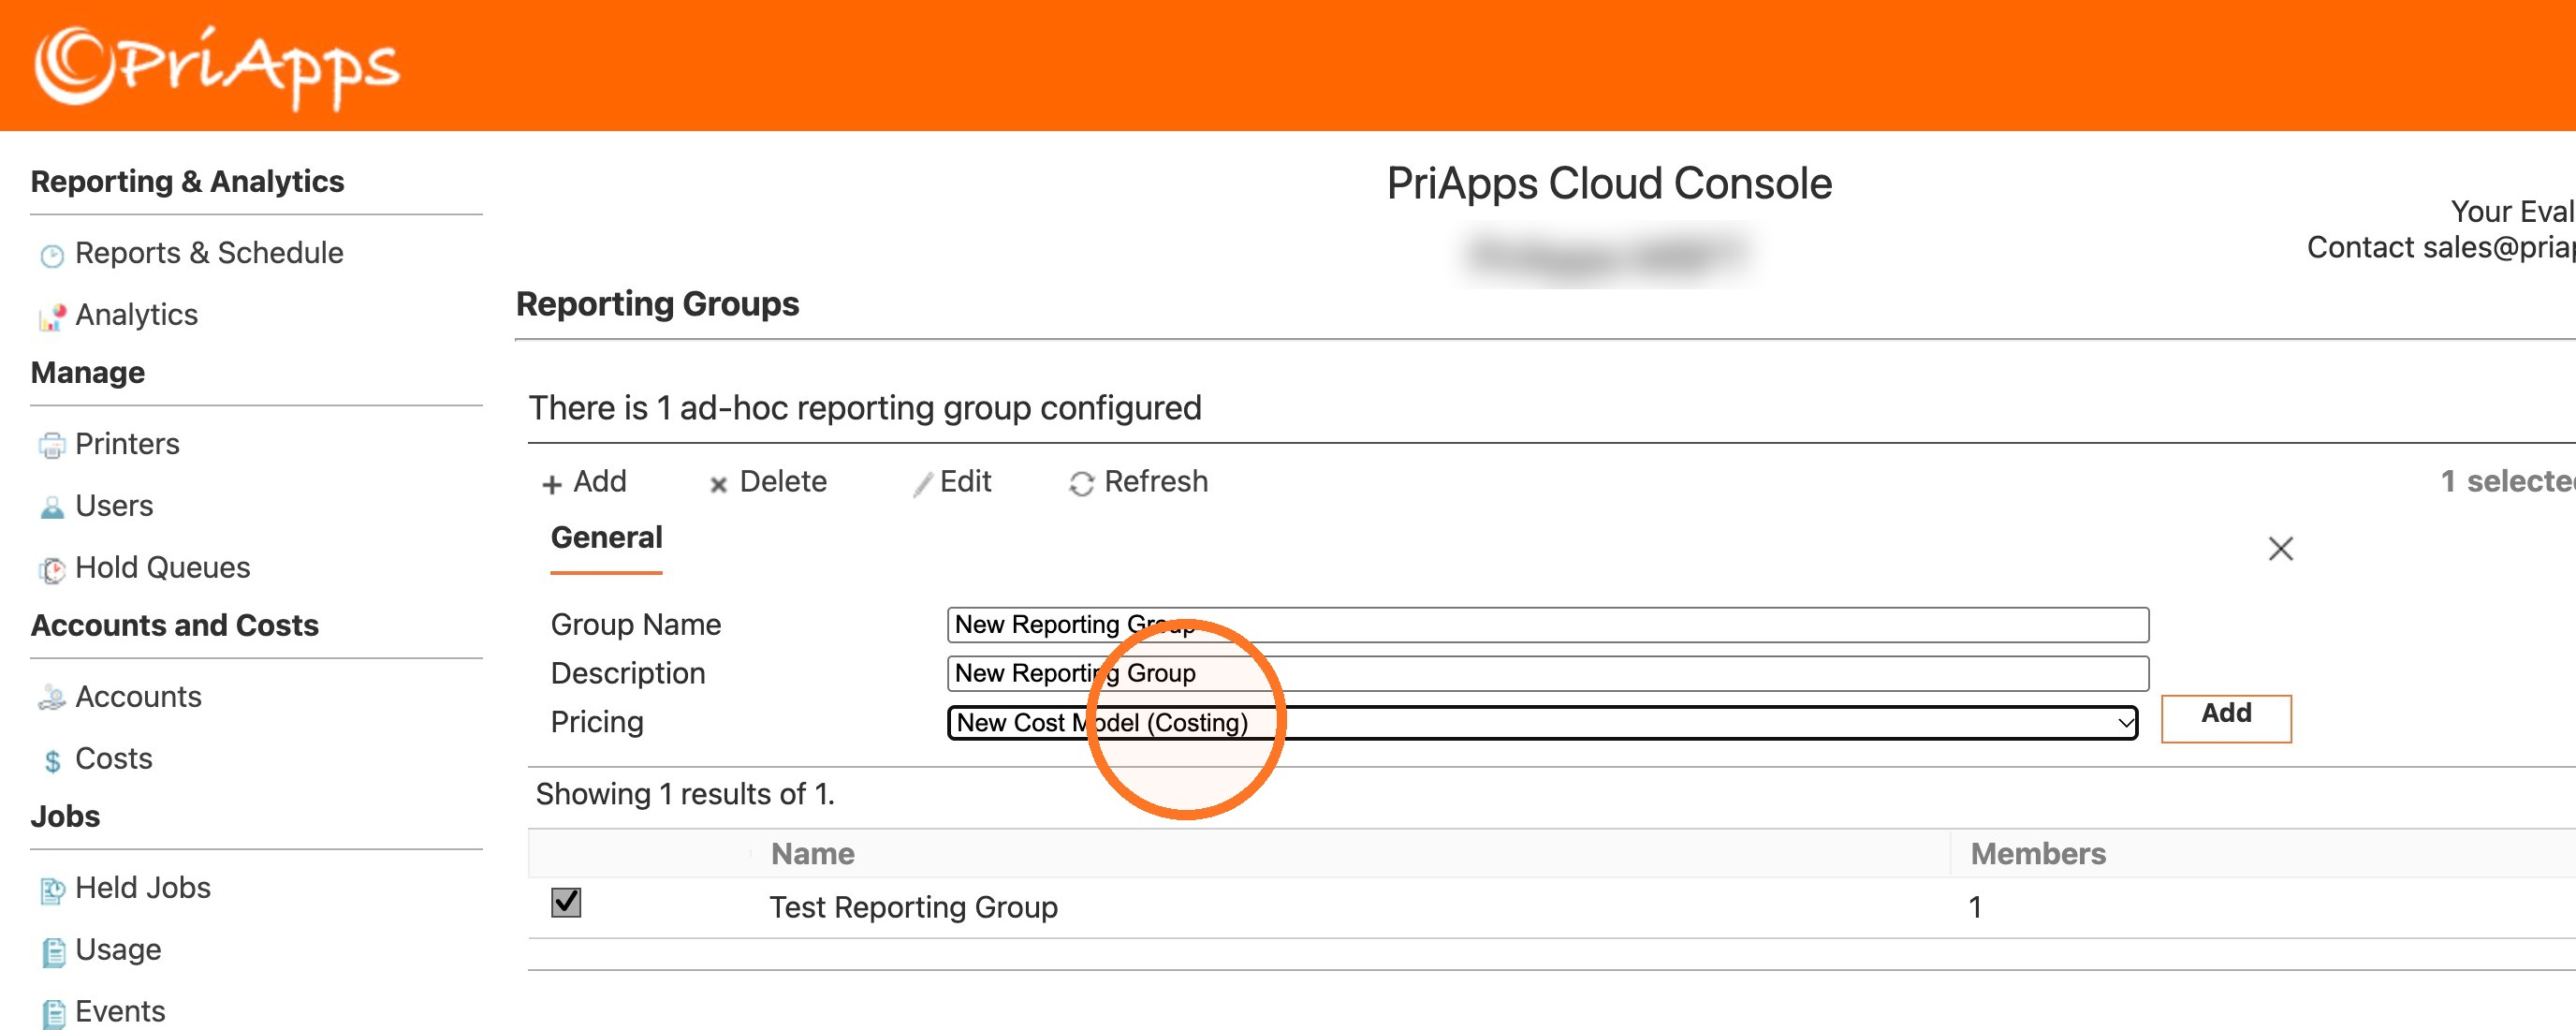
Enter the details
Enter a Group Name and a Description, and choose the Pricing model. Then select Add.
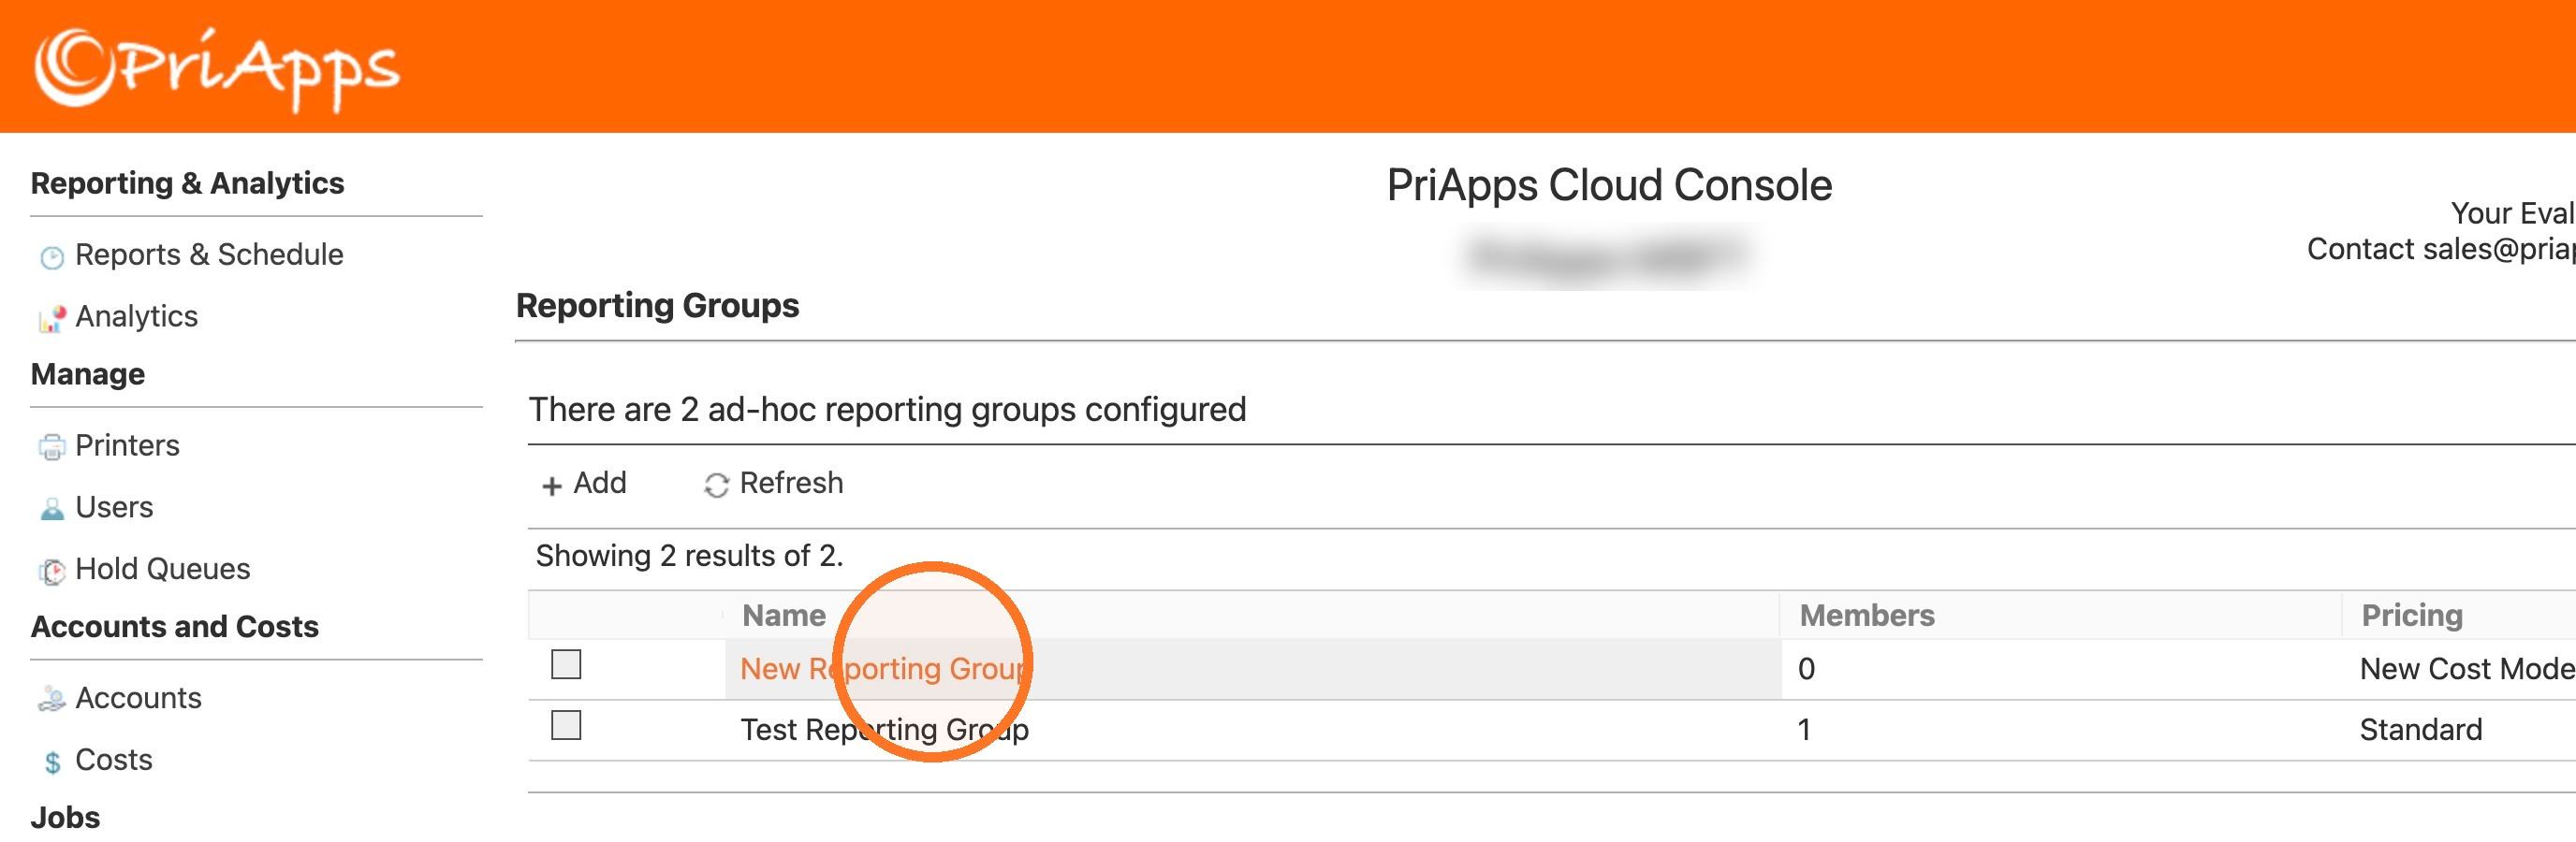
Confirm
A Reporting Group Saved message appears. Select OK. The new group appears in the list with no members.
To change a reporting group's name, description or price model later, select the check box next to it, then select Edit above the list.
Add members
Open the group
In the list of reporting groups, select the group's name. Its members are shown on the right.
Select Add
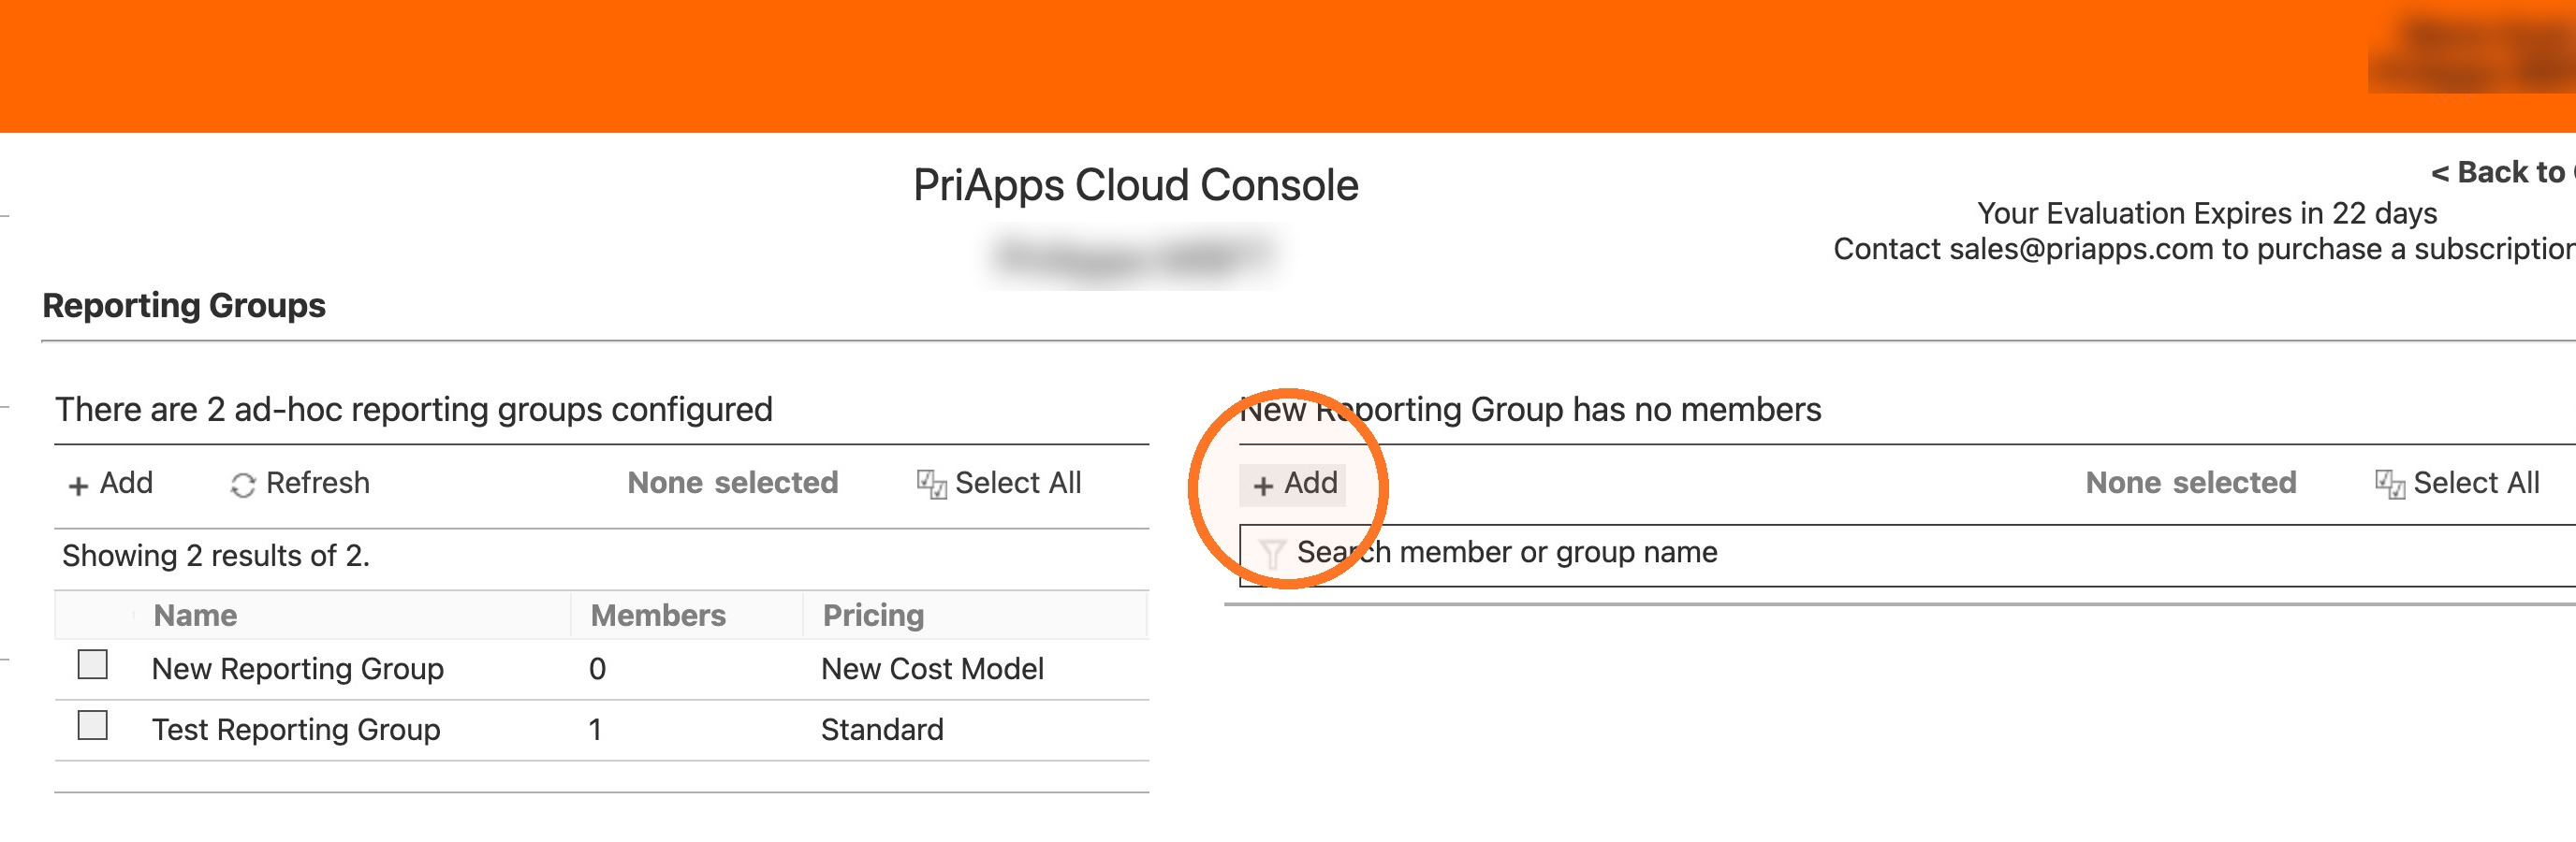
Above the members list, select Add. A search box appears.
Find and select members
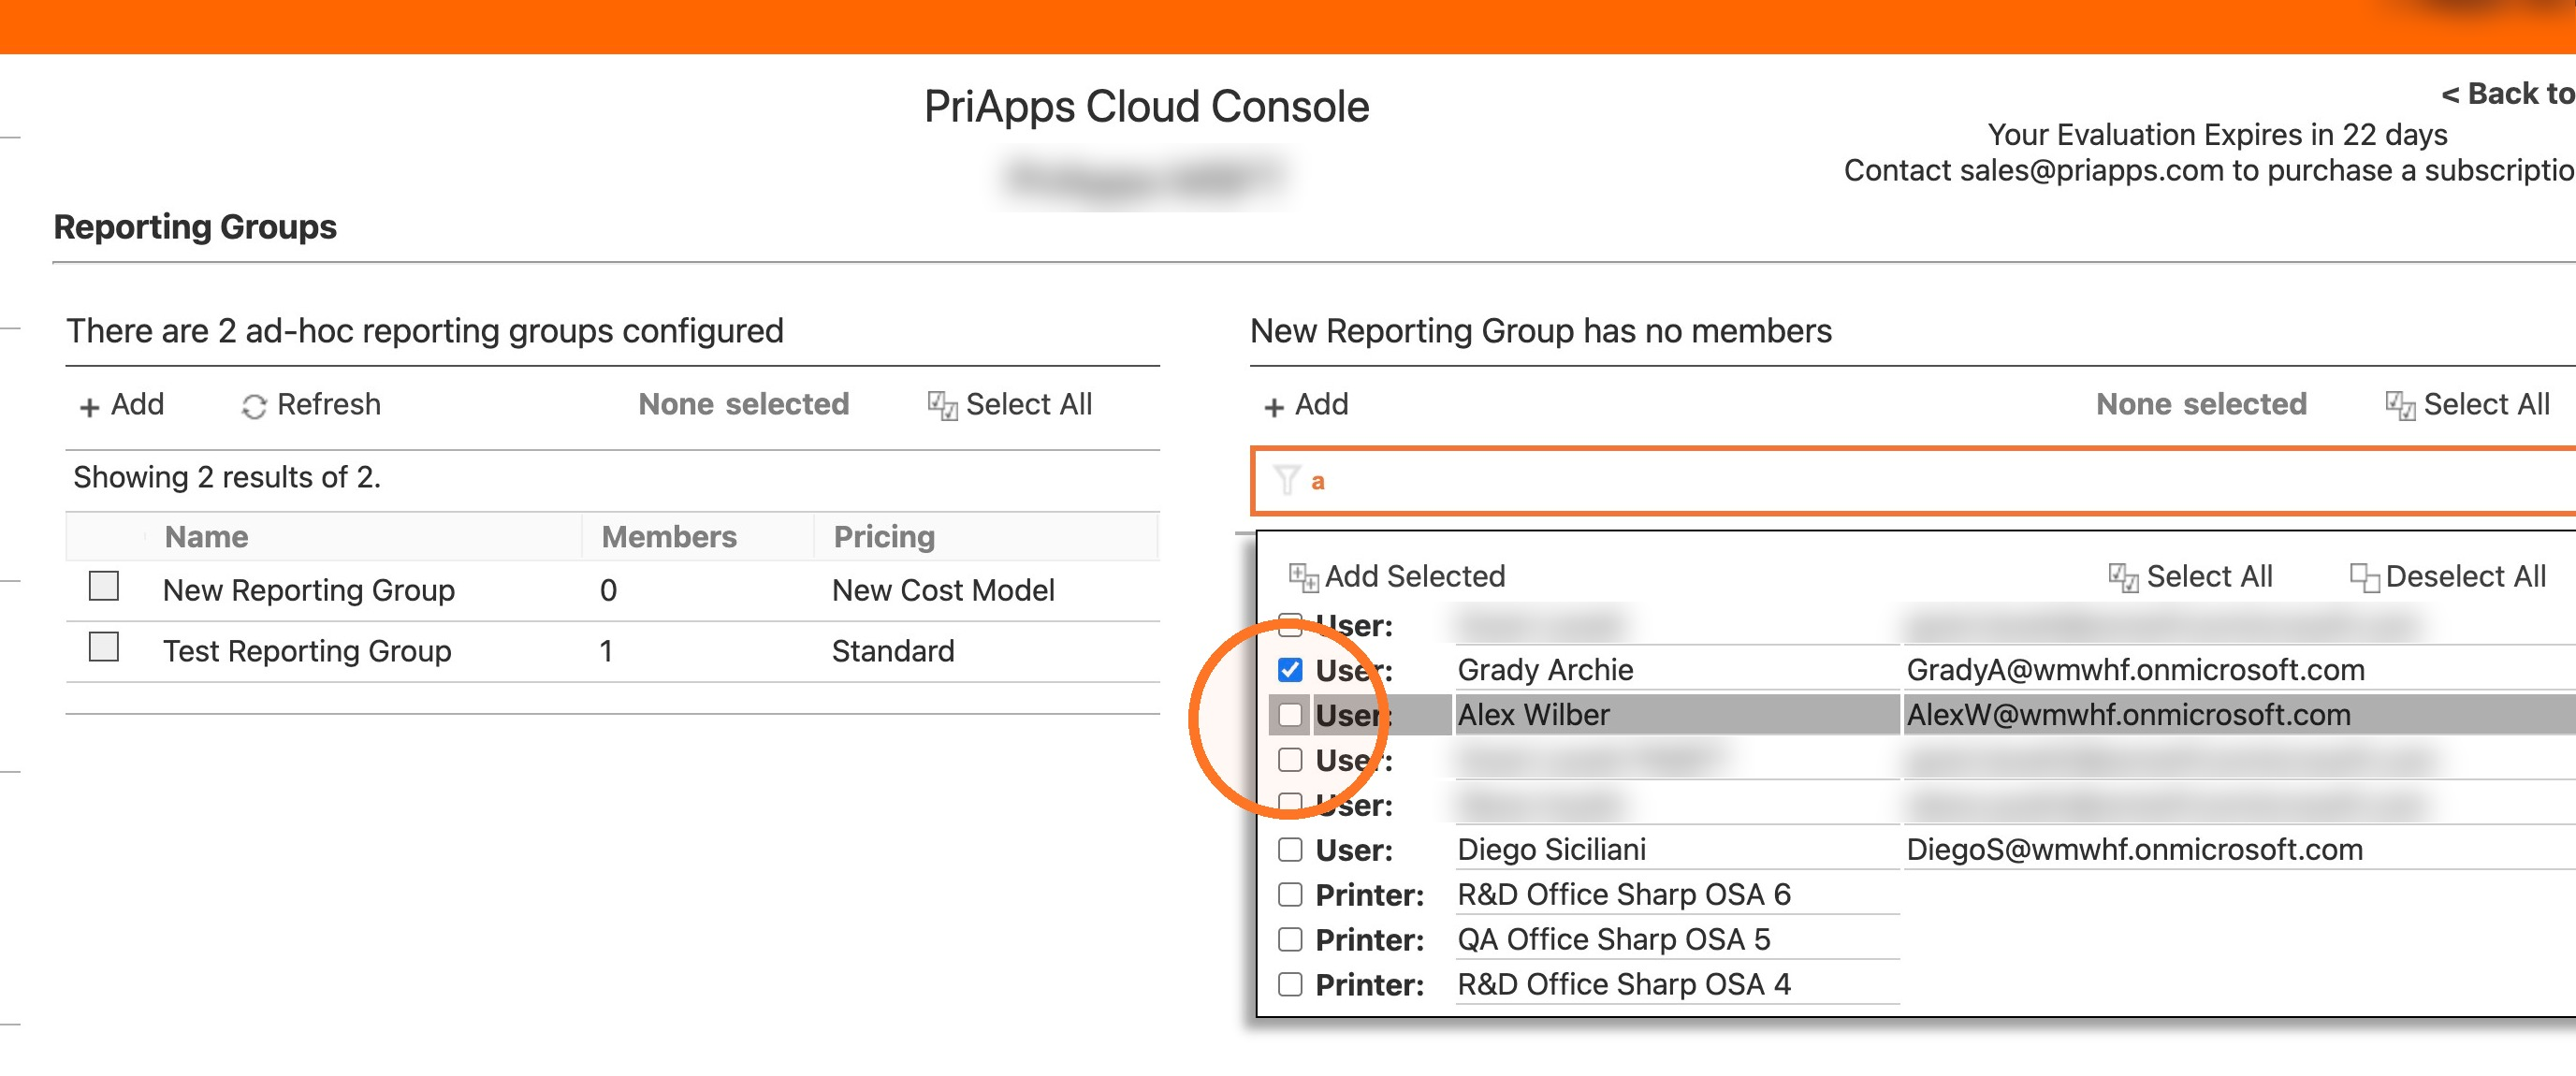
In the search box, type part of a user's name or email address, or part of a printer's name. Select the check box next to each user or printer you want to add. To select every result, select Select All.
Select Add Selected
Above the search results, select Add Selected. The new members join the members list, and the group's Members count goes up.
Remove members
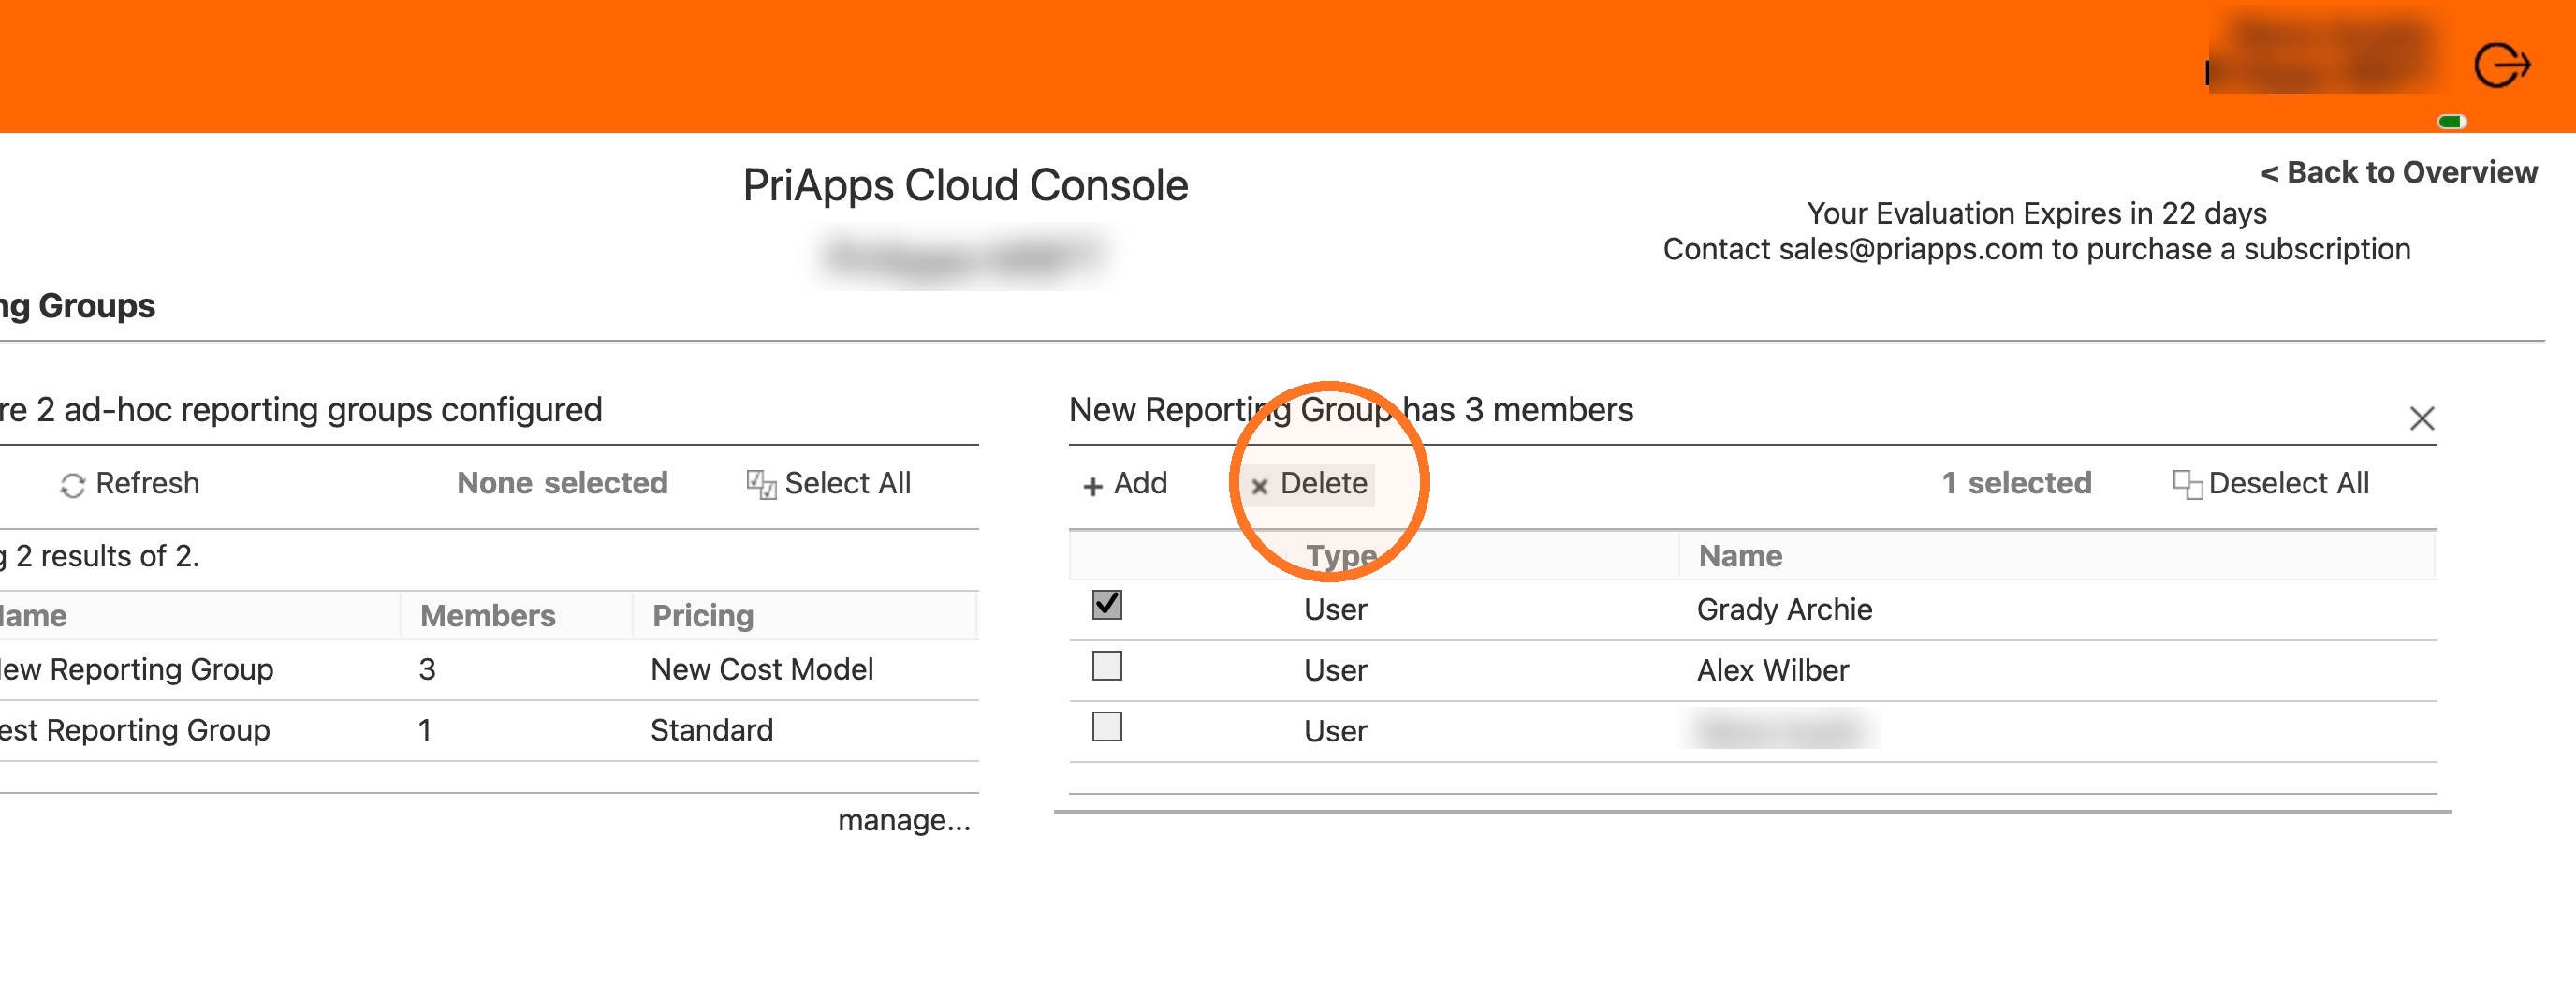
Select the group's name, select the check box next to each member you want to remove, then select Delete above the members list.
Delete a reporting group
In the list of reporting groups, select the check box next to the group, then select Delete above the list.
Related articles
Report scheduling
Schedule usage and cost reports to be sent to a distribution group as PDF or CSV files, once or on a regular schedule.
Distribution groups
Create distribution groups and choose their members, so you can send ad hoc and scheduled reports to the right people.
Adding MFPs, copiers and printers
Add an MFP, copier or printer to PriApps CloudPrint, and choose how its usage is charged and how users sign in at it.
Registering users
Register users from Microsoft Entra ID so they can sign in at the printers, copiers and MFPs that PriApps CloudPrint manages.