
Pricing models
Create the pricing models PriApps CloudPrint uses to work out the cost of usage, or the price you charge for it, for mono, color and paper.
A pricing model sets the price of each mono page, each color page and each sheet of paper. Standard is a standard paper size, such as Letter or A4, and Large a large one, such as Ledger or A3. Page prices are charged per printed side, so a two-sided sheet is charged two page prices, plus one sheet price for the paper.
PriApps CloudPrint has two types of pricing model:
| Type | What it's for |
|---|---|
| Costing | The actual cost of usage, for example of printing, copying, scanning or faxing a document. |
| Billing | The billing or chargeback price, for example the price a law firm charges a client for printing, copying, scanning or faxing a document. |
Anything that uses a pricing model, such as a printer or a reporting group, can use either type, though some naturally suit one or the other. See Adding MFPs, copiers and printers and Reporting groups.
Before you begin
- Sign in to the PriApps CloudPrint Console. See Signing in to the PriApps CloudPrint Console.
Create a pricing model
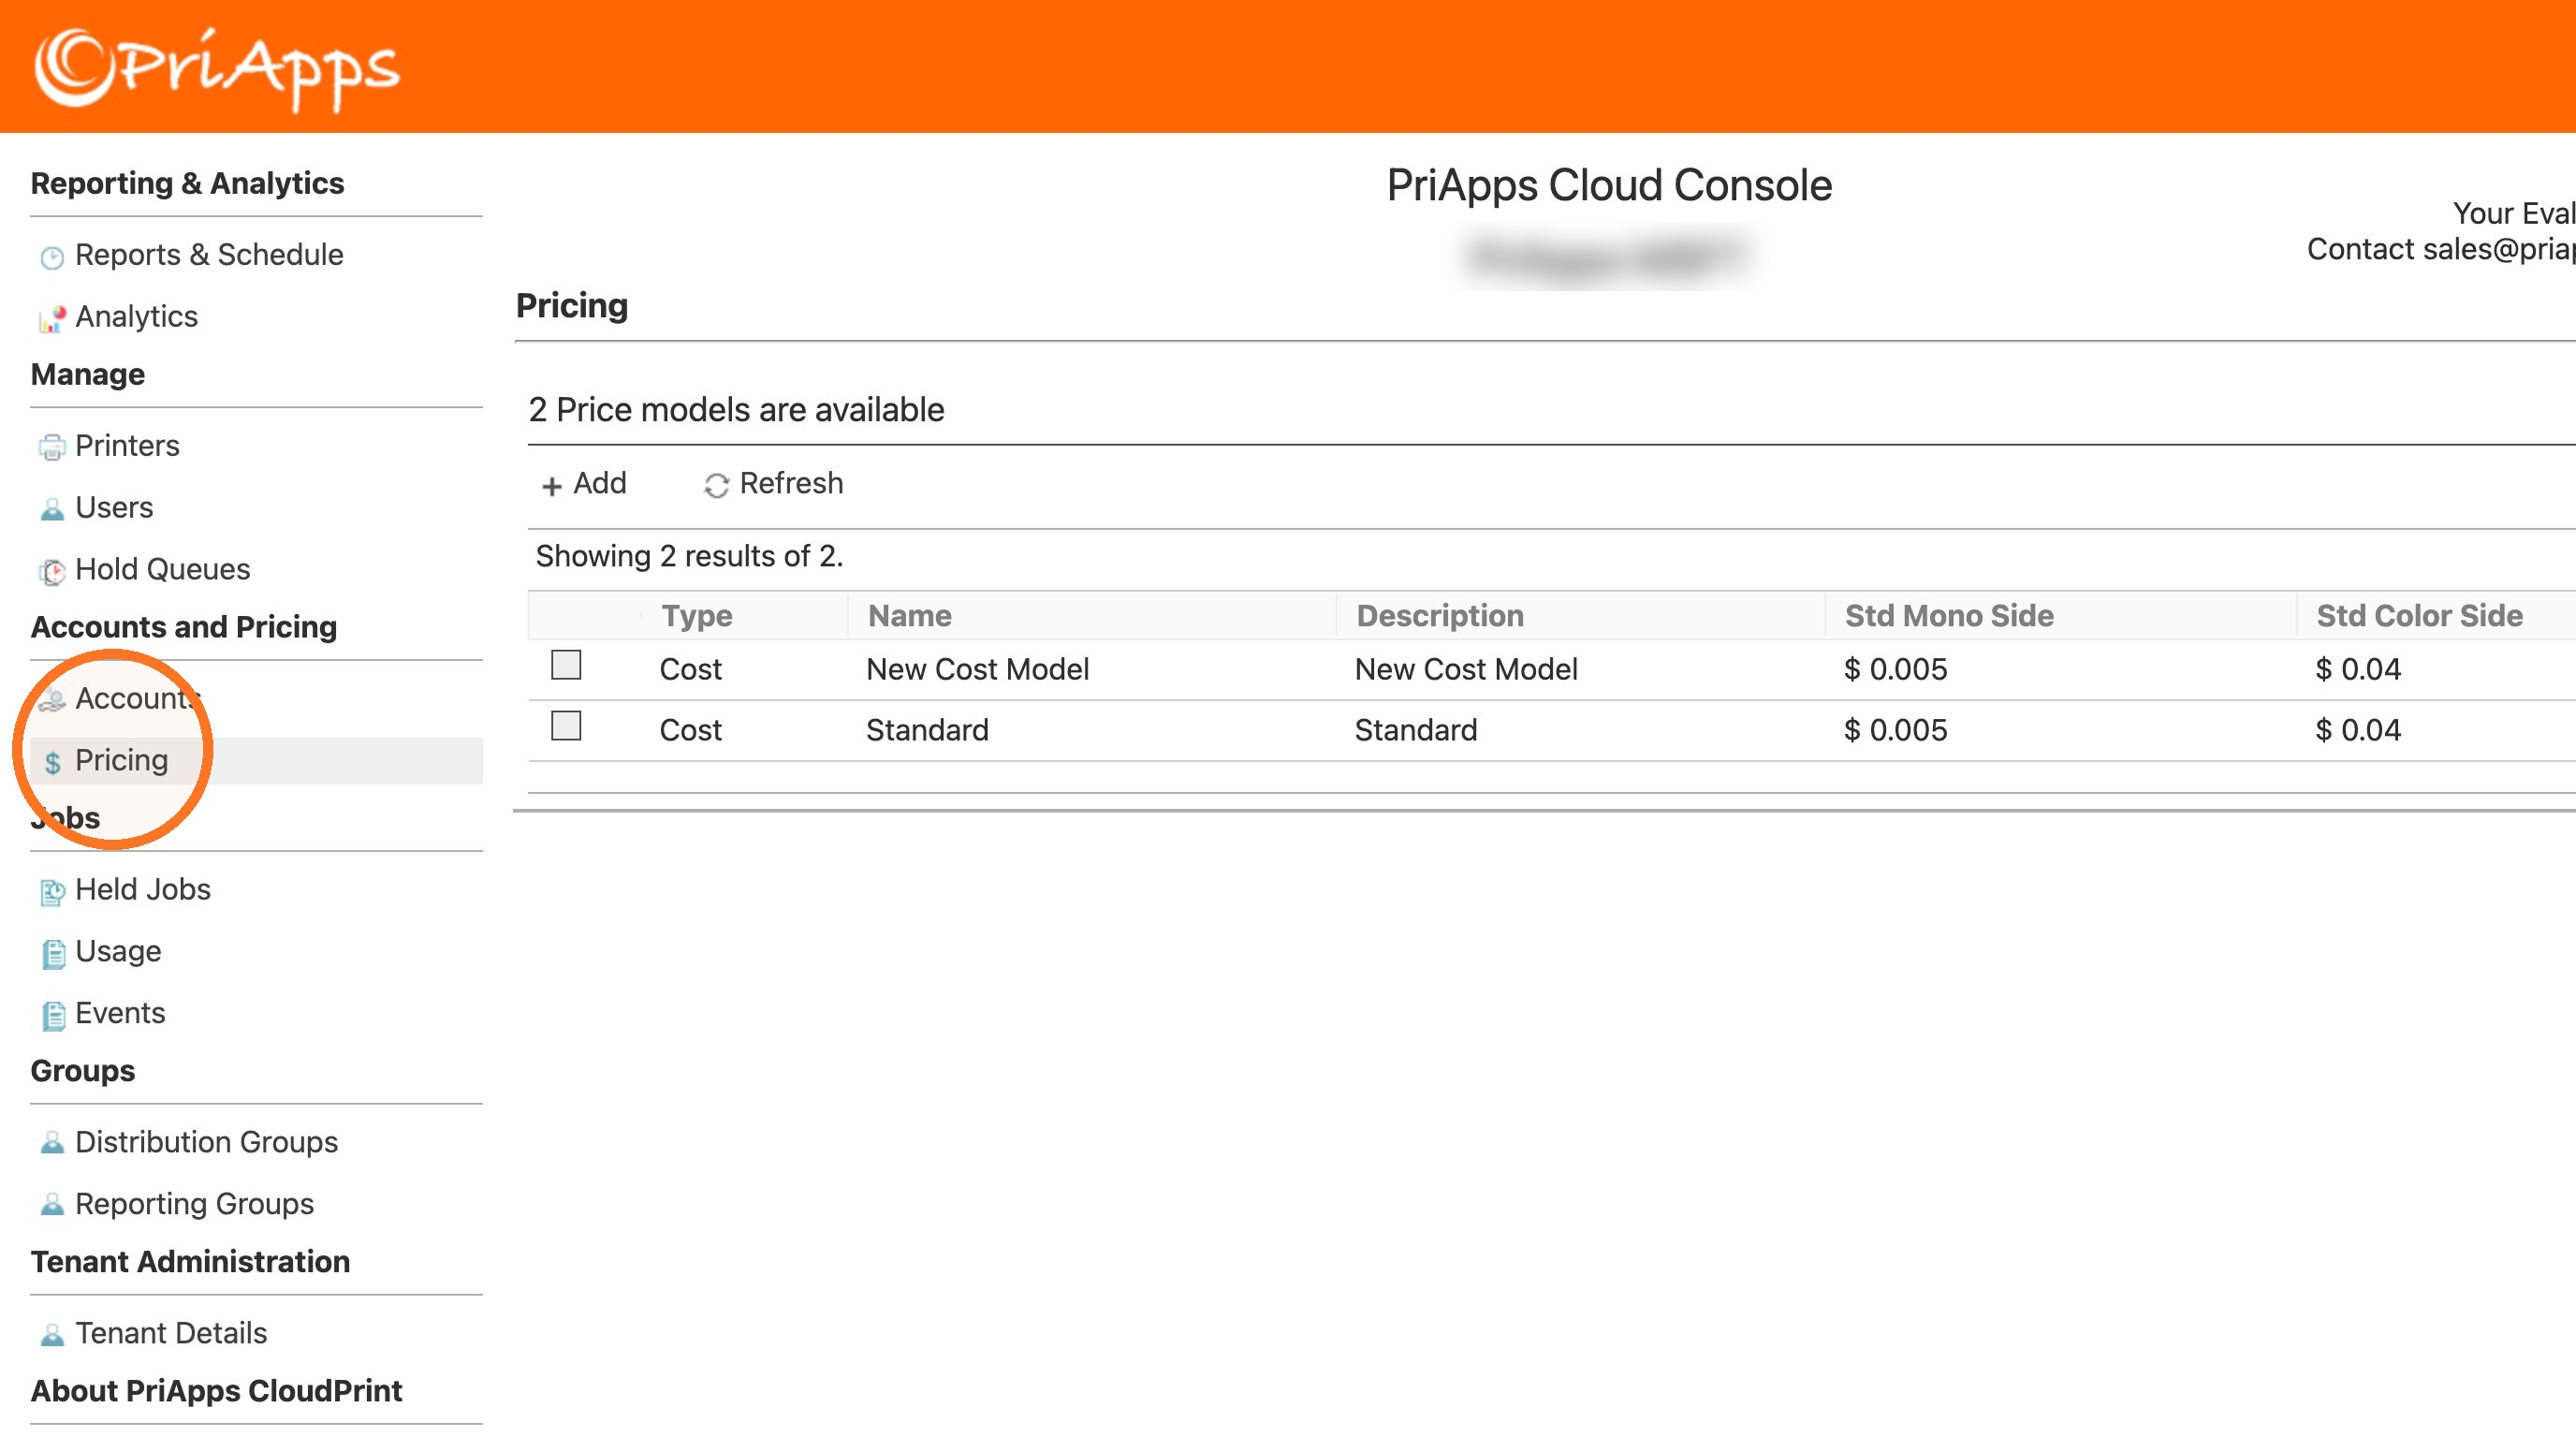
Open Pricing
In the menu, under Accounts and Pricing, select Pricing.
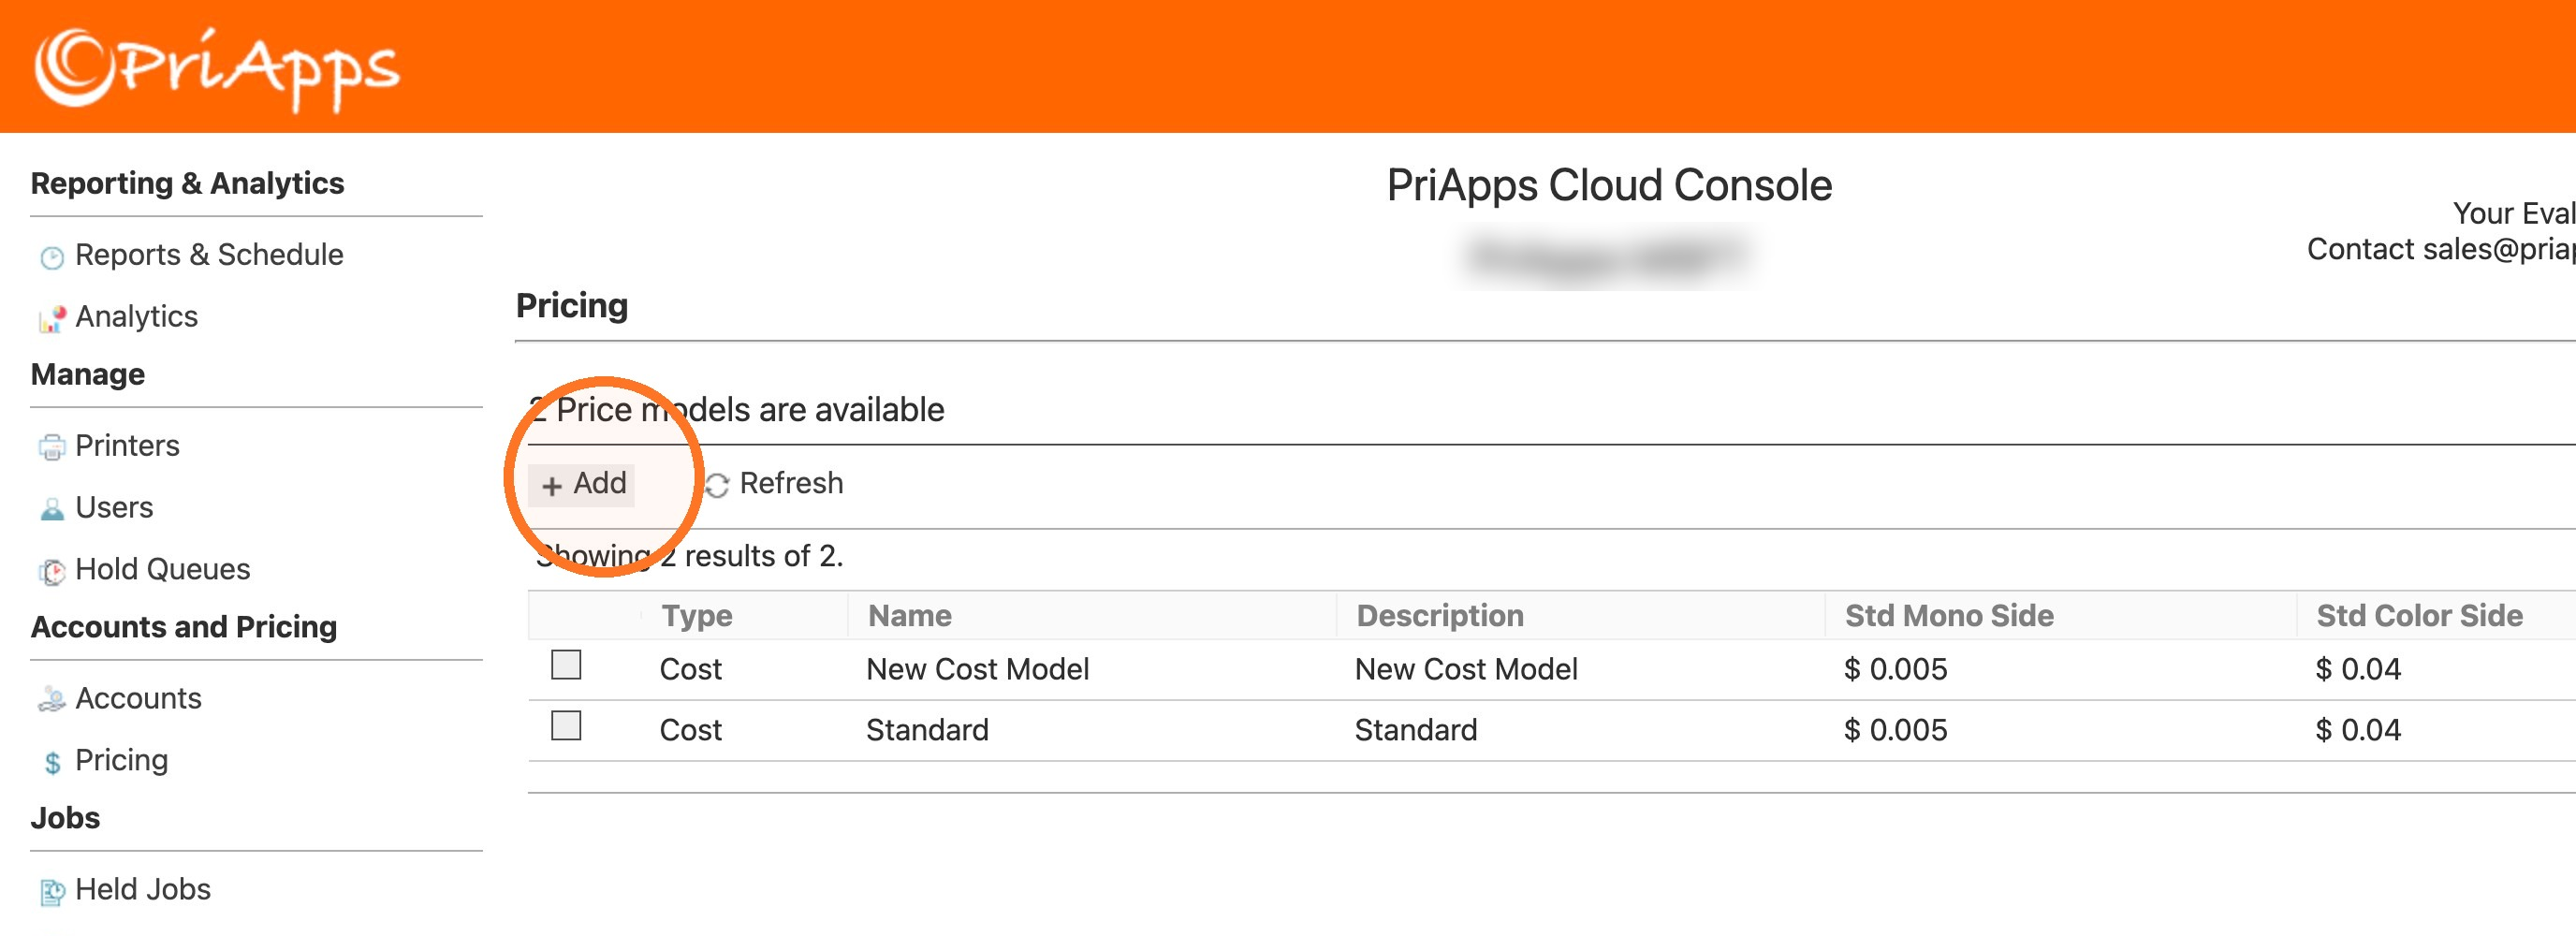
Select Add
Above the list of pricing models, select Add. The settings open above the list, on four tabs.
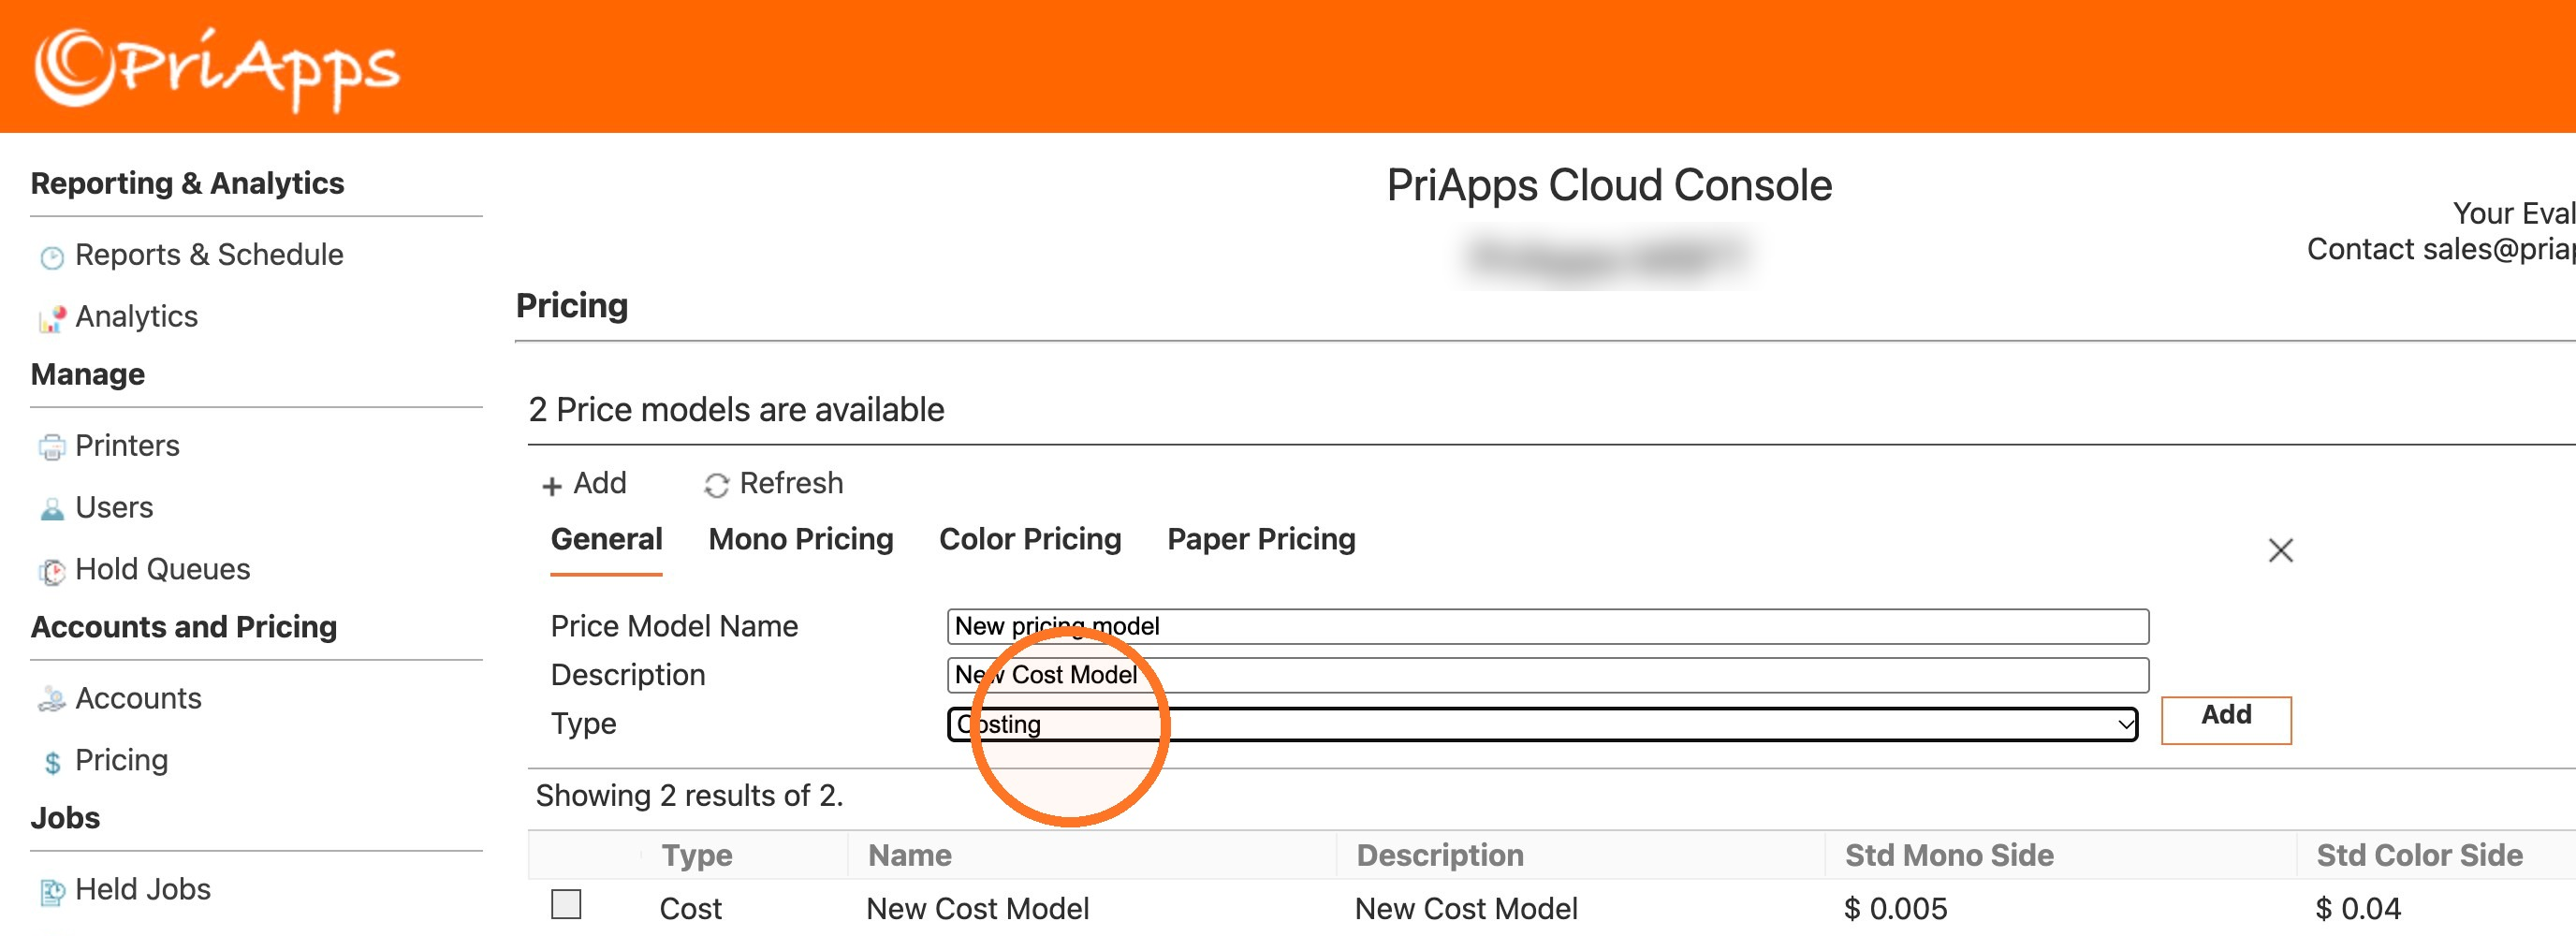
Enter the name, description and type
On the General tab, enter the Price Model Name and Description, and choose the Type: Costing or Billing.
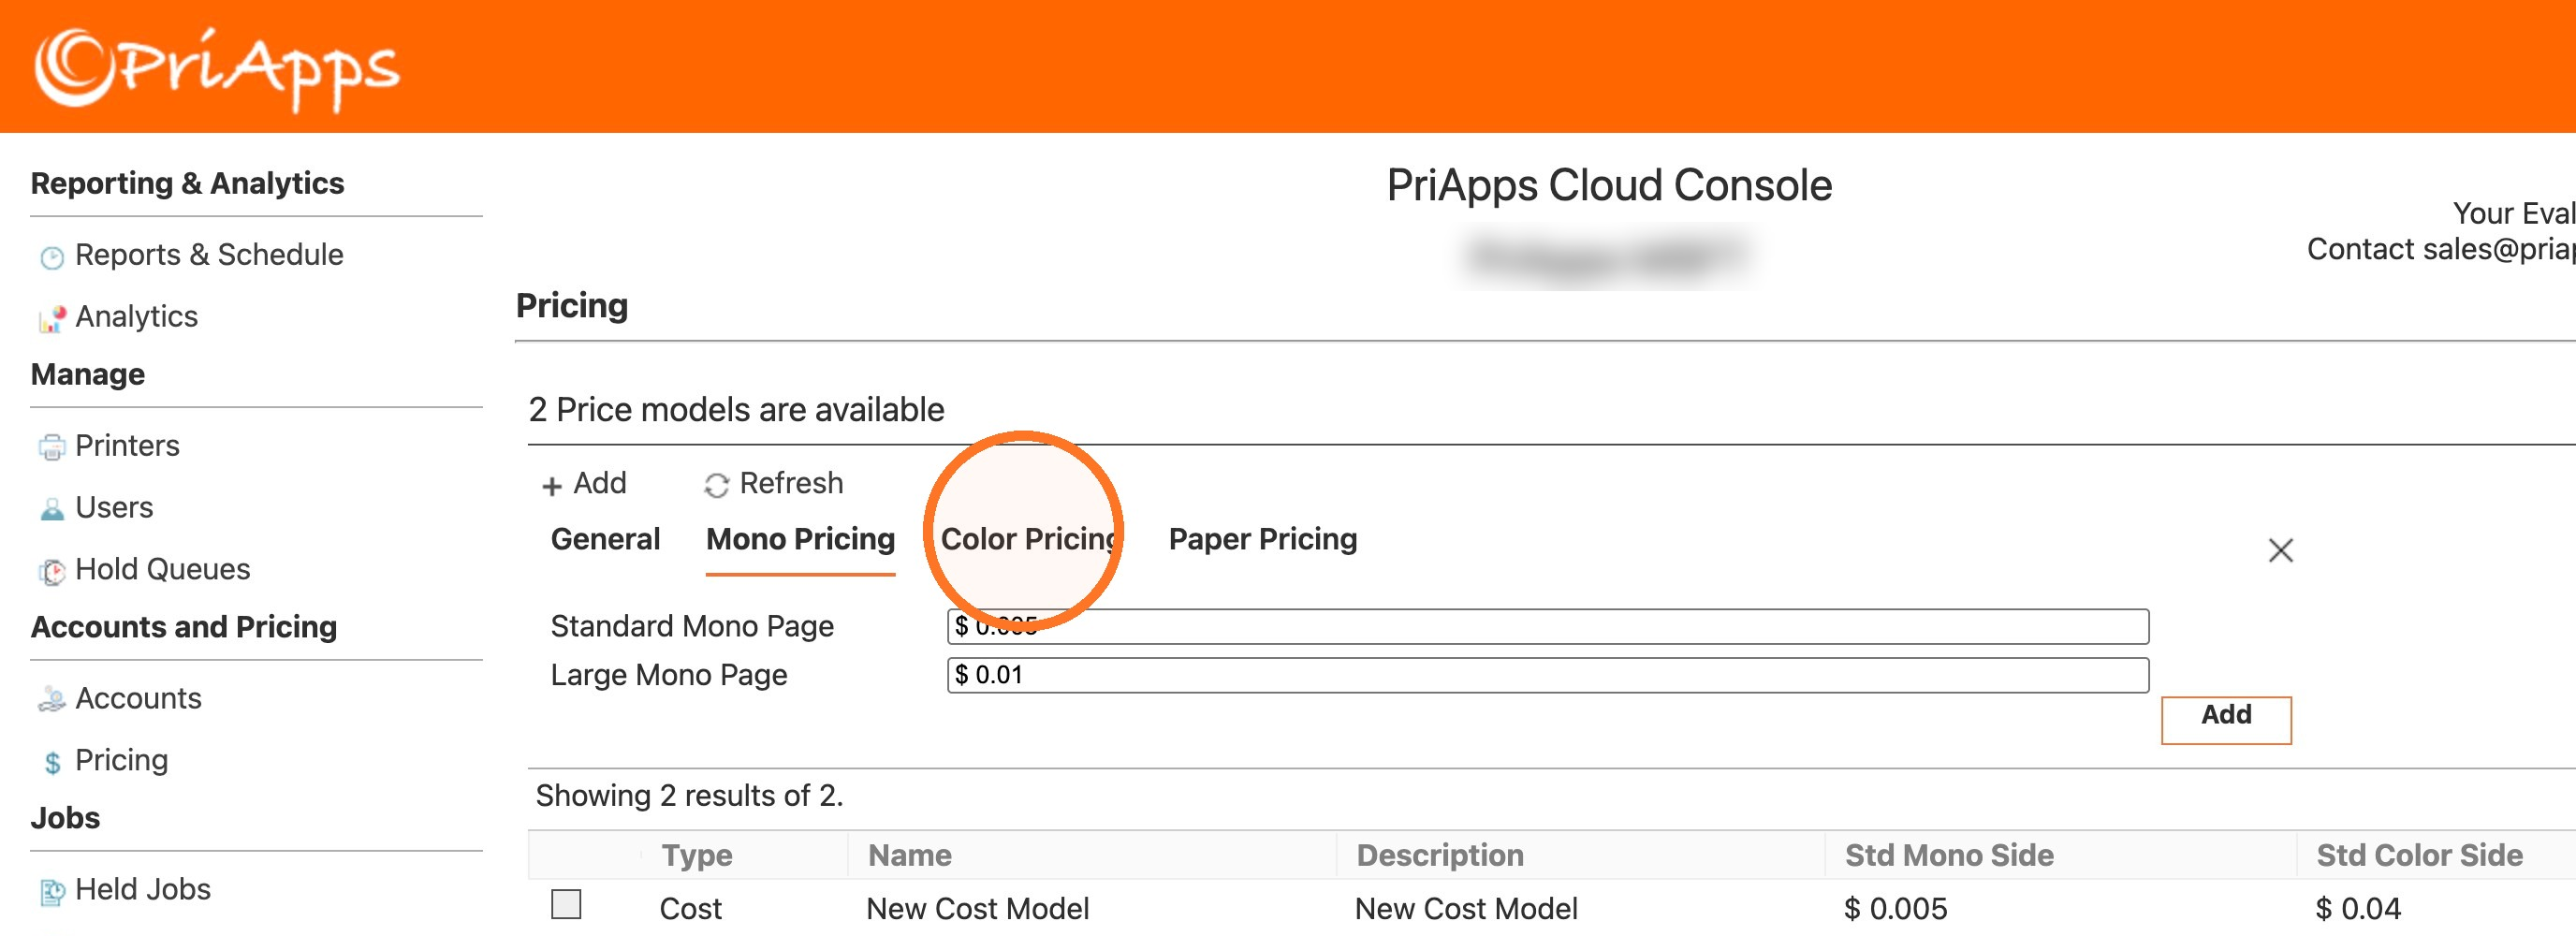
Enter the mono prices
Select Mono Pricing, then enter the price of a Standard Mono Page and a Large Mono Page.
Enter the color prices
Select Color Pricing, then enter the price of a Standard Color Page and a Large Colour Page.
Enter the paper prices
Select Paper Pricing, then enter the price of a Standard Sheet and a Large Sheet.
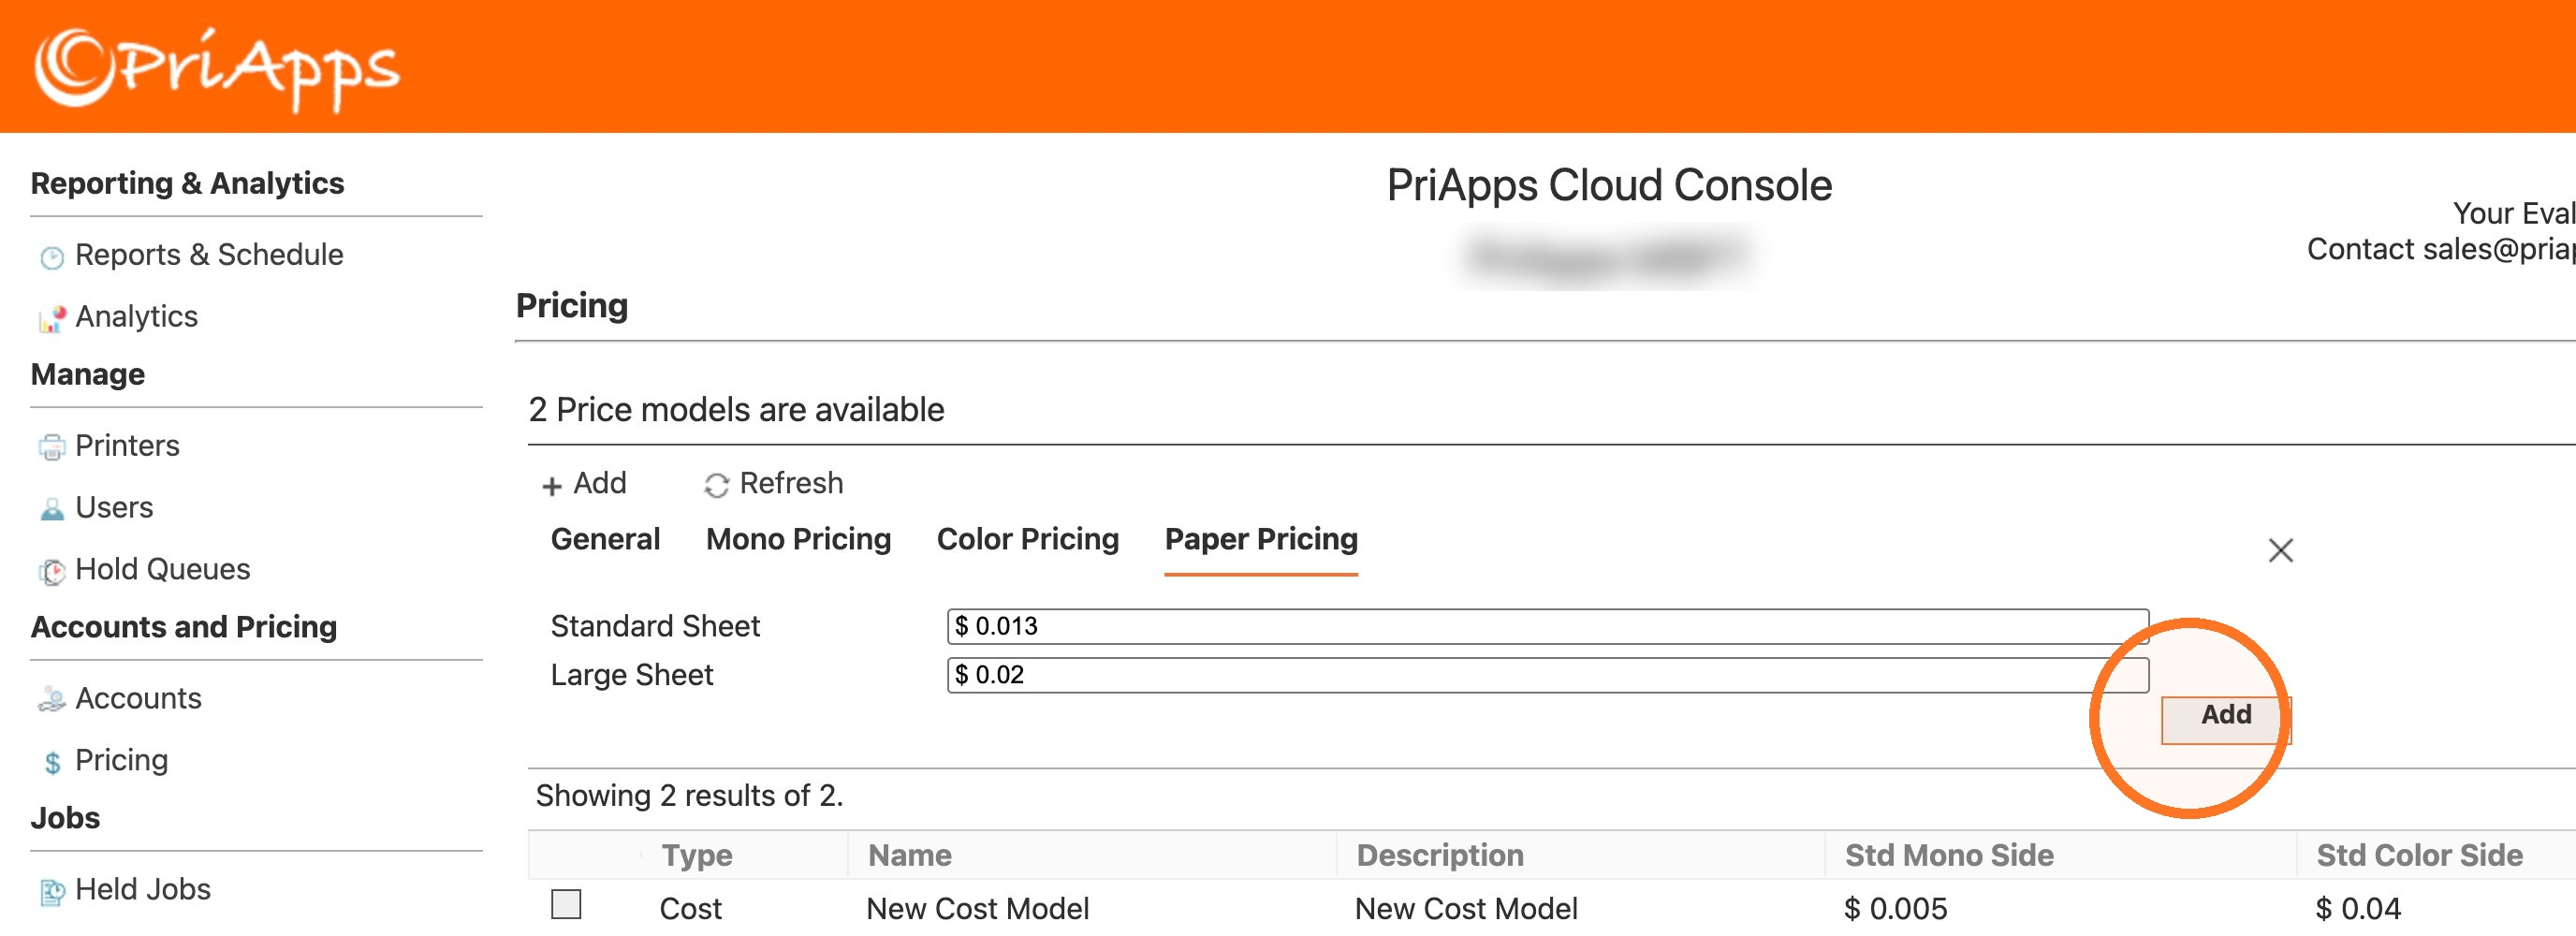
Select Add
Select Add. When the Saved message appears, select OK.
Check that it worked
The new pricing model appears in the list, and the number of price models available at the top of the page goes up by one.
Change a pricing model
Select the check box next to the pricing model, then select Edit above the list. Its settings are on the same four tabs.
Delete a pricing model
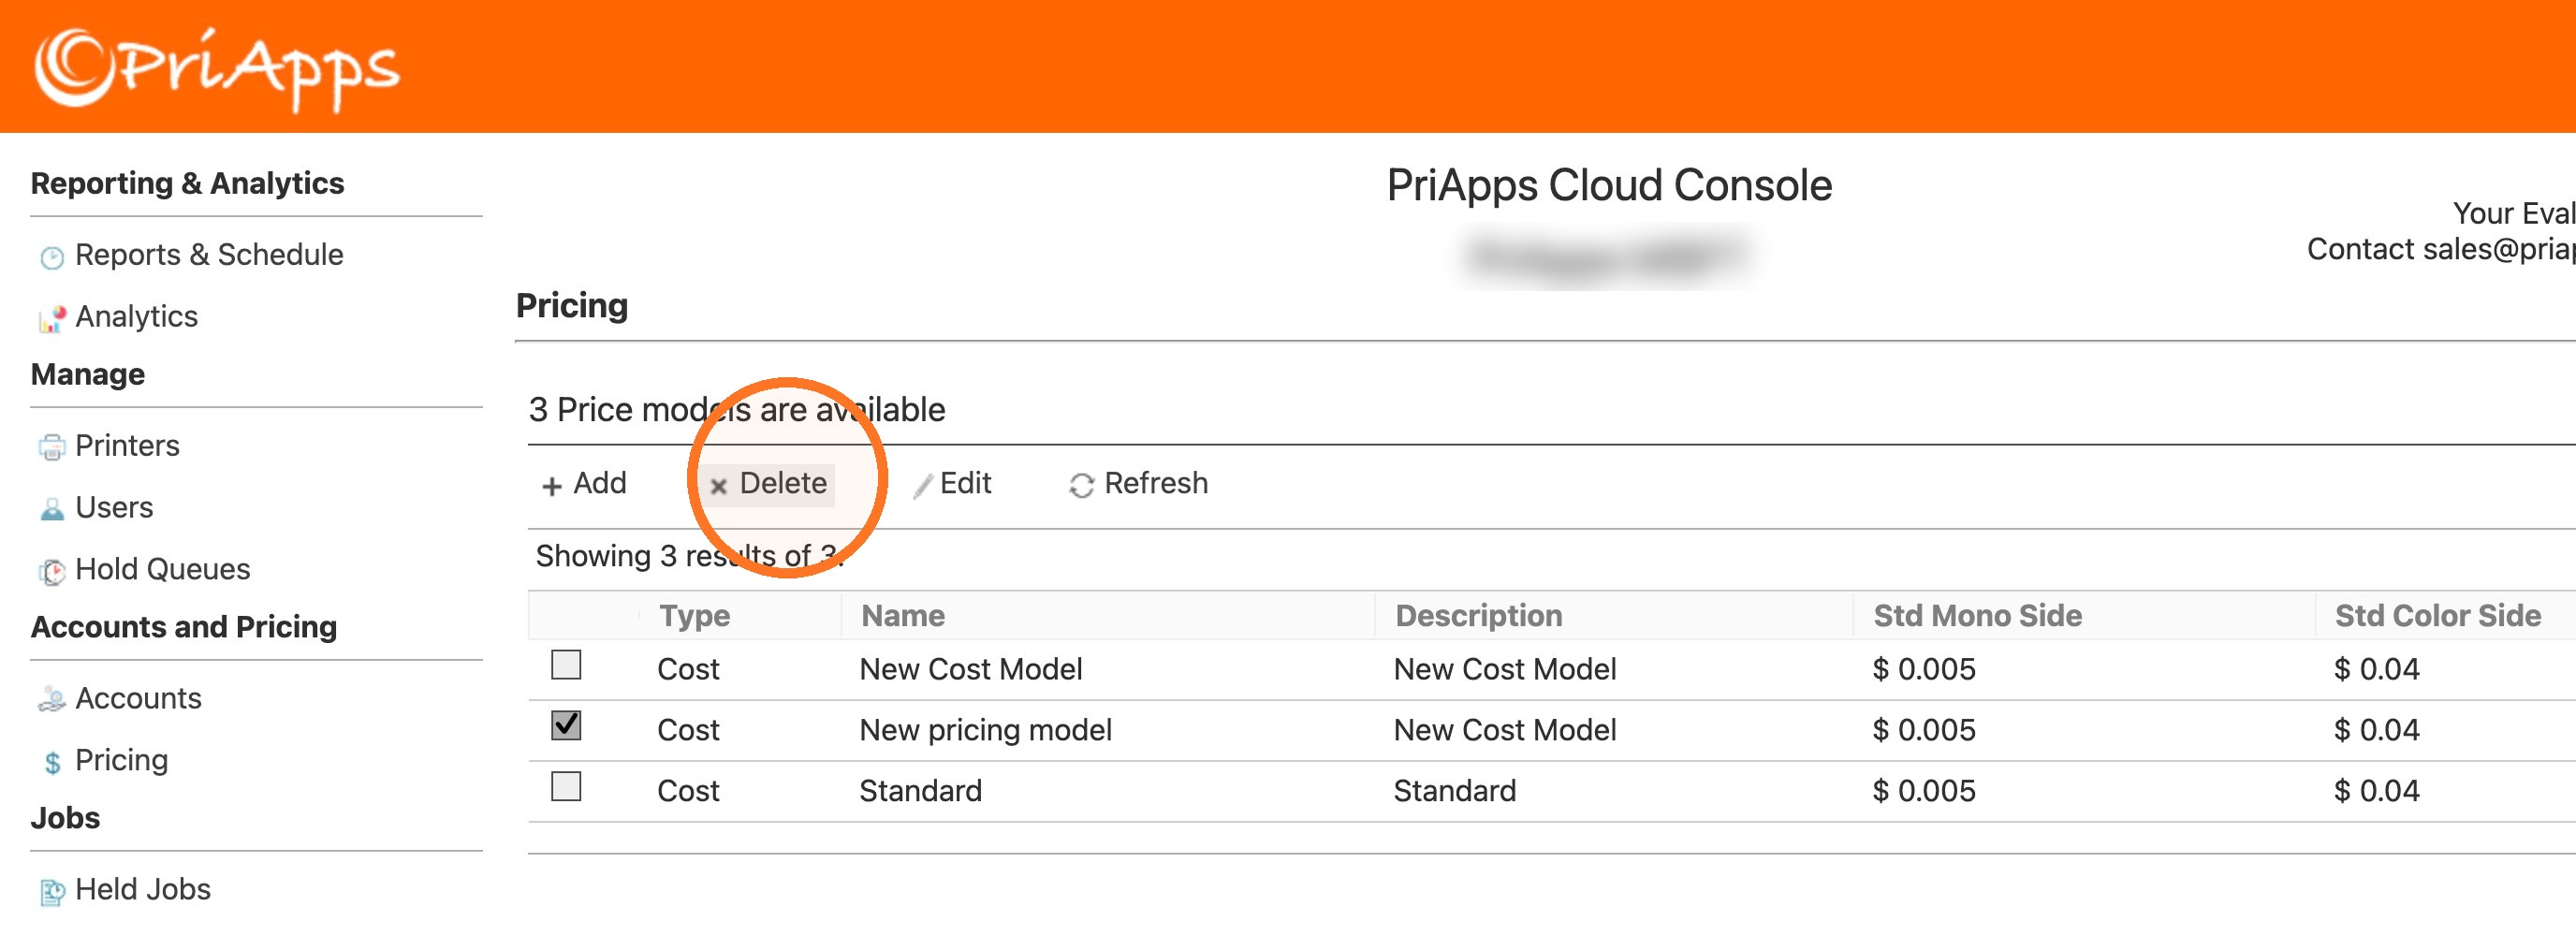
Select the check box next to the pricing model, then select Delete above the list.
Related articles
Billing and cost accounts
Create the billing accounts that usage is charged to, and the cost accounts that track what it costs, for clients, projects, departments, printers and users.
Adding MFPs, copiers and printers
Add an MFP, copier or printer to PriApps CloudPrint, and choose how its usage is charged and how users sign in at it.
Reporting groups
Group users and printers for reporting, and choose the price model used to cost their usage.
Report scheduling
Schedule usage and cost reports to be sent to a distribution group as PDF or CSV files, once or on a regular schedule.