
Deploying myQueue manually
Install a myQueue on a Windows computer by hand, using its IPP address from the PriApps CloudPrint Console, so the user can print to it.
To print to a myQueue, a user's computer needs it installed as a printer. This article shows how to install it by hand on a Windows computer, using the myQueue's IPP address from the PriApps CloudPrint Console. You can also install a myQueue on a Mac. To install a myQueue on many computers, use a deployment tool such as Microsoft Intune with the myQueue's installer script.
Before you begin
- Sign in to the PriApps CloudPrint Console. See Signing in to the PriApps CloudPrint Console.
- Create the myQueue. See Creating hold queues.
Copy the myQueue's address
Show the setup instructions
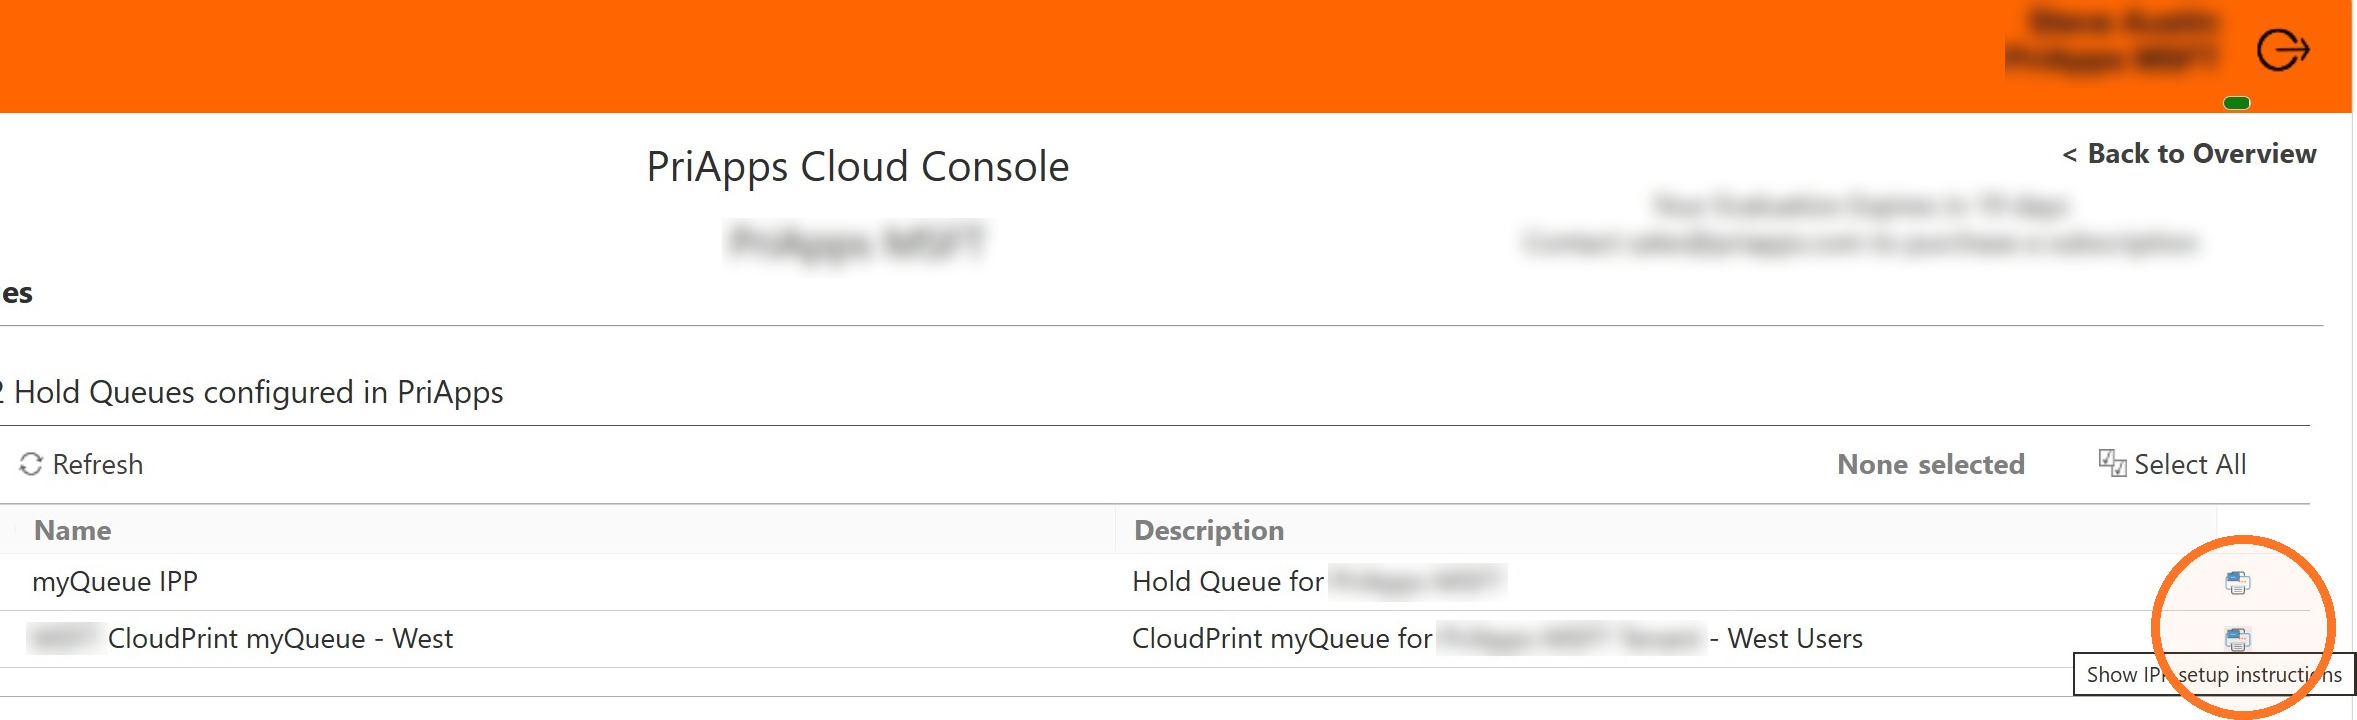
In the menu, under Manage, select Hold Queues. Next to the myQueue you want to install, select the Show IPP setup instructions icon.
Copy the URL
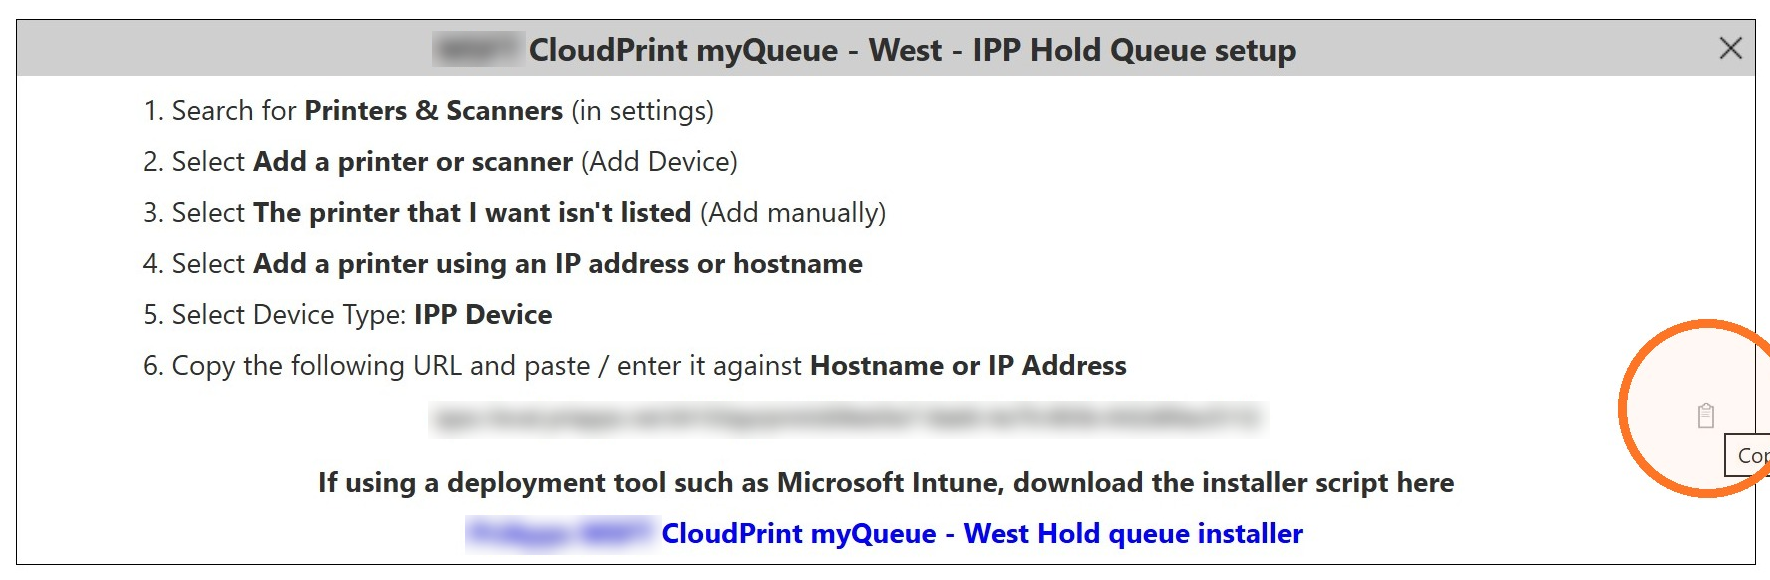
Next to the myQueue's URL, select the Copy URL to clipboard icon. The box also lists the Windows steps below, and links to the myQueue's installer script for deployment tools such as Microsoft Intune.
Add the myQueue in Windows
Open Printers & scanners
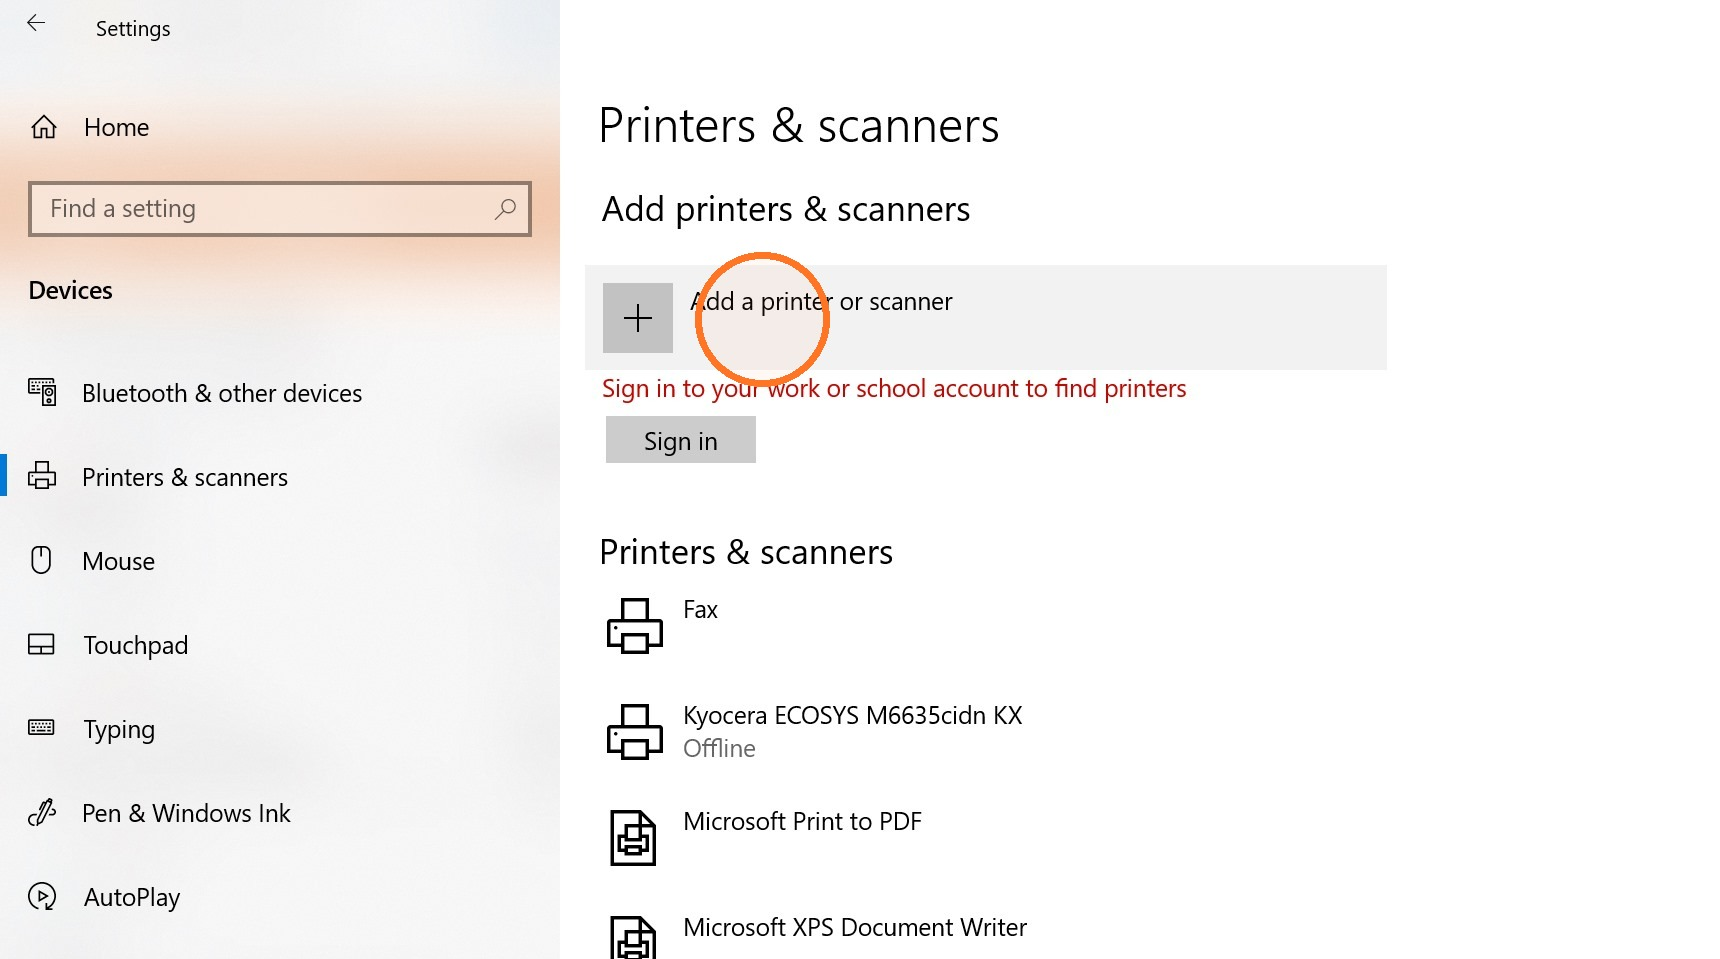
On the Windows computer, search Settings for Printers & scanners and open it. Select Add a printer or scanner (Add device in Windows 11).
Choose to add it by address
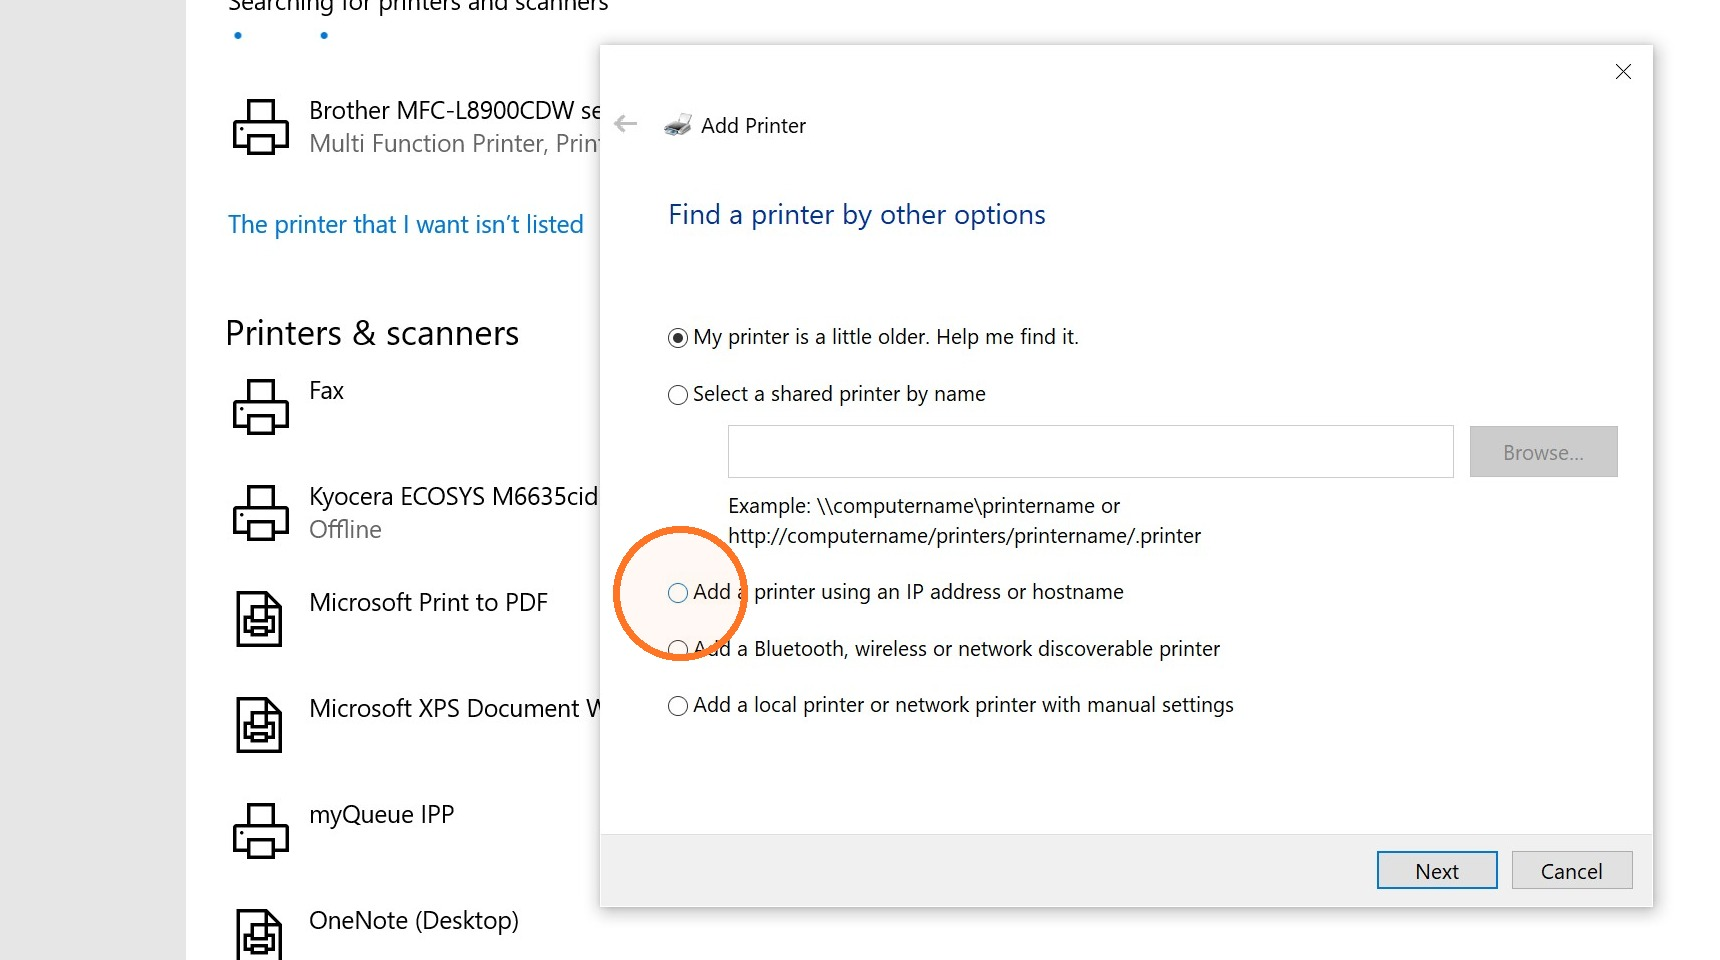
Select The printer that I want isn't listed (Add manually in Windows 11). Then select Add a printer using an IP address or hostname, and select Next.
Enter the URL
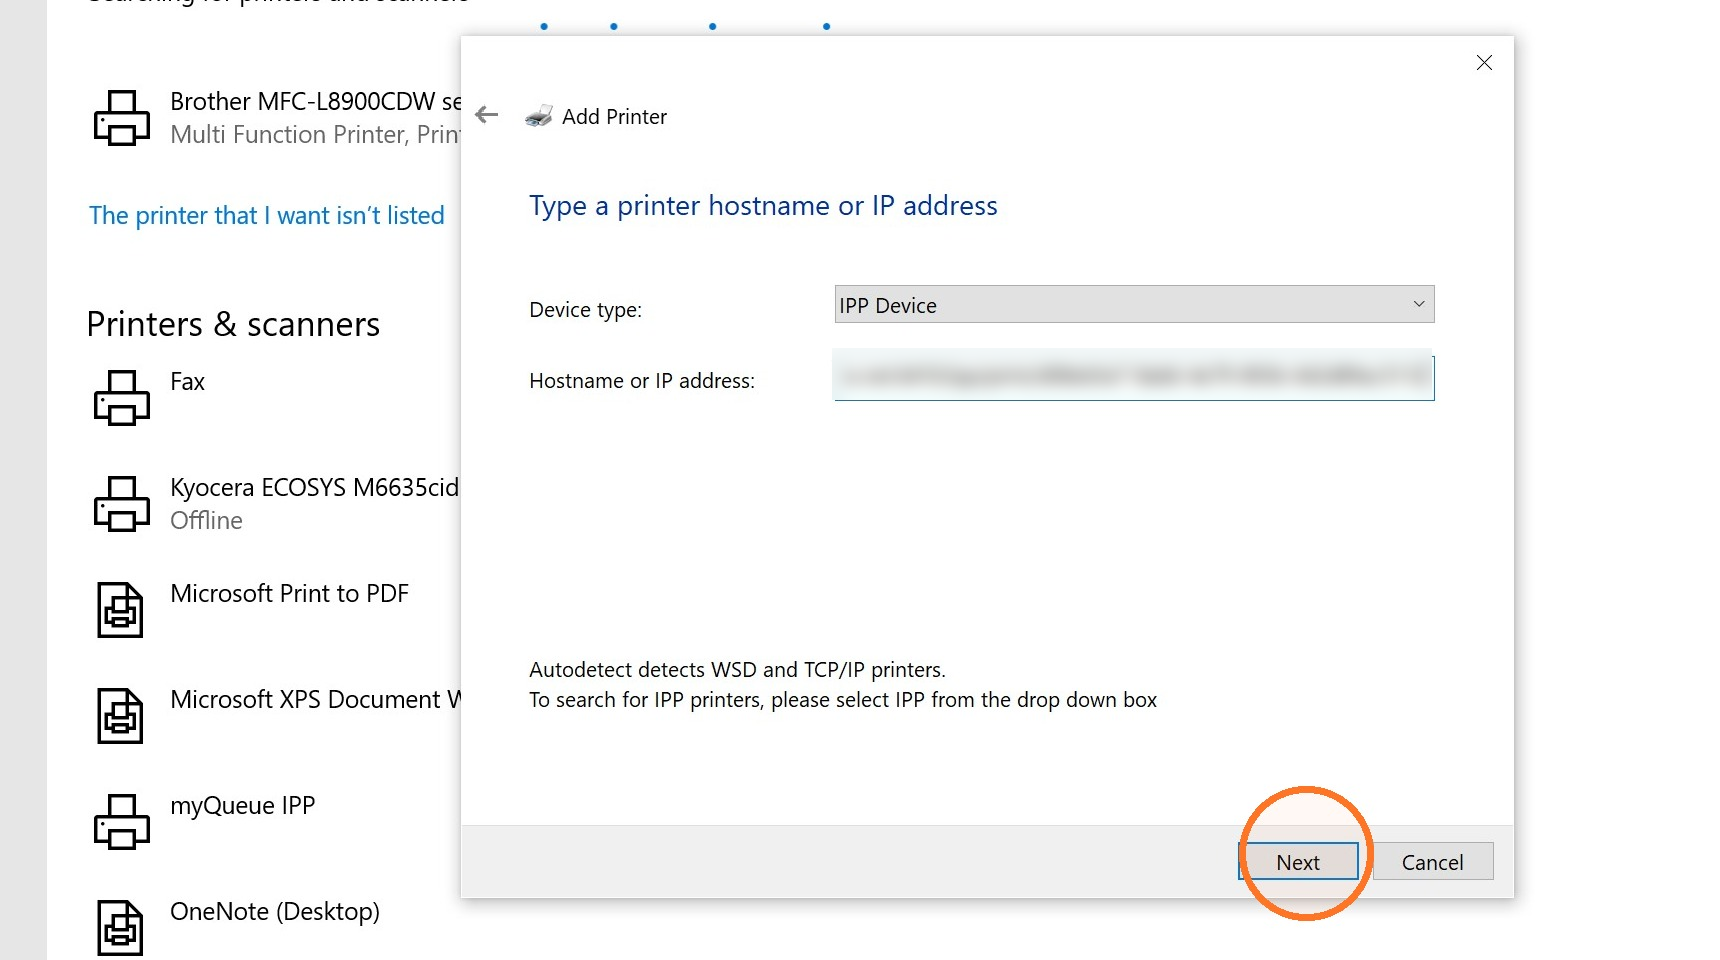
For Device type, choose IPP Device. In Hostname or IP address, paste the URL you copied, then select Next.
Select Finish
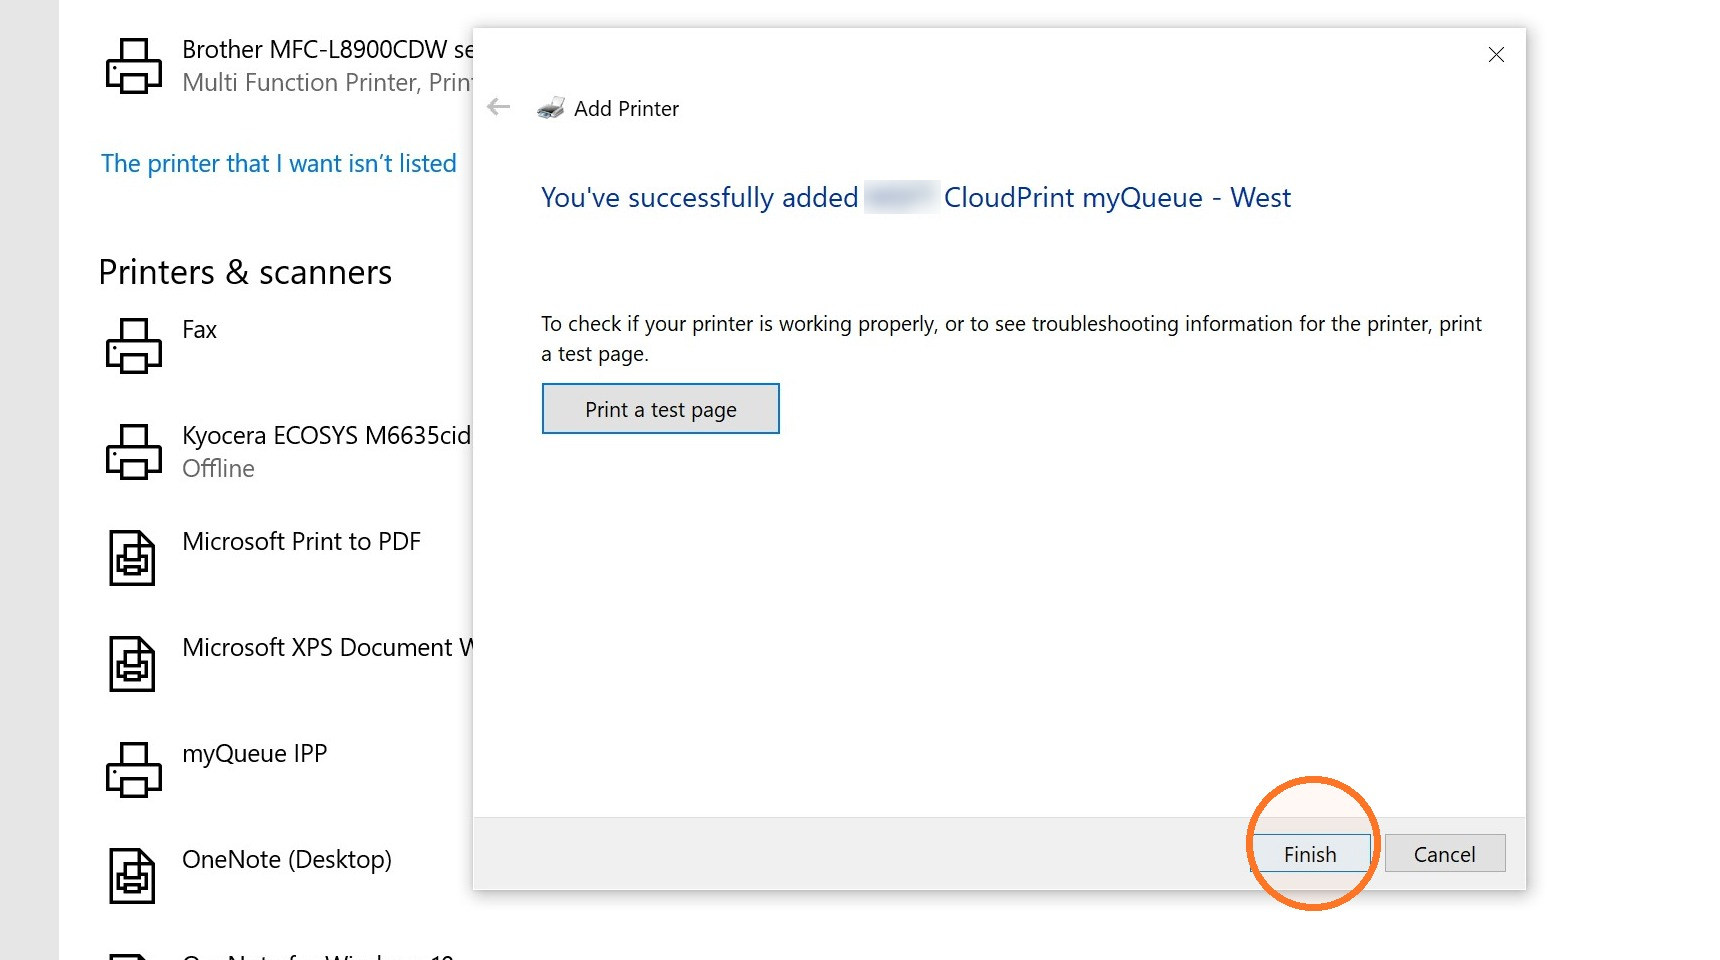
When Windows says the printer was added, select Finish.
Make it the default printer
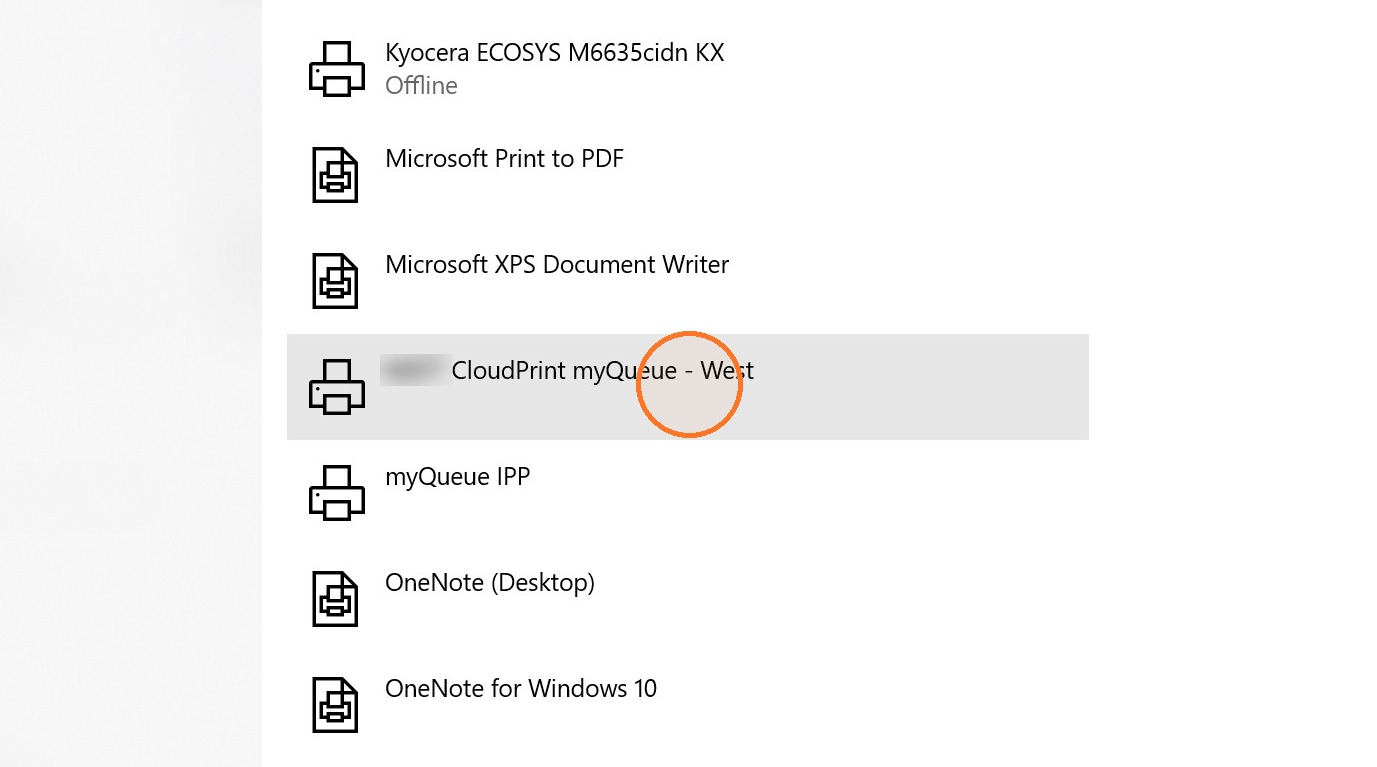
The myQueue now appears in Printers & scanners. To make it the user's default printer, select it, select Manage, then select Set as default.
Check that it worked
Print a document to the myQueue. The job waits in the hold queue until the user releases it at a printer or MFP, and you can see it in Held Jobs. See Viewing held jobs.
Related articles
Creating hold queues
Create myQueue hold queues in PriApps CloudPrint, so users' print jobs are held securely in your cloud storage until they release them at a printer.
Viewing held jobs
See the print jobs waiting for release in your hold queues, and open a job's details, such as its copies, color, paper and hold queue.
Adding MFPs, copiers and printers
Add an MFP, copier or printer to PriApps CloudPrint, and choose how its usage is charged and how users sign in at it.