myQueue Port Pooling
How to configure Port Pooling for the PriApps myQueue to improve performance and resilience.
For increased performance and resilience in high-volume environments, PriApps recommends implementing Port Pooling for the PriApps myQueue.
Without Port Pooling, if the Windows spooler gets stuck transferring a print job (for example, if a user accidentally tries to print a very large file such as a video), the myQueue becomes blocked for all other users until the spooler is cleared or reset. Port Pooling eliminates the myQueue as a single point of failure in the PriApps print management system.
Step 1 — Create additional ports
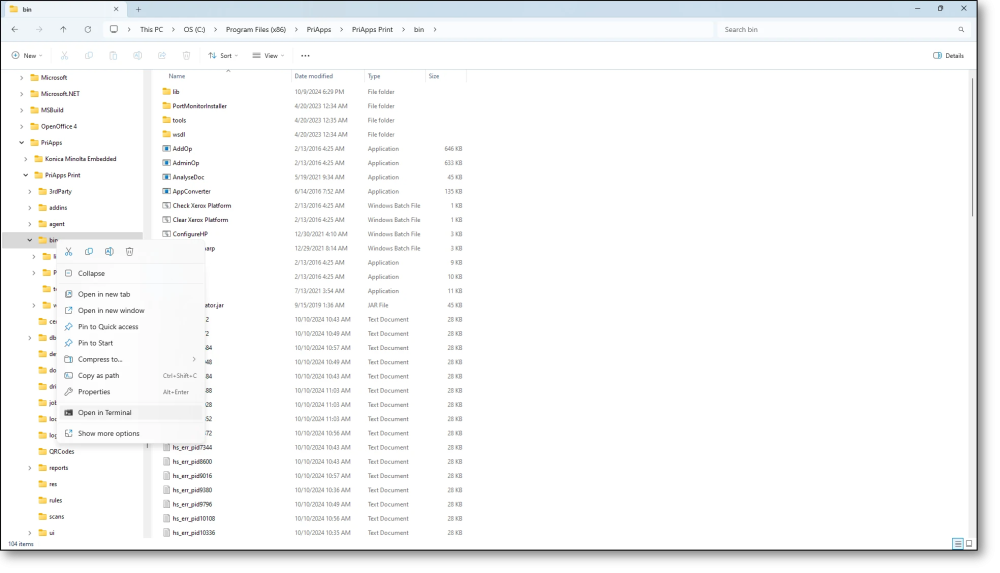
Open a PriApps Command Prompt
Open a PriApps Command Prompt from the PriApps Print entry in the Windows Start menu on the server.
Run as Administrator
Ensure the Command Prompt or Windows PowerShell session is running as Administrator.
Verify the working directory
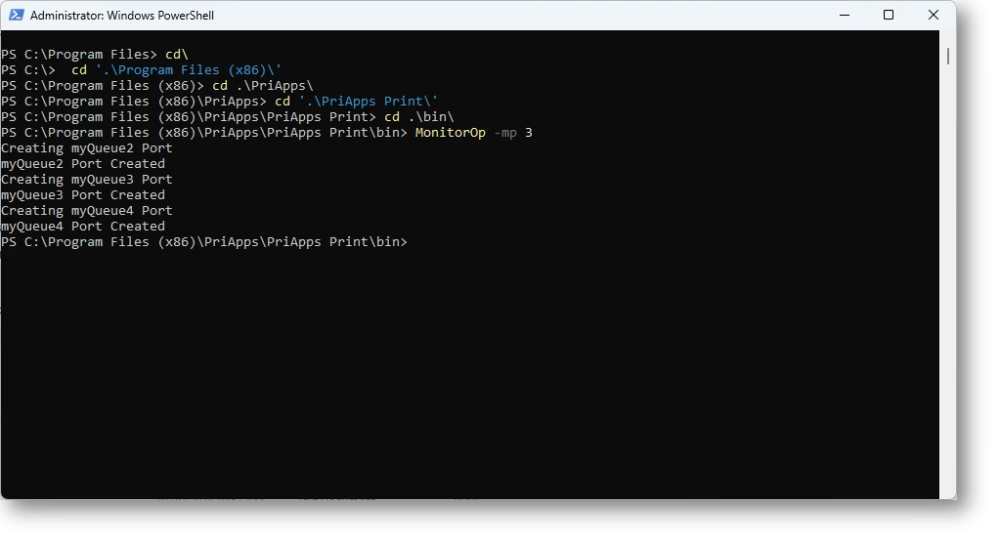
The prompt should display: c:\Program Files (x86)\PriApps\PriApps Print\Bin>. If it does not, navigate to that folder.
Create additional ports
Issue the following command to create 3 additional ports (giving a total of 4):
MonitorOp -mp 3
If more than 4 ports in total are required, increase the number at the end of the command accordingly.
Step 2 — Enable printer pooling in Windows
Open Printer Properties
Access the Printer Properties for the PriApps myQueue from the Windows Control Panel or Settings.
Open the Ports tab
Select the Ports tab in the Printer Properties dialog.
Enable printer pooling
Check the Enable printer pooling checkbox.
Select the new ports
Verify and select the new ports in the port list. The additional ports will be named myQueue2, myQueue3, and myQueue4.
Save
Click OK to apply the changes.
