Printing from Chromebooks
PriApps provides a Chrome Extension for integrated, secure printing from Chromebooks.
PriApps provides a Chrome Extension for integrated secure printing from Chromebooks — more seamless than configuring the myQueue as a direct printer. Once installed, print jobs are sent from the Chromebook to the PriApps Application Server and held until the user releases them at any PriApps-managed device.
Step 1: Add the user's Google ID
Before installing the extension, add the user's Google Account ID to their PriApps user account. This can be done during LDAP/AD import if the Google ID exists as a field attribute, or manually:
Admin UI → Users & Security → Users → Find the user → Enter their Google Account ID in the Google ID field.

Step 2: Install the extension
Automatic deployment (Google Enterprise / Education)
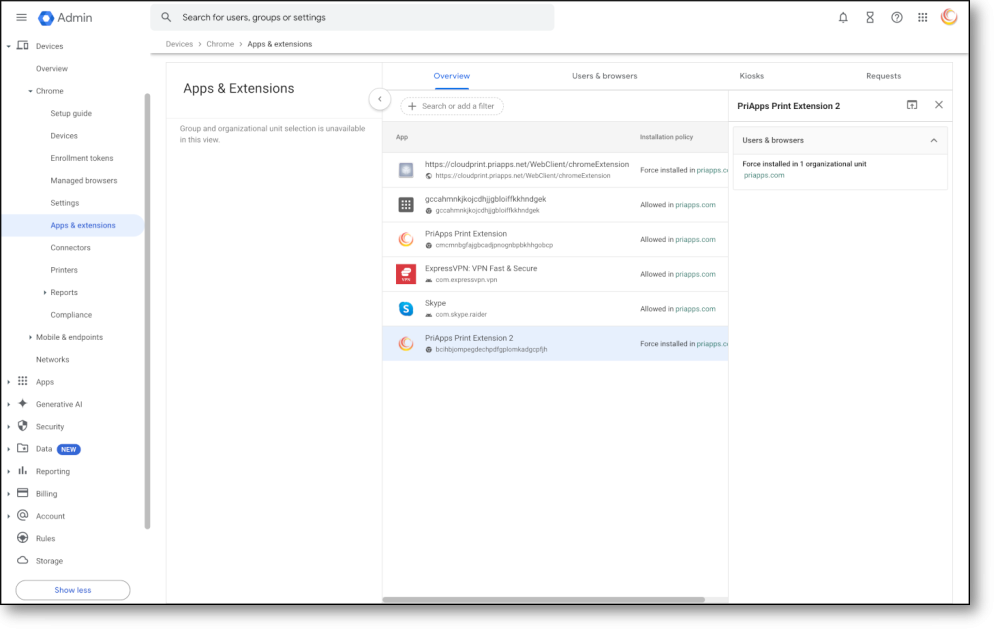
Google Enterprise and Education administrators can force-install the PriApps Print Extension on managed devices or accounts. For up-to-date deployment instructions, see Google's Chrome extension deployment guide.
Manual installation
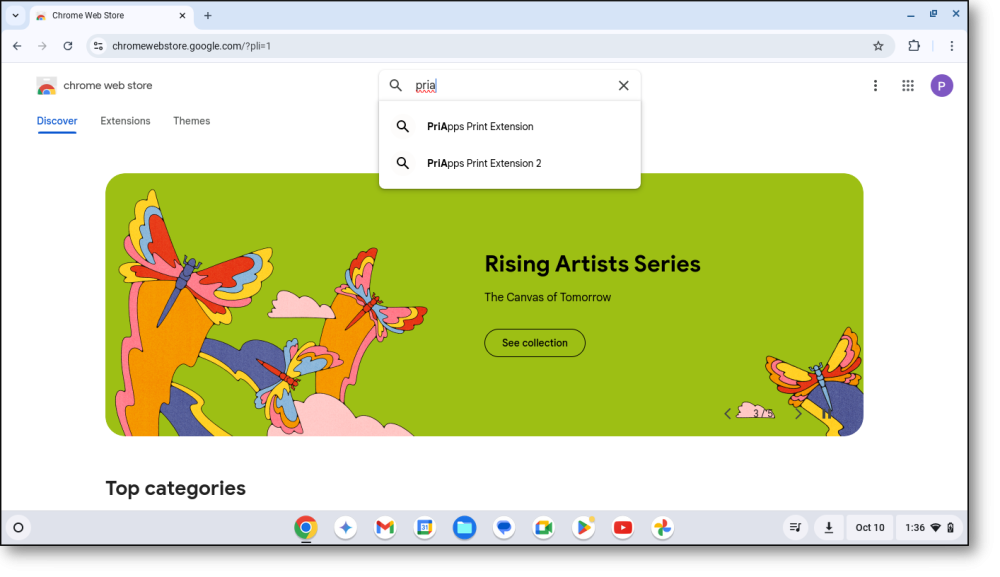
Find the extension
Search for PriApps Print Extension on the Chrome Web Store.
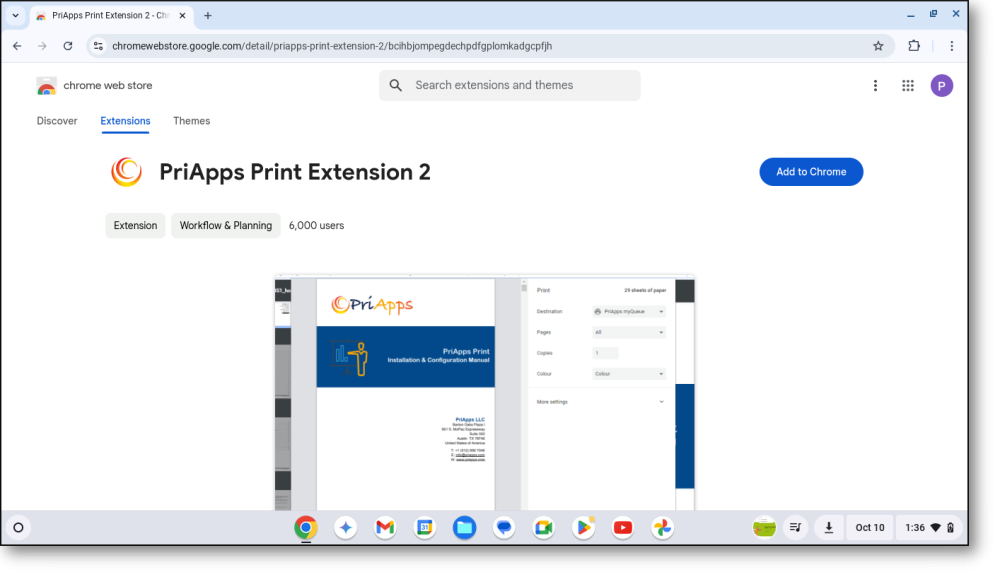
Install
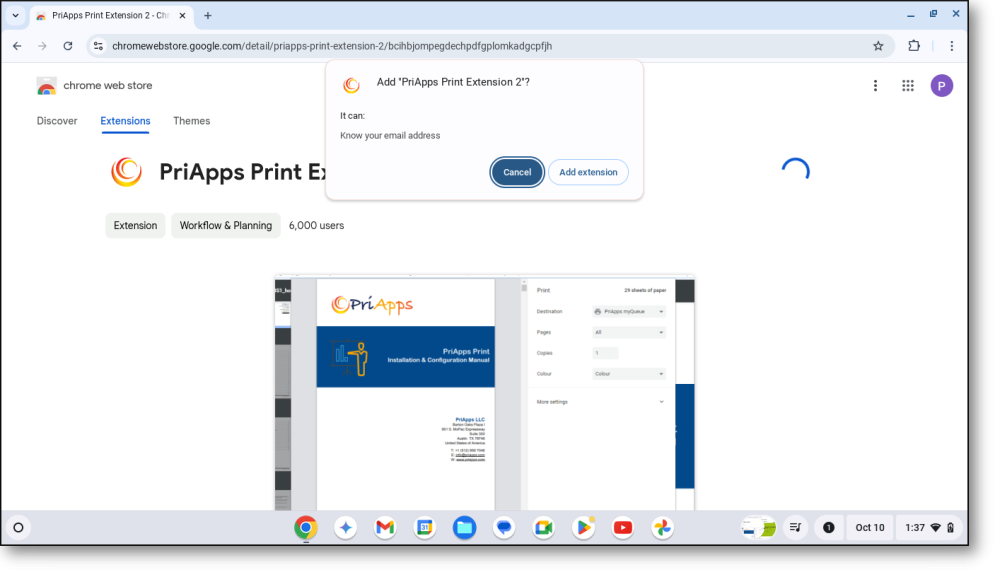
Select Add to Chrome → Add Extension.
Configure the extension
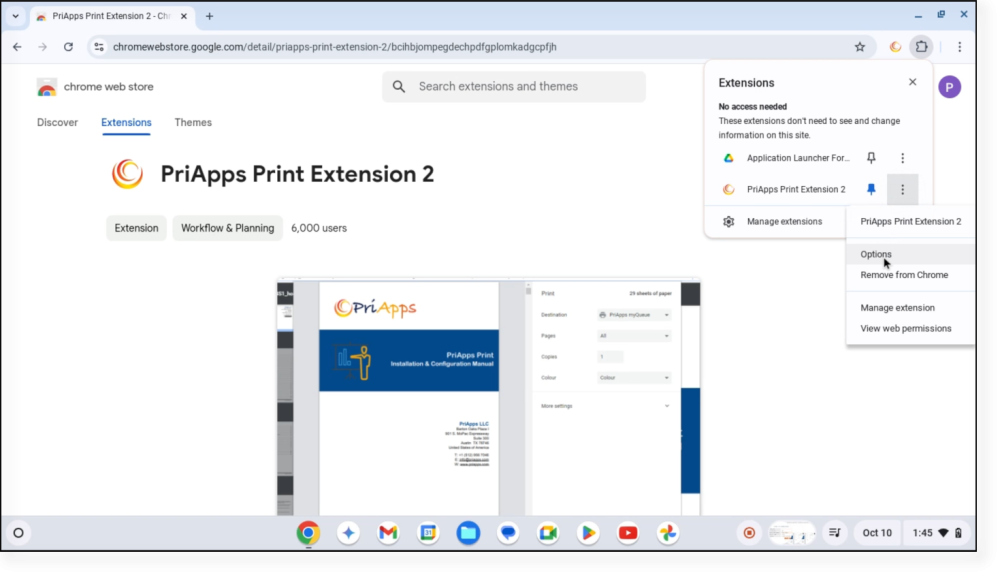
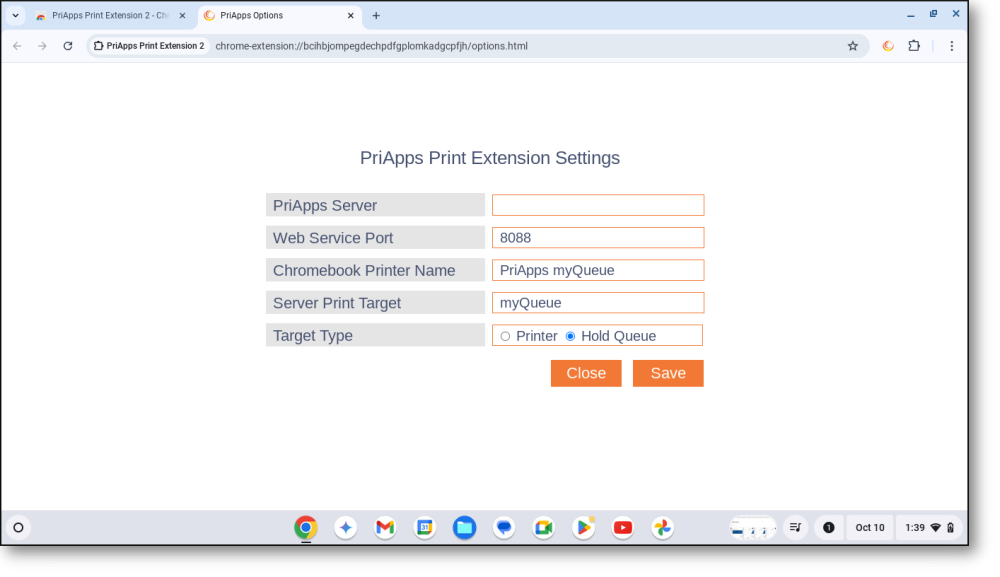
Select the Extensions icon in Chrome, then select Options from the PriApps Print Extension menu. Enter the IP address of the PriApps Application Server in the PriApps Server field. Set Web Service Port to 8088. Leave all other settings at their defaults.
Step 3: Select the PriApps myQueue
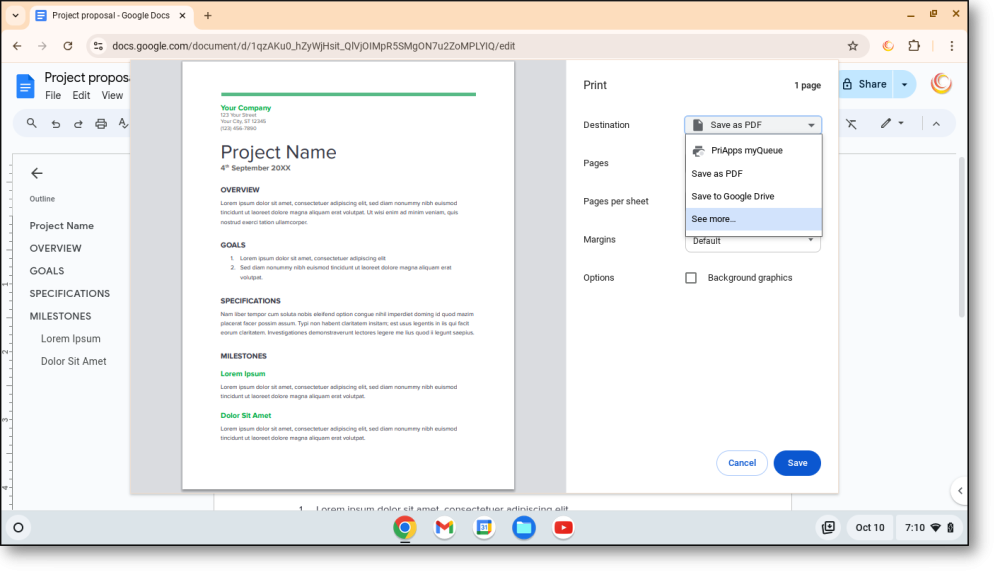
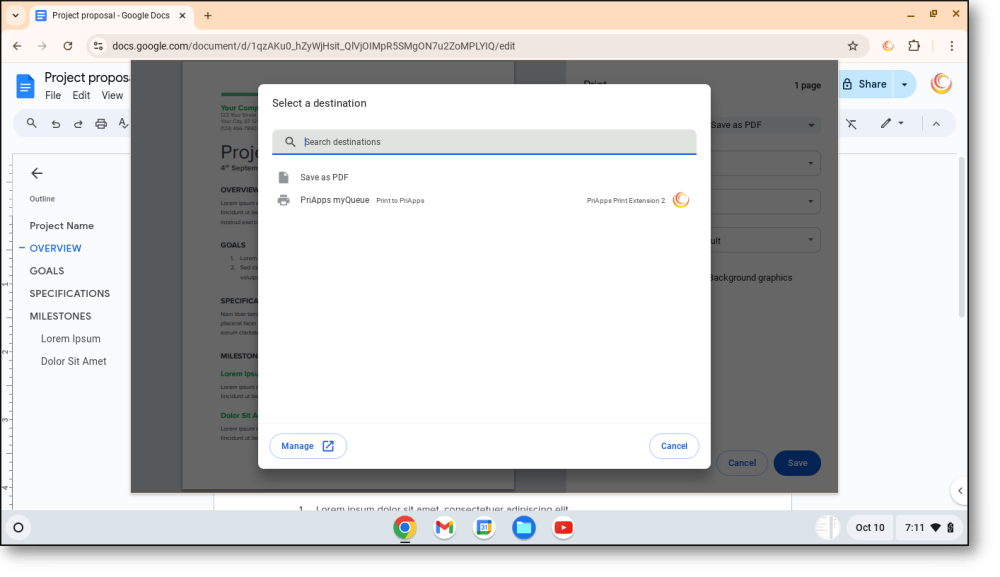
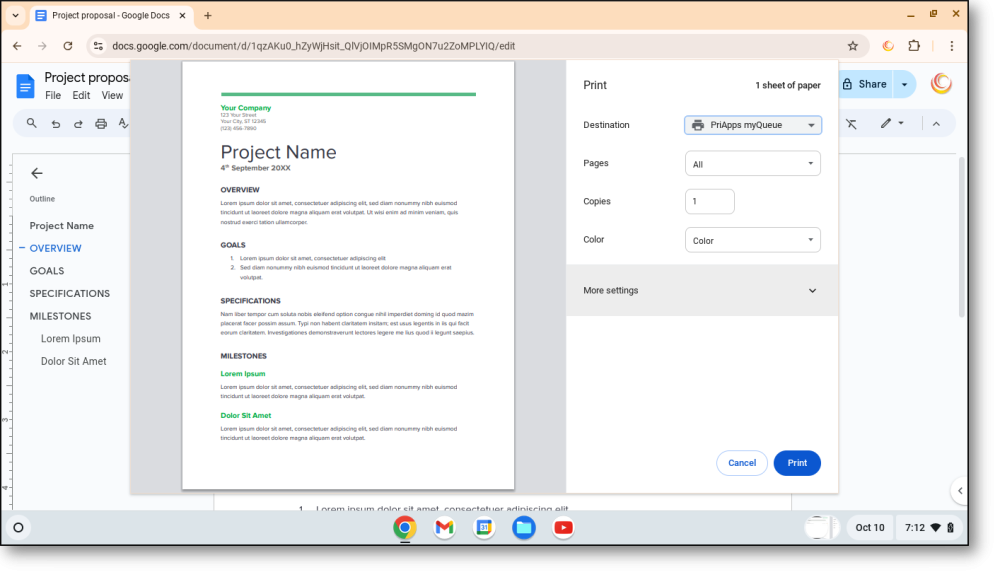
The first time a user prints after installing the extension, they must select the PriApps myQueue as the destination printer. If it does not appear in the dropdown, select See more to find the PriApps Print Extension in the full list. All subsequent print jobs will be sent to the PriApps Application Server automatically.