Manual configuration
For devices not auto-detected, or where you need control over specific settings.
Steps

Navigate to Printers & MFPs
Select Printers & MFPs from the Managed Printing sidebar menu.
.png)
Select the device
Select the MFP to be configured in the top window. Its details will appear in the lower panel.
.png)
Complete the configuration options
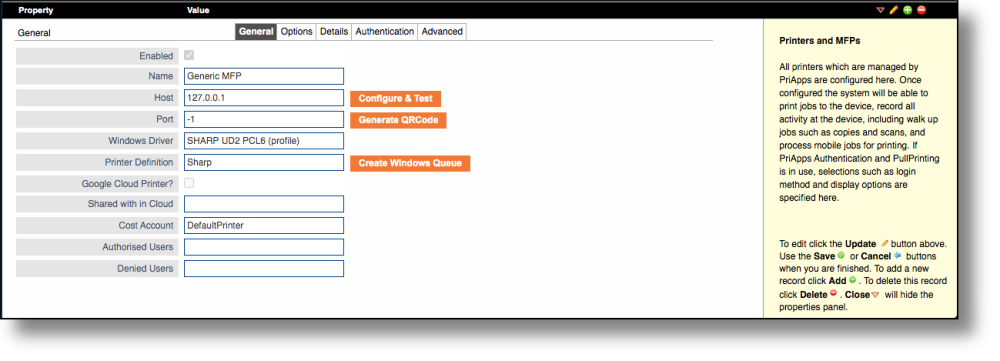
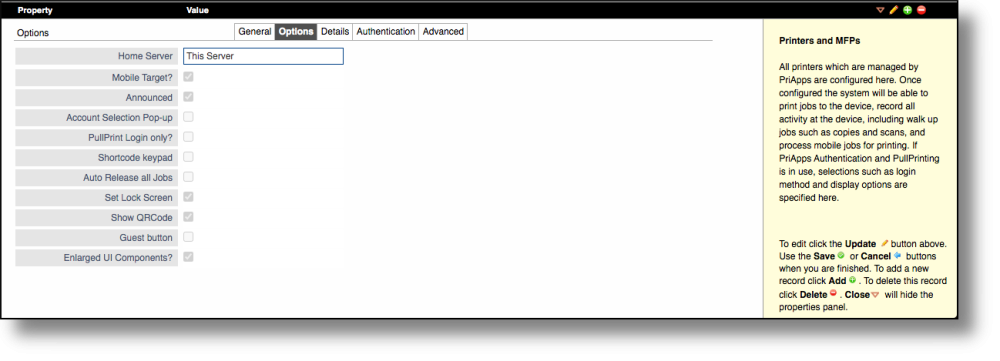
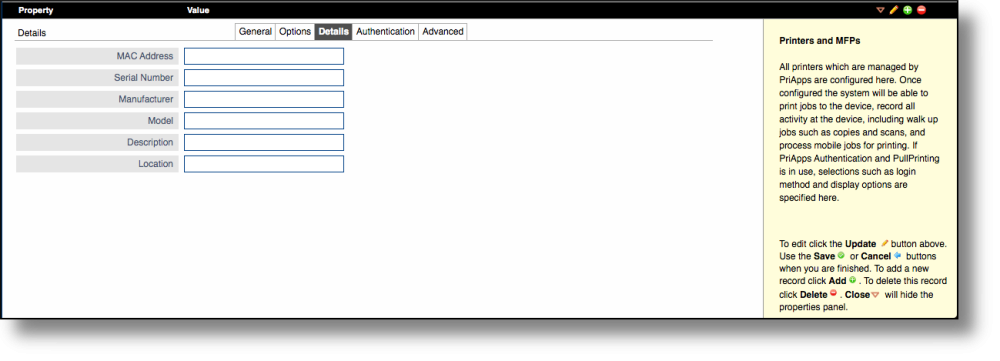
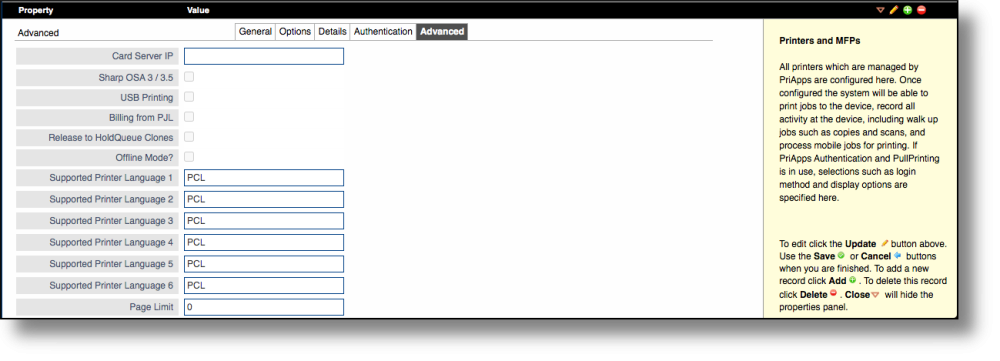
Configure the General, Options, Details, Authentication, and Advanced tabs as required. Most options are populated automatically during installation — refer to your manufacturer's guide for the specific values required.
.png)
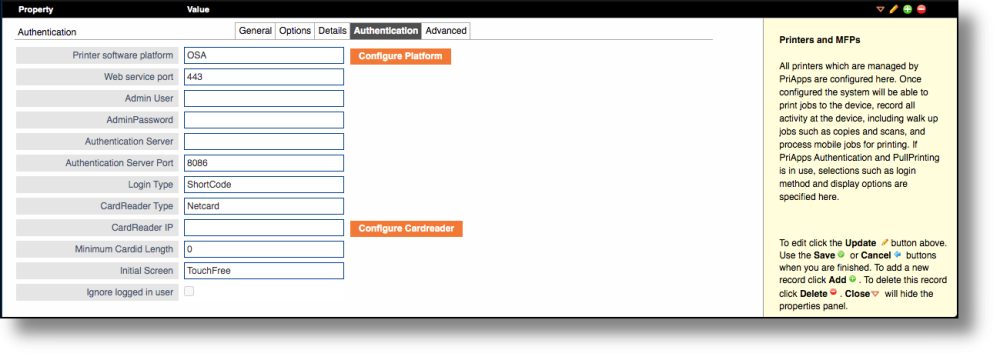
Configure the platform
Click the Configure Platform button. A confirmation screen will display the actions to be completed. Click Register to proceed. PriApps will connect to the MFP and configure the embedded application automatically.
.png)
Printer properties tabs
| Field | Description |
|---|---|
| General tab | Device name, IP address, location, and Printer Definition (OEM brand). |
| Options tab | Feature enabling — which PriApps features are active for this device. |
| Details tab | Additional device metadata and SNMP settings. |
| Authentication tab | Platform-specific settings: software platform, web service port, admin credentials, authentication server IP and port, card reader type. |
| Advanced tab | Display dimensions (for MFPs with custom screen sizes), intermediate web server settings, and other advanced parameters. |