Configuring PriApps
Once installed and licensed, configure PriApps via the Admin UI. Menu options visible depend on which features are licensed.
Starting the services
PriApps runs several sub-services depending on the functionality required. Enable and disable services by selecting Manage Server from the sidebar menu.
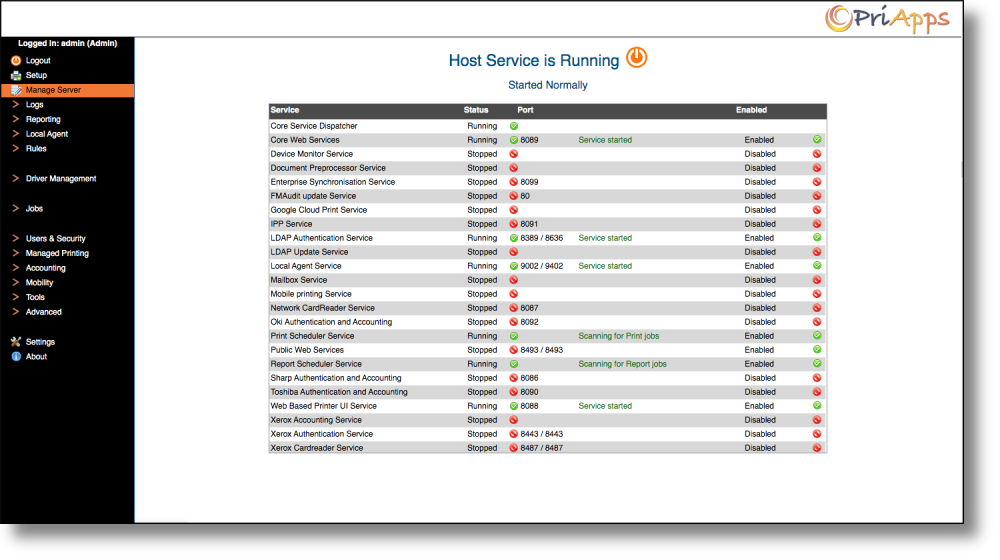
For Managed Printers and MFPs, the following sub-services must be enabled:
| Field | Description |
|---|---|
| Print Scheduler | Handles print job processing and queuing. |
| Web-based printer UI | Provides the screen interface served to MFP device panels. |
| LDAP Authentication | Handles user authentication at the MFP. |
Additional sub-services are optional depending on feature requirements or printer types in use.
Configuring services
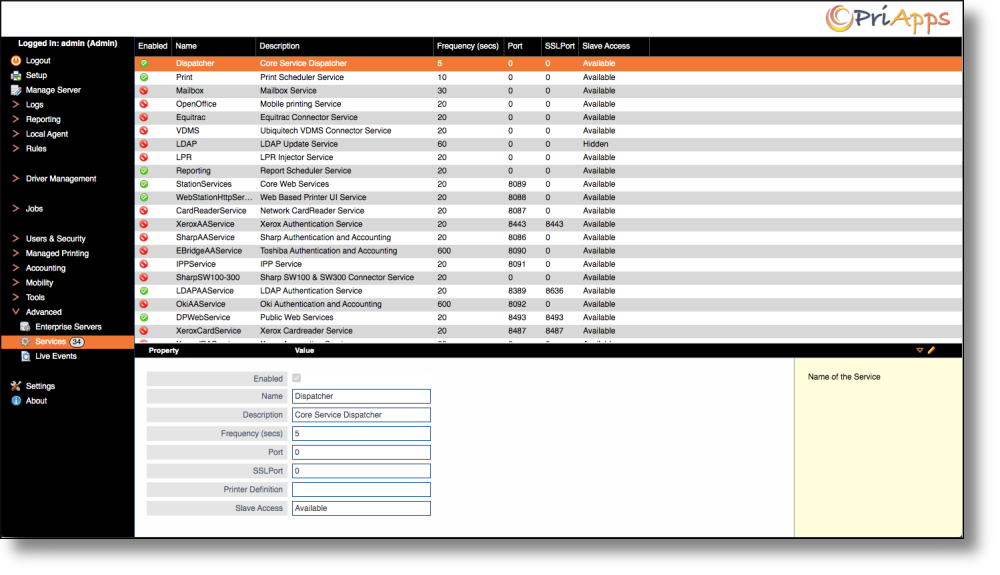
To edit service configuration or enable/disable individual services, navigate to Advanced → Services in the sidebar menu. From here you can view the status of each service and modify its configuration settings.
Adding, deleting & editing entries
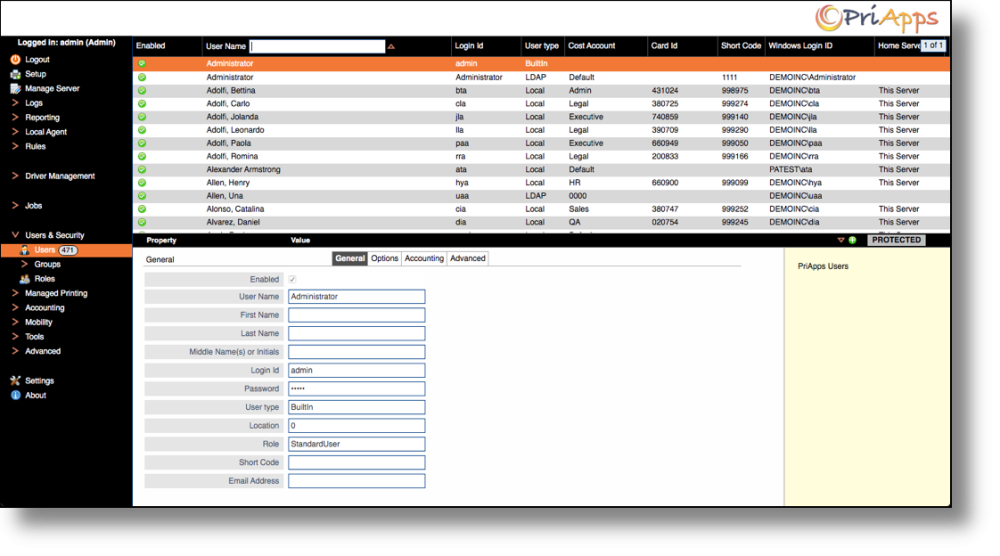
Throughout the Admin UI, standard controls are used to manage entries:
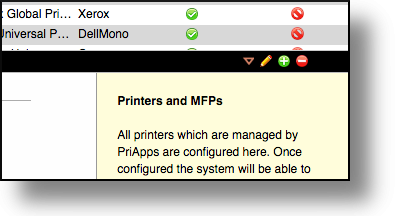
- Use the Add (+) button to create new entries
- Use the Delete ( - ) button to remove selected entries
- Select any entry and edit its properties in the properties panel
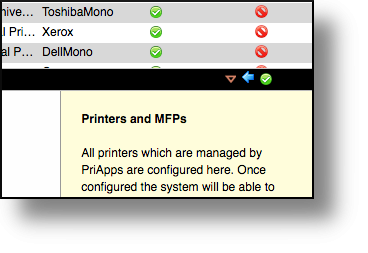
- Always select Save / Confirm ( ✓ ) to commit changes
Searching entries
Use the search field within any section of the Admin UI to filter entries by name or other attributes.
Server settings
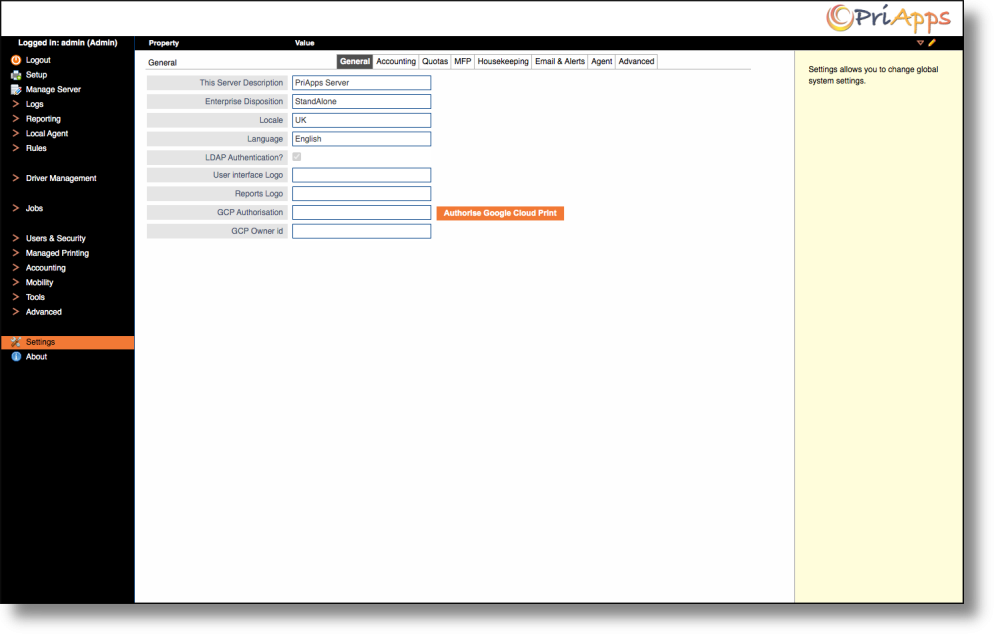
The following settings sections are available under Server Settings in the Admin UI:
- General — core server behavior and display options
- Accounting — cost tracking and billing configuration
- Quotas — quota types, refresh intervals, and limits
- MFP Settings — managed MFP behavior and timeouts
- Housekeeping — automatic data retention and cleanup schedules
- Email Settings & Alerts — SMTP configuration and notification rules
- Agent Settings — PriApps Agent behavior and update settings
- Advanced Settings — low-level server configuration options