Printing from MacBooks
Configure macOS to print through PriApps so all jobs are attributed to the correct user and held for secure release.
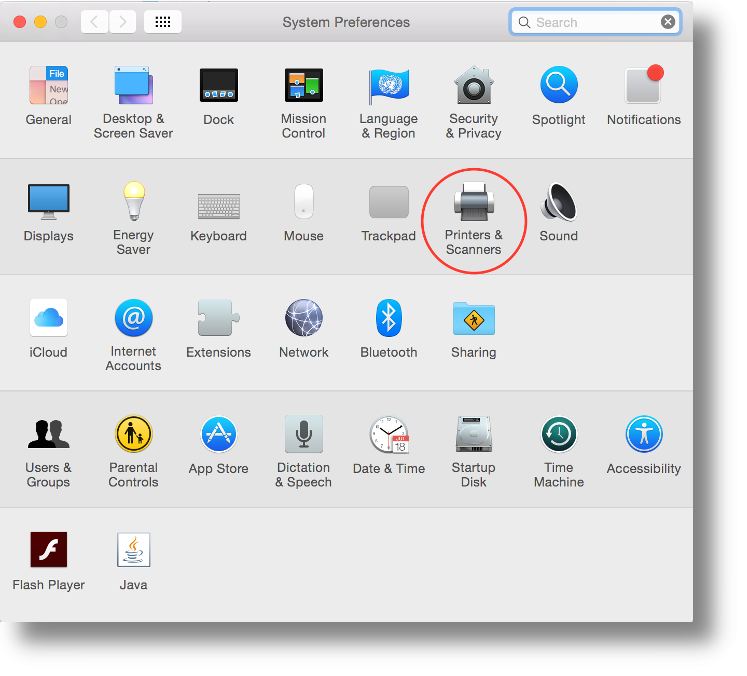
Open Printers & Scanners
Open System Preferences → Printers & Scanners.
Browse to the PriApps printer share
Click the (+) button to add a new printer. Click the Windows button and browse to the printer share on the PriApps Application Server.
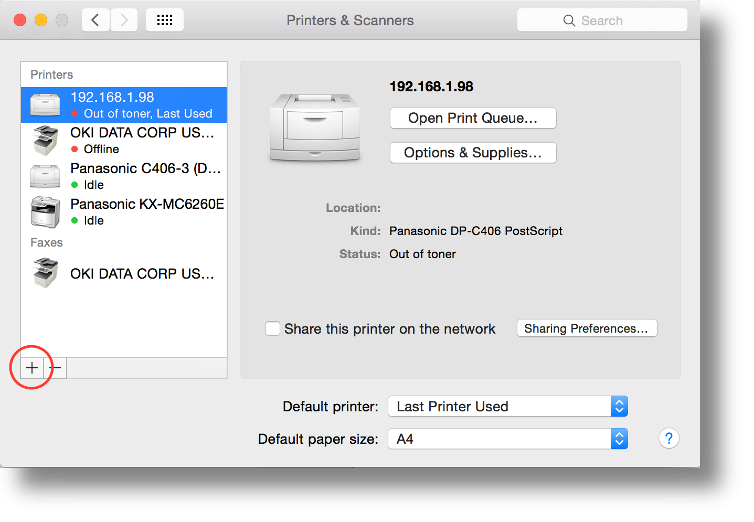
Do not select the PriApps myQueue or printer from the auto-detected list — it will not be configured correctly. Always browse manually using the Windows button.
Select the driver
Now click on the Windows button and browse to the printer share on your PriApps Application server that is to be added.
Choose the appropriate Mac driver for the printer from the dropdown. If no Mac driver is available, use a Generic driver. Click Add.

Authenticate
When prompted, enter the AD / Entra ID / LDAP credentials of the MacBook user — not an Administrator account. This ensures all printing is attributed to the correct user. Choose to store the credentials in Keychain to avoid re-authentication on each print.
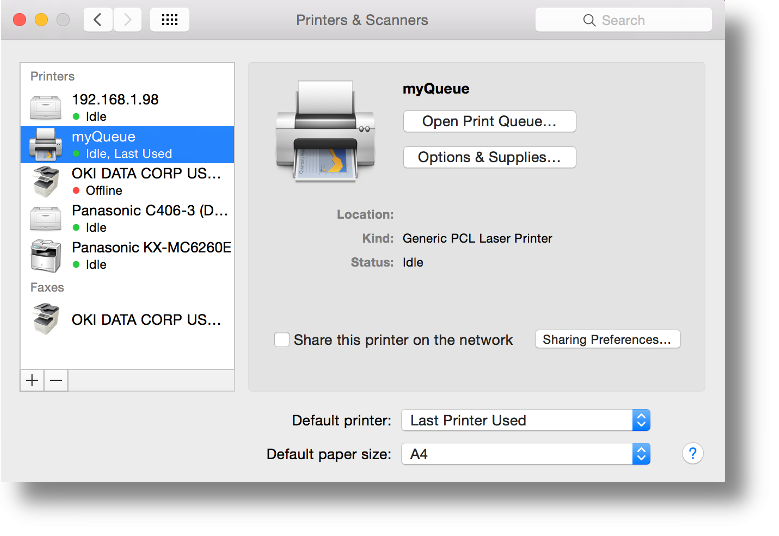
The user can now print from their MacBook via PriApps and release jobs at any managed printer or MFP they have permissions to access.