IIS web server setup
The PriApps MFP application is hosted under Microsoft IIS, providing both MFP UI screens and SOAP communication between PriApps and the device.
Installing IIS
Microsoft IIS is a Windows feature not installed by default. IIS version 6.0 or above is required.
Open Windows Features
Under Administrative Tools, select Programs and Features, then click Turn Windows features on or off.

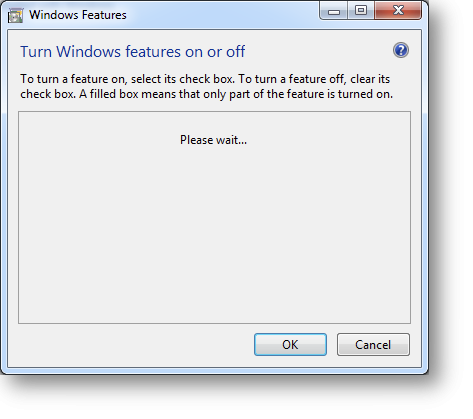
Select IIS components
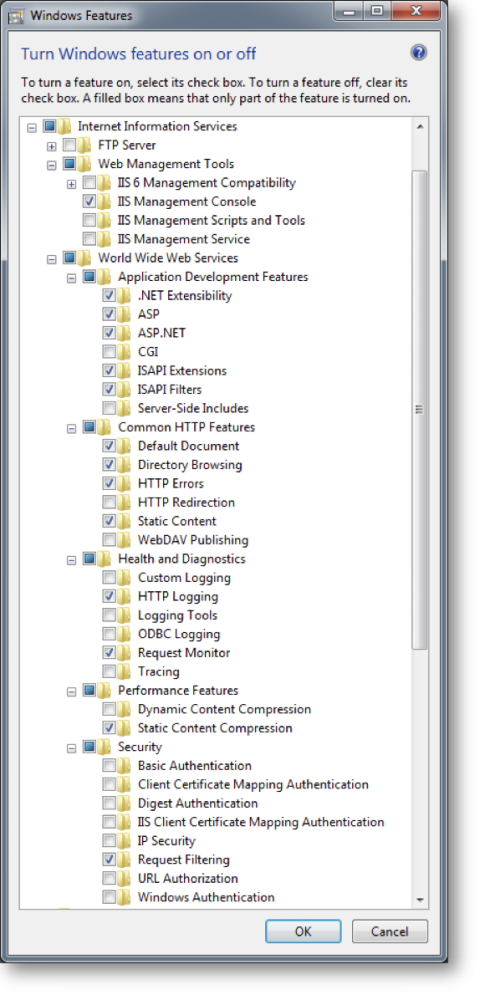
Find the Internet Information Services entry and enable all required components including the IIS Management Console and World Wide Web Services.
Verify ASP.NET v4.0 Application Pools
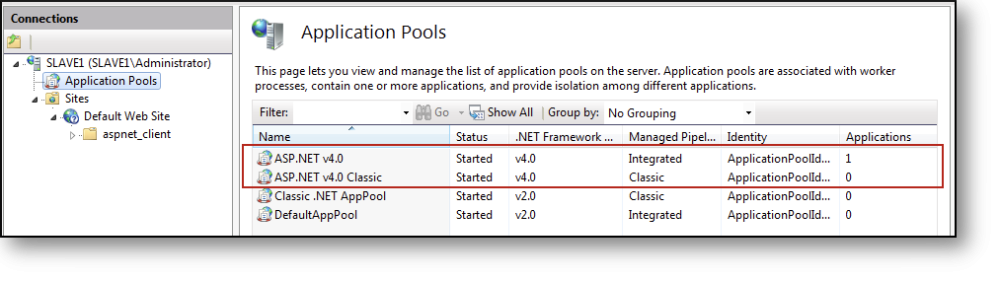
Open IIS Manager and select Application Pools. Confirm that ASP.NET v4.0 pools are listed. If not, they must be registered manually.
Registering ASP.NET v4.0
If the ASP.NET v4.0 Application Pools are not shown in IIS, register them from the command line. Navigate to the correct .NET Framework folder and run:
aspnet_regiis -ir
x86 (32-bit) path:
C:\Windows\Microsoft.NET\Framework\v4.0.30319\
x64 (64-bit) path:
C:\Windows\Microsoft.NET\Framework64\v4.0.30319\

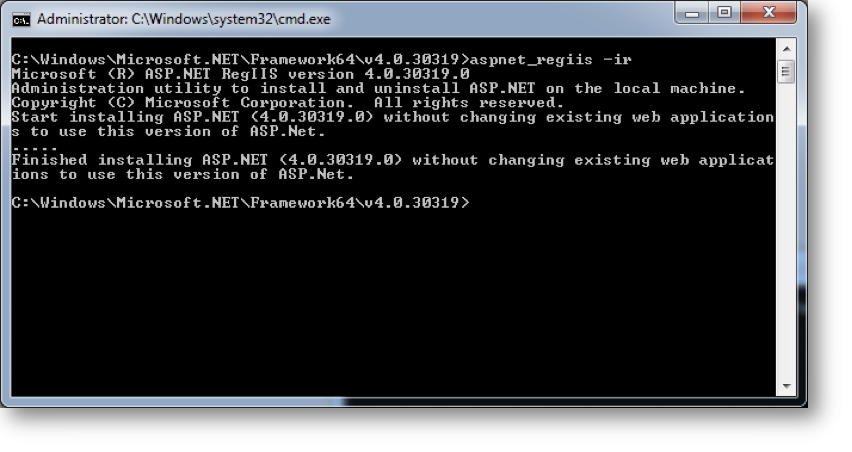
Once the installation has completed, exit the command window.
Installing the Web Application
Once IIS has been installed and the ASP.NET v4.0 Application Pools are present, the web application can be installed from the Configuration Application. Ensure the Website name is correct under Communication → OpenAPI Server settings.
The default value is Default Website. Change this if you want to install the application to a different website.
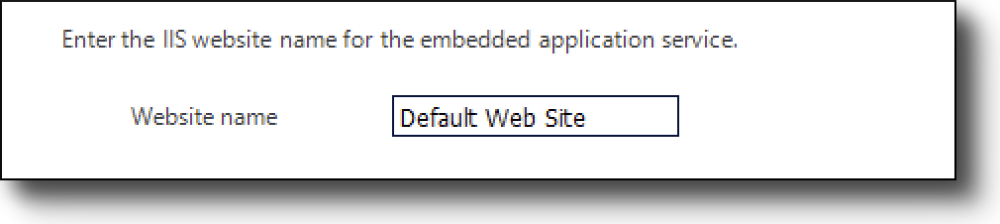
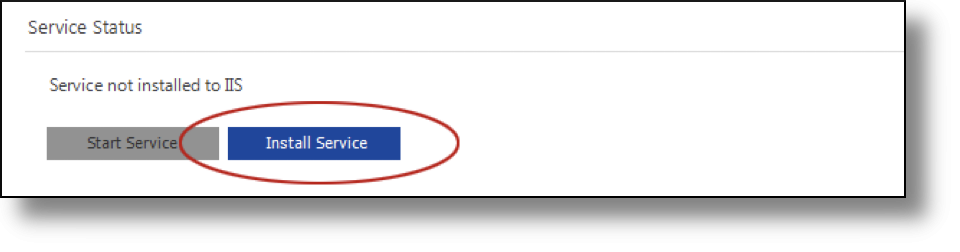
Install the service by clicking the Install Service button.
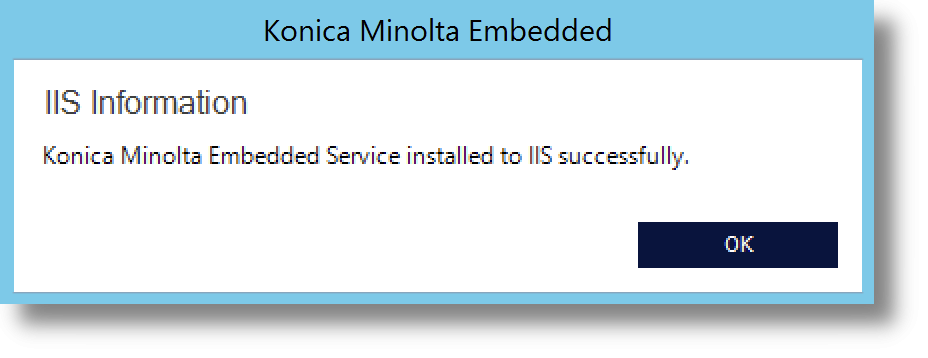
The following dialog will be displayed once the service has been successfully installed.
Installing the Web Application Manually
The web application can also be installed manually. Open IIS and highlight the website you want to install the application to. Right-click and select Add Application from the context menu.
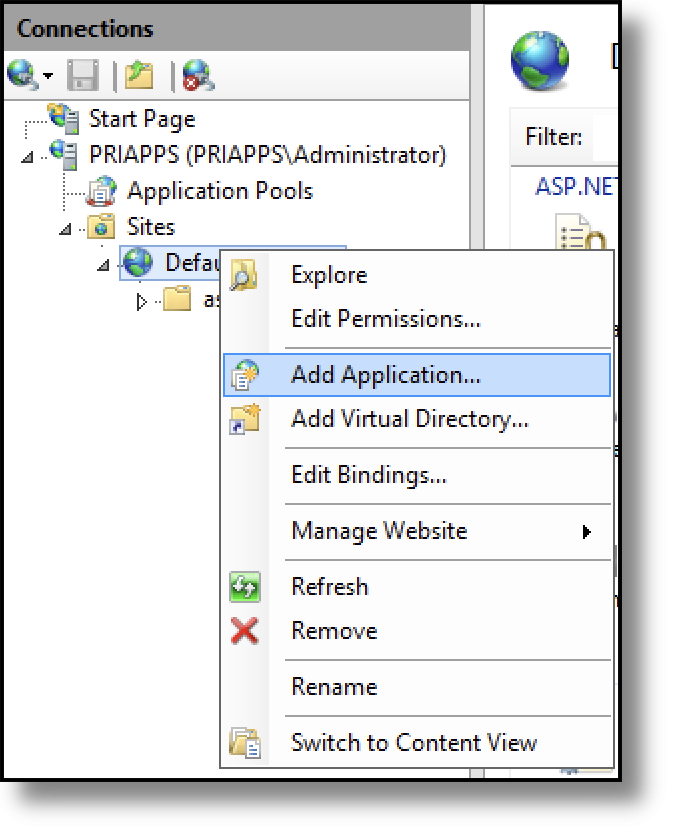
The following dialog will be displayed. Enter the alias KMEAS_WEB and ensure the ASP.NET v4.0 application pool is selected.
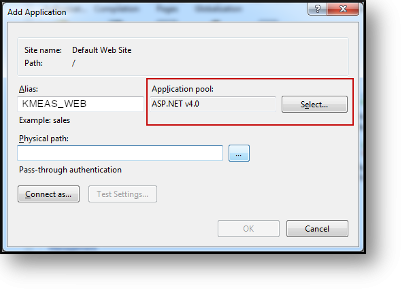
Click the Browse button for the Physical Path and select the following path.

Select the KMEAS_WEB folder and click OK.

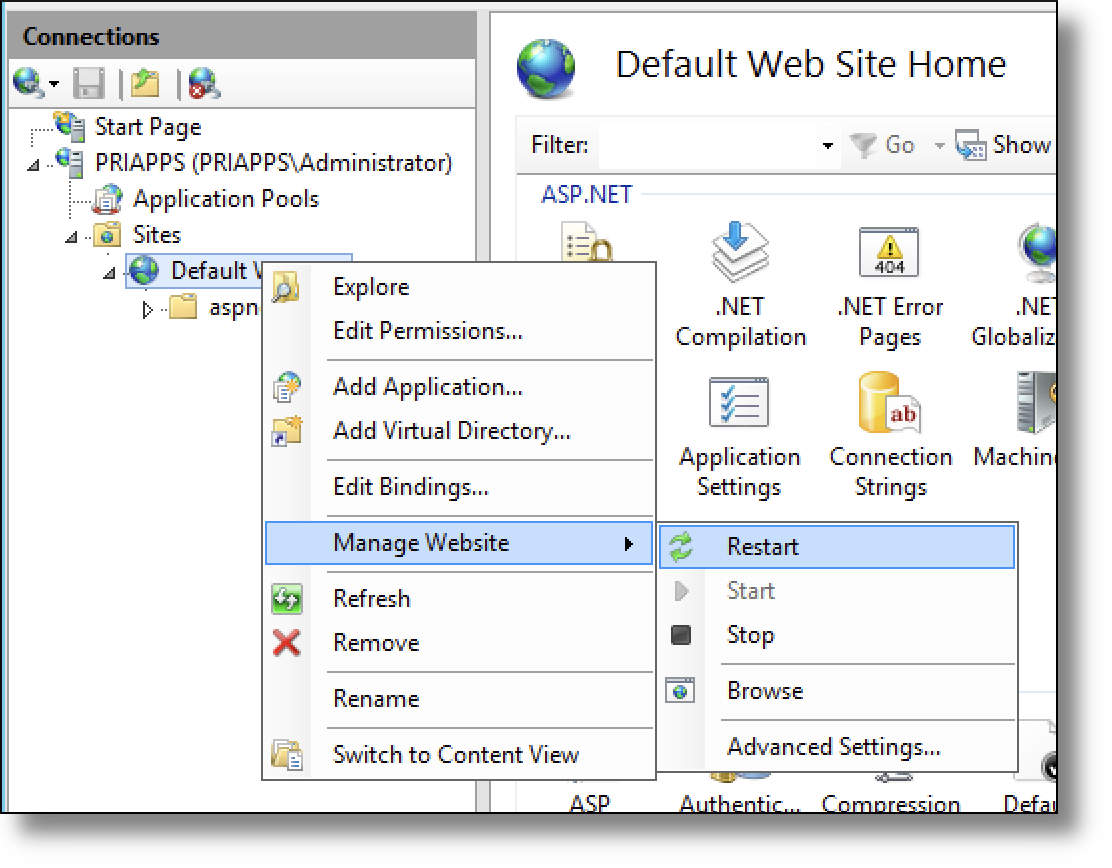
Finally, select the website and right-click to display the context menu. Select Manage Web Site and either Start or Restart the website depending on its current state.